
Christmas Gifts - Mixed Media Canvas Part 1
I wanted to create some gifts for my family this year and this gift is for my niece Miss C. She is a teenager and I wanted to make something that she could put in her new room. My sister recently built her own home so she has a fresh, gorgeous new room to decorate. I wanted it to be inspirational for her, to have some meaning and maybe introduce her to her own creative spirit that may be locked inside her just screaming to be let out!
I haven't mentioned this before but I have been taking some art classes by Suzi Blu. I love her style, her gorgeous petite dolls, each little face is so different from each other. As Suzie says, it's near impossible to create the exact same face as you have before. I have been practicing my petite doll faces trying to find my own doll face style. I still have some ways to go as this journey takes time. It's not something you should rush. It's not something I want to rush! It has been quite some time since I have put pencil to paper and I have to say how much I have missed drawing. I still have my first Derwent Graphic Designer pencils I purchased when I was still in high school. Some are a little short now but still work like a charm. Gosh, next year they will be 20 years old!!!! Does that make them vintage yet......lol???
Here are some shots of the piece I am working on for Miss C titled 'Follow Your Dreams':
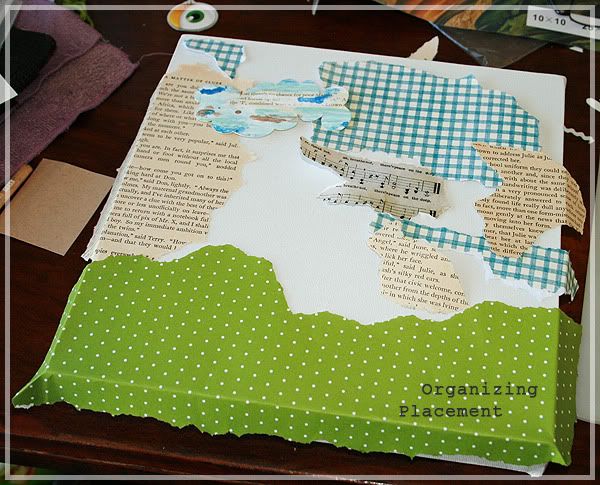
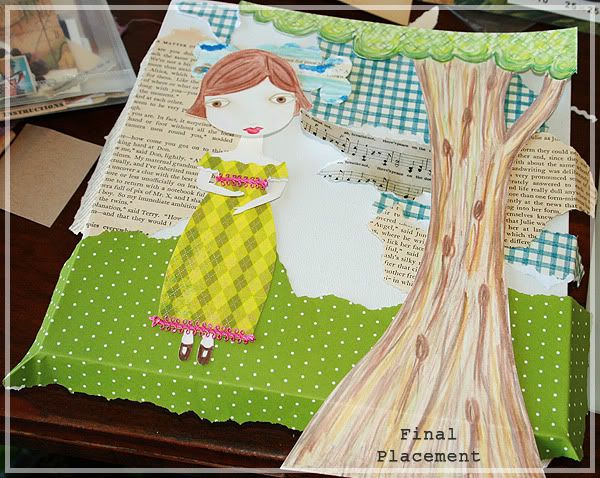
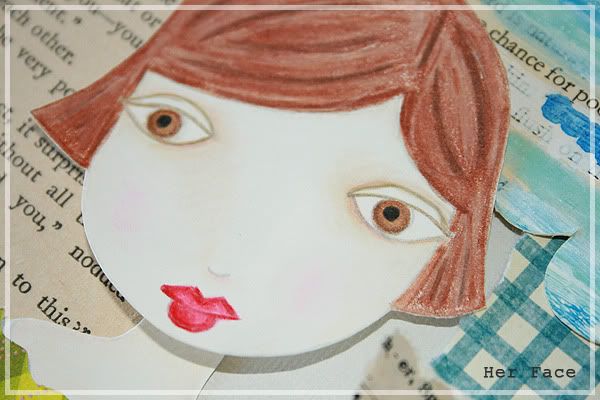
The Face & Body: As you can see the first stage was to draw the petite doll then shade and color her with delicious prismacolor pencils (I HEART these pencils). I then traced her dress shape with baking paper from the kitchen then turned the baking paper over, placed it onto my chosen patterned paper I wanted for her dress and went back over what I had traced. Now I have the outline of her dress on my patterned paper and I can begin to cut out her dress.
The Cloud: I made this cloud using a shipping tag. I adhered vintage book page pieces to the tag and added some watered down gesso over the top. I left some words showing through for interest. I watered down some acrylic paints and added strokes of color in different area's of the tag. Once the tag was dried, I drew a cloud shape on the back of the shipping tag and cut it out.
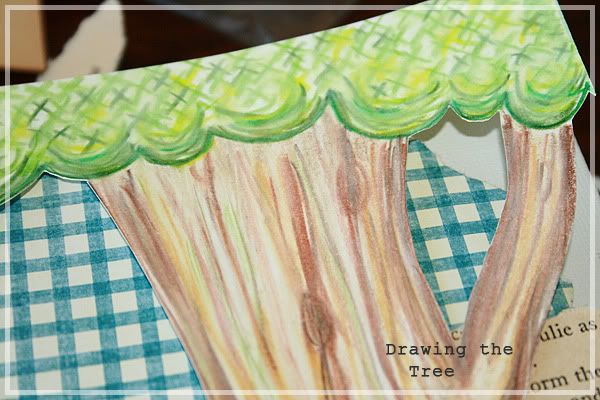
The Tree: I was actually inspired by a tree that CD Muckosky did on her page titled 'On a Lovely Limb' for the CK blog. I shaped the outside of the tree with layers of about 5 different shades of green (again, HEARTING the prisma's) then added loads of little crosses in the same shades of green to fill the tree. I only used about 3 different shades of brown on the trunk, just making quick long strokes all the way down the trunk. I added a little yellow ochre and chartreuse to the tunk to help lighten it as there was a little too much brown going on. I added a few knots as well just to make it seem more realistic.
Back tomorrow with some more pictures and guides.
ENJOY! xoxo


.jpg)


4 comments:
Stunning!!!! Can't wait to see it all finished!!!
xxxJ
i took this class too...what a small world. i love your creation...it is stunning! such wonderful details.
Hello sweet Diana! How wonderful to wakeup today and find I have over 4 posts to catch up on! :) I have missed seeing your stunning, inspirational posts... and talking to you!
Congratulations on winning such an awesome prize, thank you so much for sharing your altered book and your mixed media canvas is gorgeous!
I think of you very often and I hope all is well with the family!
Much love to you!
Great post, thanks
Post a Comment