HAPPY AUSTRALIA DAY one and all!!!
We love Australia Day here in Australia. We spend the public holiday celebrating in so many different ways. Today we will be having a barbie (BBQ) with a few snags (sausages) and a tinny or two (a can of beer...lol)! We fly our flags high with Aussie pride, even on our cars!

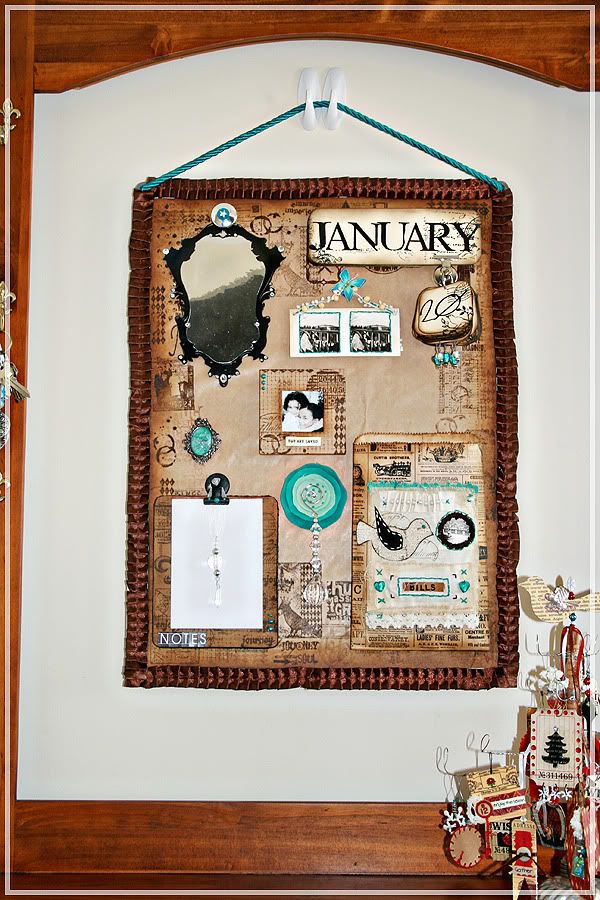
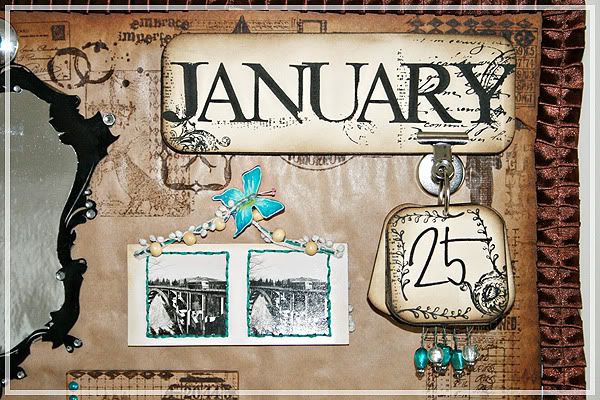
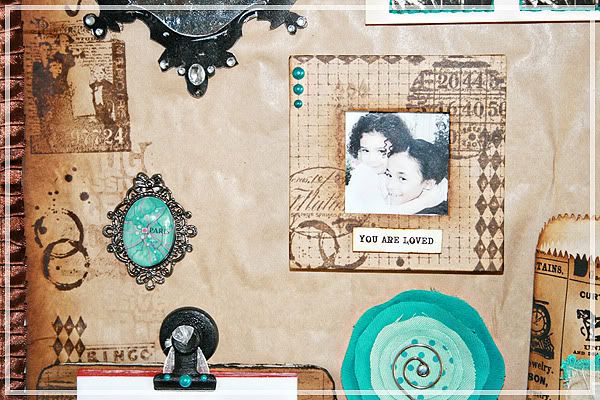
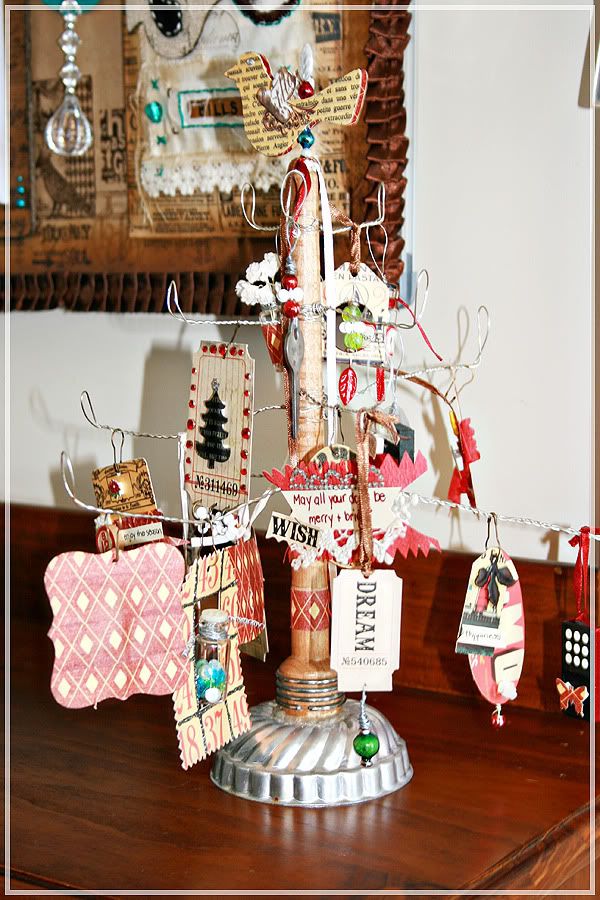
As you can sort of see I have a hall stand at the front door. I found it at a furniture store very cheap as the mirror had been smashed so they took a large chunk of money off it. I was planning on putting a mirror back in but never got around to it (so glad I didn't now). I thought it would be the perfect place for the magnet board. I use the House of 3 digital project kit for the months and the dates. I used my House of 3 House Warming kit to print the frame out and add some mirror paper to the inside of the frame. Similar to the one I made for my house warming album here.
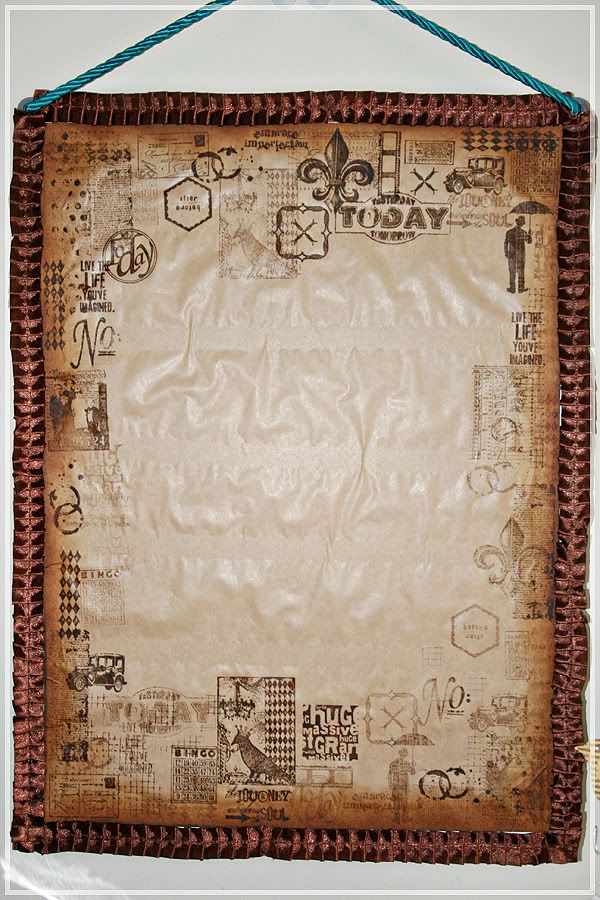
I simply purchased a cheap magnetic board from my local office supply store with some plain brown wrapping paper to cover the board with. I went with the brown wrapping paper is it's really thin, perfect thickness for the magnets to still stick to the board. I used a bunch of stamps from my Kenner Road kits and some from one of Tim Holtz's collections here. I also used Tim Holtz's distressing inks to stamp them onto the brown paper and used a blending tool to ink the edges of the paper.
I was inspired by Heidi Swapps notepad she made for her magnet board so I made a similar little notepad. I used a gorgeous teal Prima flower and added a gorgeous crystal Christmas decoration to it and stuck a magnet on the back of it.

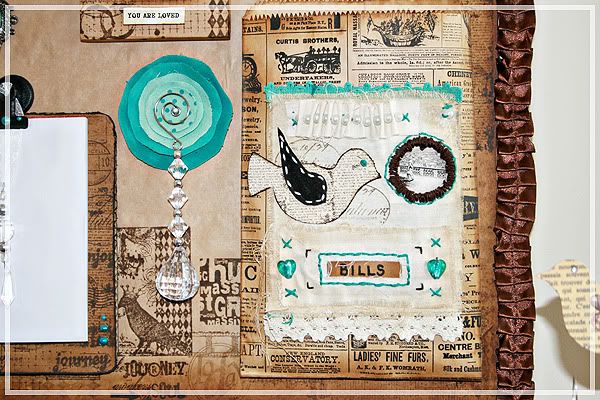
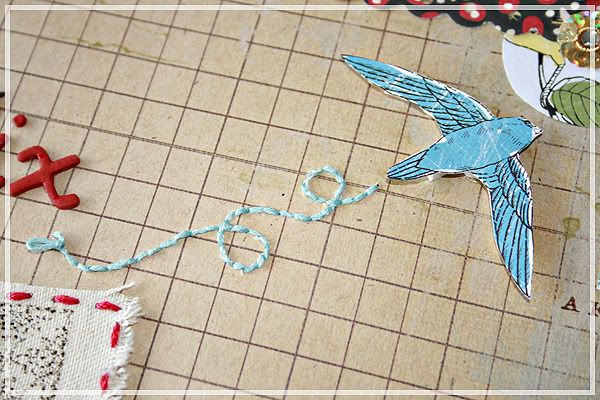
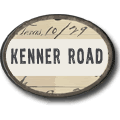
I cut a piece of muslin, inked and frayed the edges, added a Kenner Road stamp and a vintage photo from Old School (August '09), added some hand embroidery with pearls, leaves and glass hearts, and added a hand drawn bird on canvas stuck onto some chipboard and added some vintage trim from my stash as well as some teal trim from We R Memory Keepers. I then attached all this to a vintage paper bag that I received with some free goodies from Blue Bazzar. I inked the edges of the paper bag as well to give it a more aged appearance.
I printed out the Hof3 months and dates and inked all the edges, attached some beads and wire to some of the dates and hung them from a magnetic clip with an album ring to hold the dates.
I took another vintage photo from KR kit Old School '09 and hand sewed around the edges, added some vintage trim from the same KR kit and threaded the trim with some teal embroidery thread with wooden beads in every second loop. I simply added a Prima butterfly with a magnet on the back to hand it from the board.
Lastly I took an small old frame I found in my stash and covered it with the brown paper with more TH and KR stamps and added some little teal pearls from Kaisercraft. I inserted a photo of the girls inside and added a little word bit I made in Photoshop, "You are loved". I found a gorgeous teal 'Paris' broach and added a magnet on the back of it and added it to the board.

Some Long Over due Layouts...
....and yes I have been playing catch up since I returned from our vacation but I did find some time for a little scrap therapy.......aaahhhhh......just what a girl needed after such a busy holiday season. For two full days I spent in my art room playing with my Kenner Road December goodies and I have to say (yes I know I say this all the time but seriously I find it so easy to scrap with the collections kl puts together) the December collection (I usually purchase every kit KR brings out each month) has to be my new favorite collection. As I was creating each page, a new idea to use the goodies would pop into my head! Enough chit chat, here are some pages.
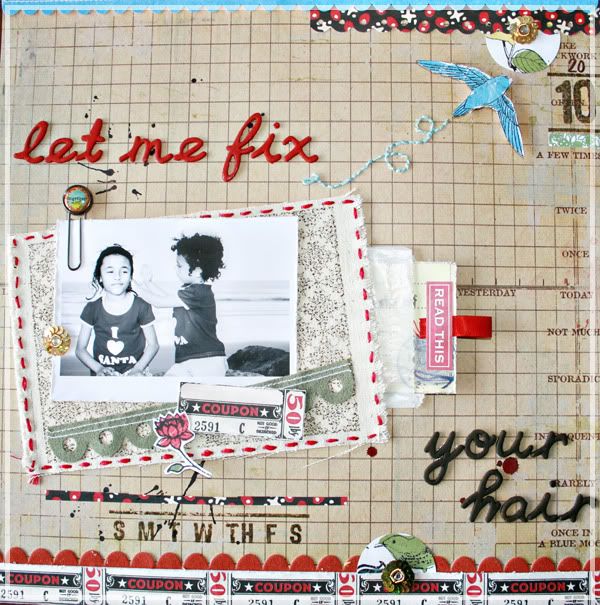
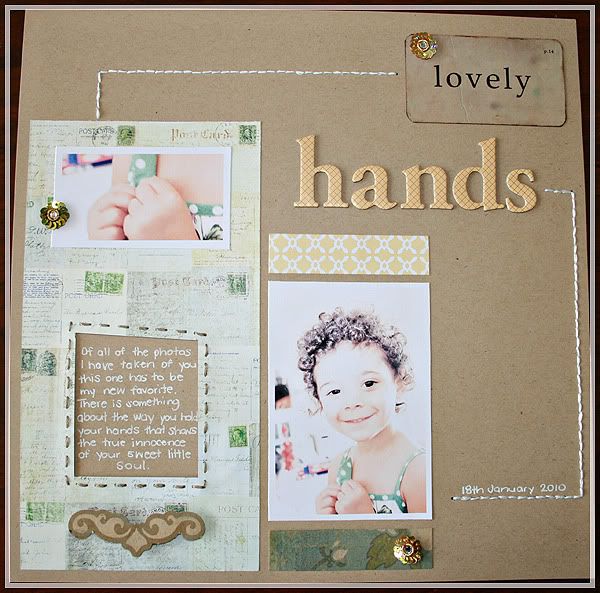
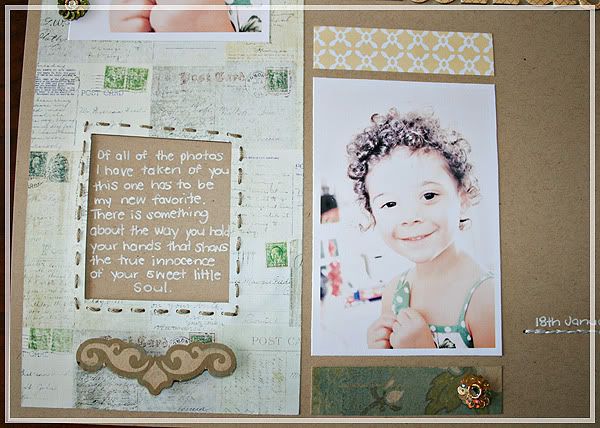
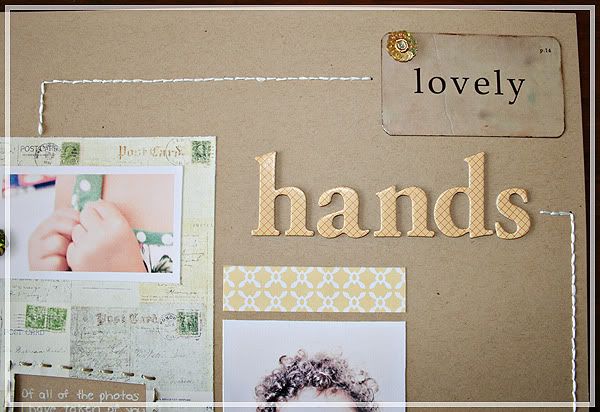
The photo was taken at the beach up at Coffs Harbour as the sun was setting. As I was about to take the photo Miss J reached over to her sister and said to her "let me fix your hair" hence the title....lol! It was such a sweet moment!
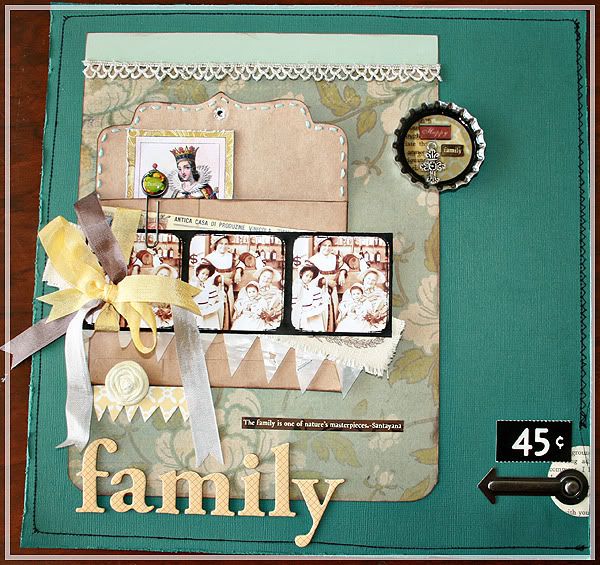
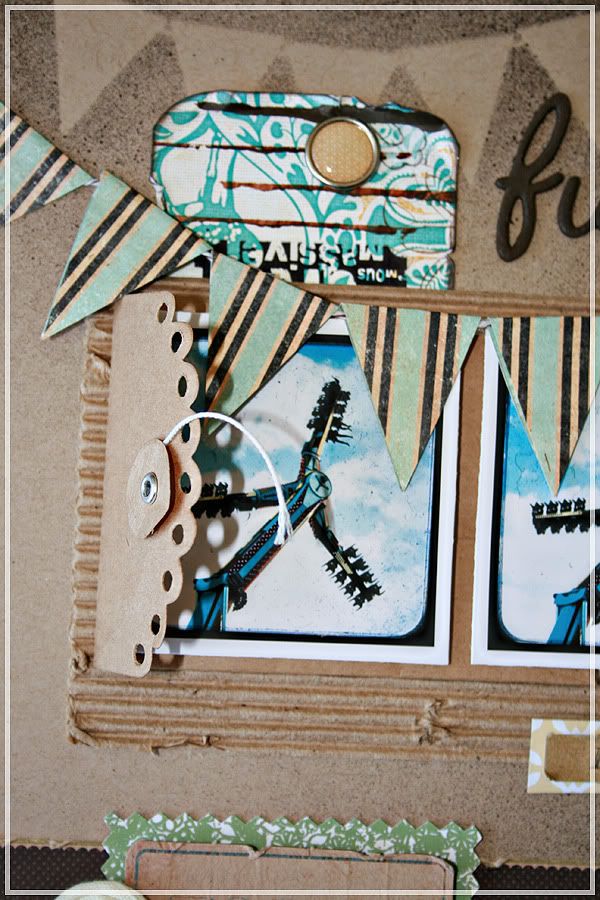
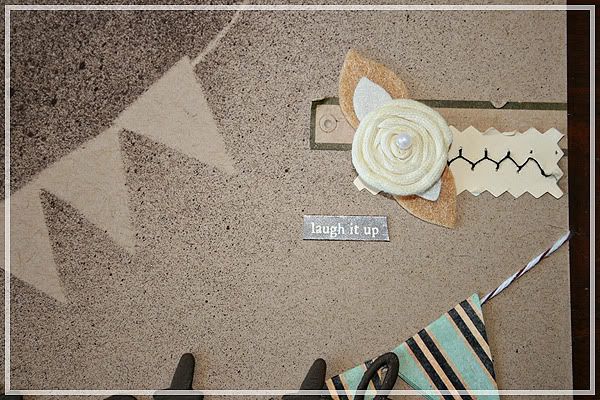
Seven Gables + Secret Garden + Ramble + Old School (August '09) + Windy Corners (October '09)
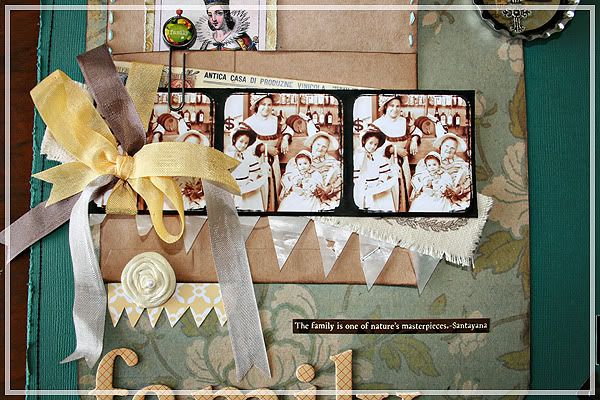
Seven Gables + Ramble
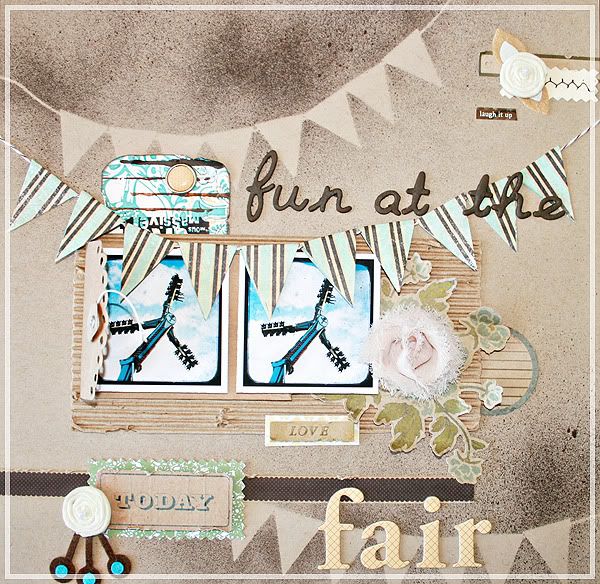
Ramble + Seven Gables - I also used one of my ATC's I made from this post!

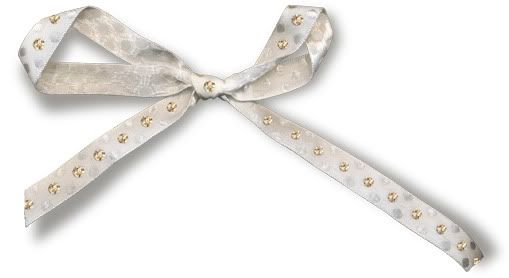
Pretty little ribbon from Light Up the Night Collab (A5D) by Catherine Designs
Belated Christmas Gifts: All Wrapped Up
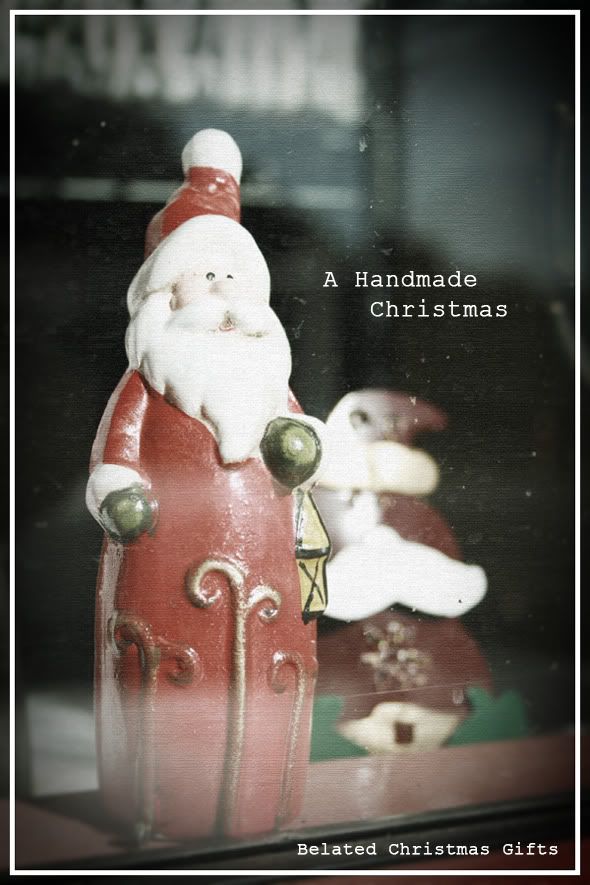
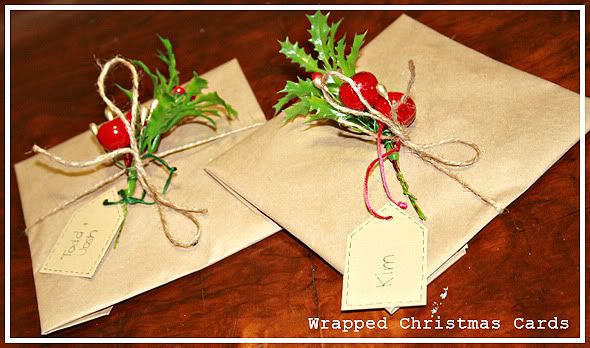
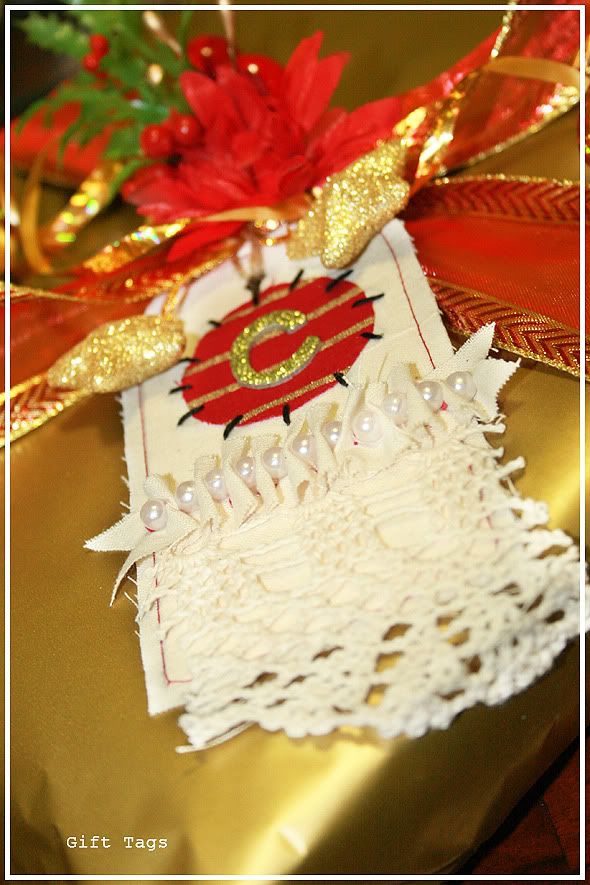
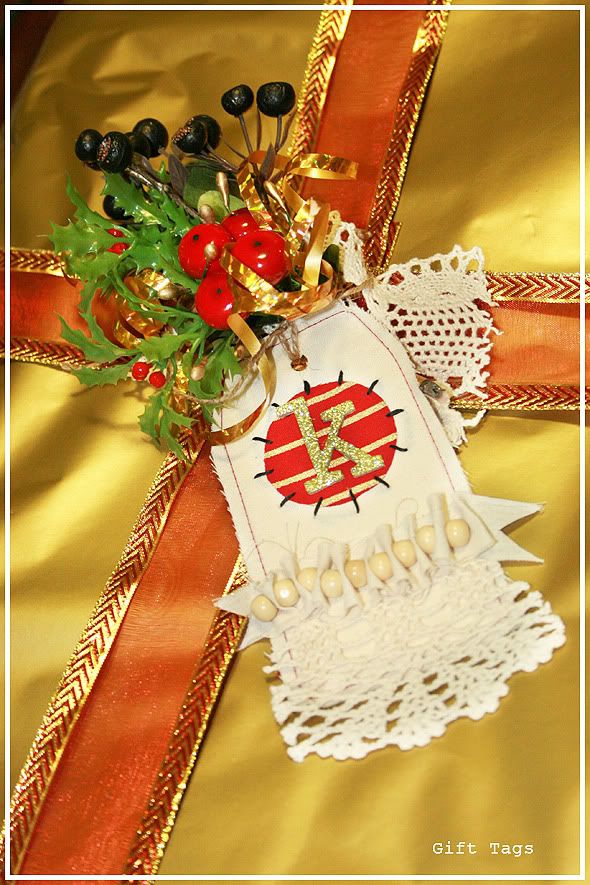
As promised I finally found some time to edit the Christmas gift photos. This year I had so much fun creating some of the Christmas presents for friends and family. I plan to keep the tradition going each Christmas. I loved the look on my family's faces as they unwrapped their handmade gifts. My sister especially. It took several hours to convince her to just open the gift. She said it was wrapped so beautifully she didn't want to open the gift. I had to threaten her saying that I would go home now if she didn't open it. My niece Miss C loved her gift, she has it sitting on her dresser and to my surprise, the colors in her room go perfectly with the canvas. Ok, on with some photos!
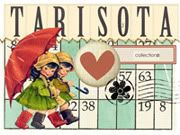
I made my 3 nephews gift card holders for their gift cards. Nothing fancy as they just tore them open as I suspected....lol. I simply stapled a bit of ribbon the the bottom of the gift card to use it to pull the gift card from the handmade envelope. Stamped them with Pink Paislee's Mistletoe and Co Impressions clear stamps and also used Fiskars a to z clear stamps that I got in one of my Teckni Colour kits from Tarisota. I used a sewing machine to seal the edges of the envelopes and stuck a Making Memories glitter foam sticker on the back to seal the envelope.

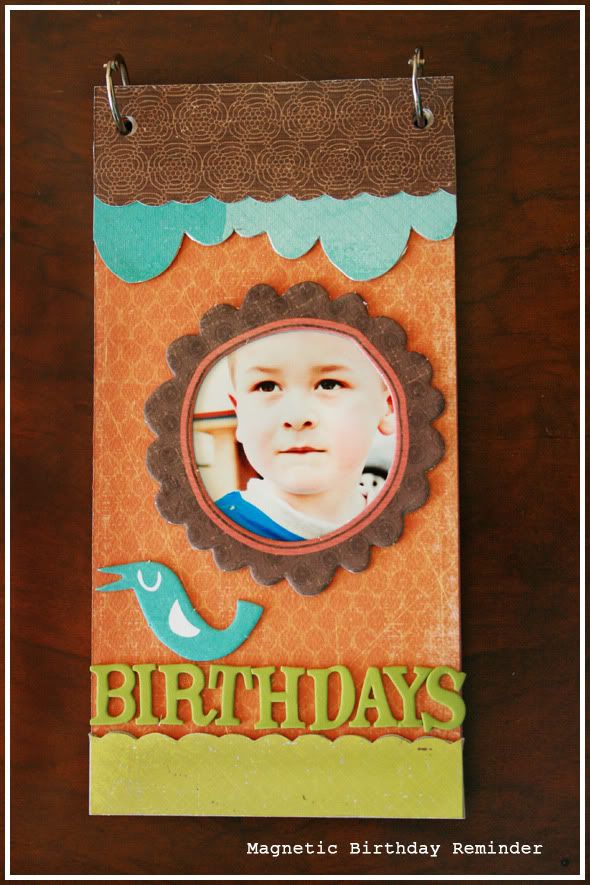
My brother has a terrible memory (either that or he just couldn't be bothered....lol) and he always forgets our birthdays so I made him a magnetic birthday reminder calendar so he can put it on his fridge. I got the idea and the printable perpetual calendar from the Pebbles Inc blog that Celeste Smith made. A perfect and fitting gift for my lazy bones brother! I used all Kenner Road goodies from Windy Corner (October '09 Add on kit) and Handmaiden (October '09 Main kit).


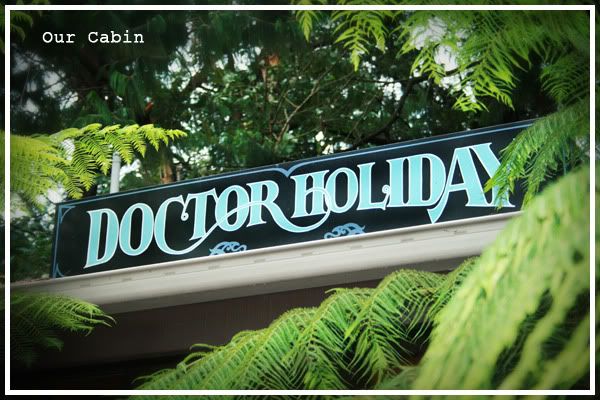
Closer to God
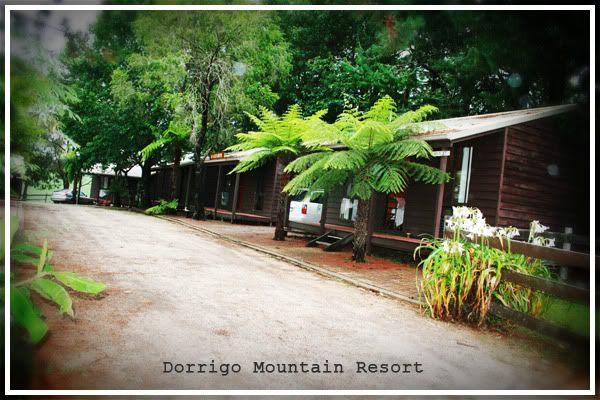
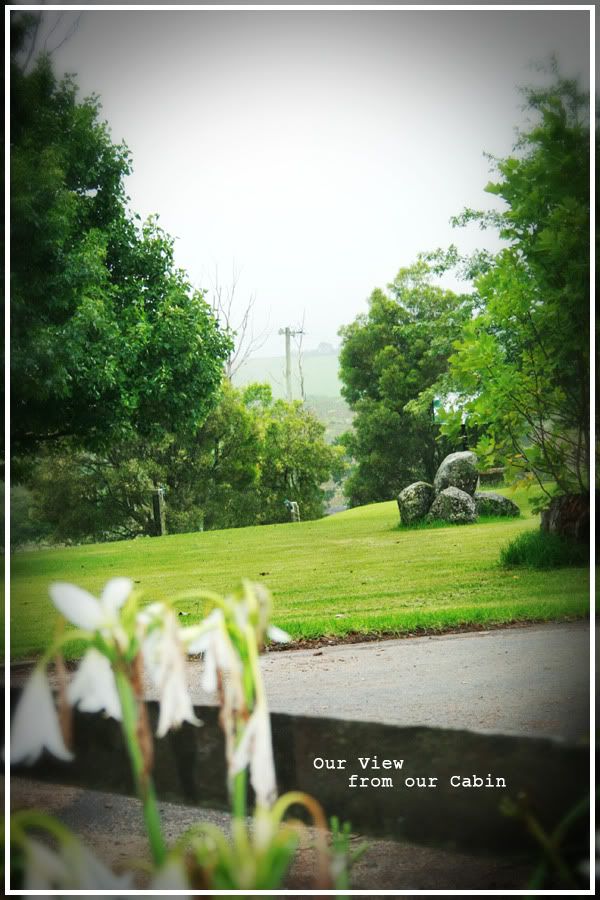
I have to say Dorrigo Mountain is one amazing place! Even though we were there because my Aunt May had passed away, we could really understand why my Aunt and Uncle live here. Dorrigo is nestled in the eastern regions of the Great Dividing Range, on a plateau that rises 760m above sea level in New South Wales, Australia. It's about an hours drive from Coffs Harbour up the mountain. We passed one of two waterfalls called Newell Falls on the drive up.

It is so much bigger than this photo shows, it's just so beautiful. When there's a lot of rainfall this waterfall falls onto the road and down below. They usually close the road when it gets too bad. Check out this photo taken last year during a heavy rainfall.


Please Excuse the Dust...
Well, firstly, Happy New Year to you all!!!! There is something about 2010 that just fills me with loads of hope. There are so many things I have planned for this year and I will try my hardest to make it all happen!
It feels like months since my last post when it has only been a few weeks. On Christmas day at 3pm my Aunt passed away from complications of cancer. She had been feeling ill for the last 6 months but refused to go to the doctor's until it was too late. Her poor little heart gave up with the stress that the cancer put on her frail body. I had to explain to the girls why Aunt May passed away and all I could say is that she died with a broken heart.
On Boxing day we traveled up to Sydney to were my sister lives and stayed there for 5 days whilst we waited for news of my Aunt's funeral which came on our last day. We packed up and headed for home to pack for the trip and meet with my very best friend in the world, Daren and his partner, to spend New Year's Eve together. An amazing night filled with cocktails, great food and tantalizing conversation. Thank goodness for wonderful friends to get you through the hard days! (Made me think about a dear person who was once in my life but not any more.) The next day we packed up and left for our long car trip to Dorrigo Mountain roughly 9 hours away. More on that later....
We arrived home Thursday night exhausted and glad to be home. Loads of washing to do and lots to catch up on. I found a few packages on my front door step which was a lovely surprise, one from Tricia at Cocoa Daisy, thank you so much for this awesome gift and the coupon, I can't wait to get a chance to play with it. And the other from Prima Marketing, so many gorgeous goodies to play with too!!! And last but not least.......some AMAZING stamps from Darkroom Door! I am in awe of these stamps, they are huge! You must check them out and what their design team do with them, simply amazing!!! A huge thank you to Rachel and Jill, I can't wait to dream up a creation to use these stunning stamps!
Well I think I managed to shake a little dust off the blog for a few days till I get myself in the nook again. Lots of emails to reply to (one in particular that I am so over the moon happy about and I can't wait to share but for now it;s hush, hush) loads of photos to sort out and post so I will be back in a few days once I get sorted. I hope everyone had a safe and happy holiday season. xo


.jpg)