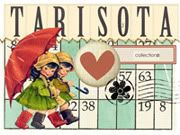
You may have noticed on my layouts I created for
Tarisota this month {scroll down to an earlier post if you didn't}, I used a few ttv frames as well as some overlays/textures on my photos. Everything I used on my photos I found mainly in various flickr groups. I love experimenting with textures, overlays and ttv frames in photoshop, the results can turn out amazing and give any every day photo just what it needs to
SHINE ♡.
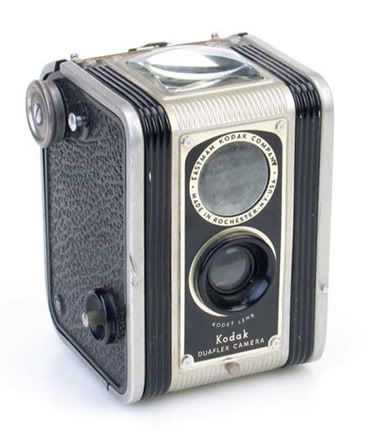
{looking for more info about TTV, check HERE}
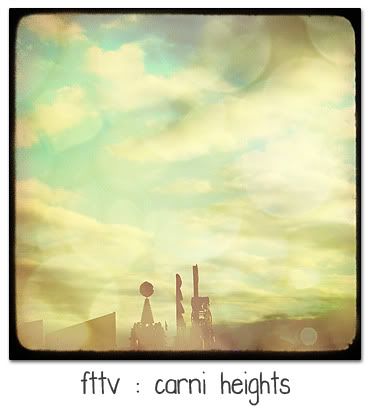
The photo above was taken by accident when my family and I were on holidays in Coffs Harbour at a carnival just as the sun was about to set. I loved the silhouettes at the bottom of the photo and the look of the sky scattered with clouds as the sun was going down. I love photos that have large quantities of sky in them....with balloons.....and with water....and with birds......and carnivals...lol!! What was an average photo, is now dreamy! I went through loads of my photos looking for average looking ones that I thought could do with a little
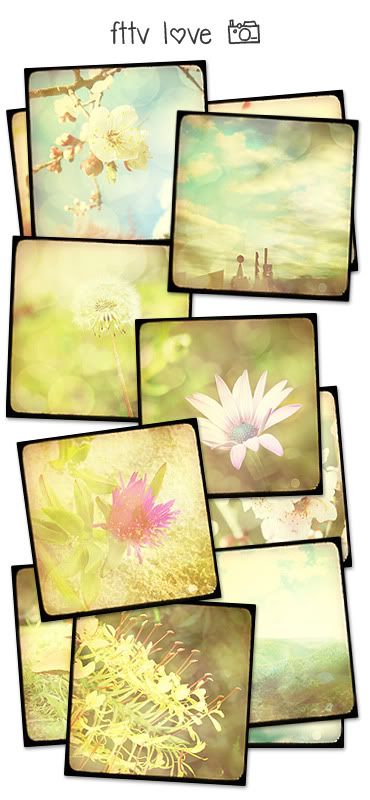
LOVE ♡, here are some of the results....
In all of these photos, I used the same ttv frame and the same overlays/textures so that the photos all had a similar look and hue. There are loads of photos circulating at the moment with soft hues which use gorgeous textures and photoshop actions.
HERE is an example.
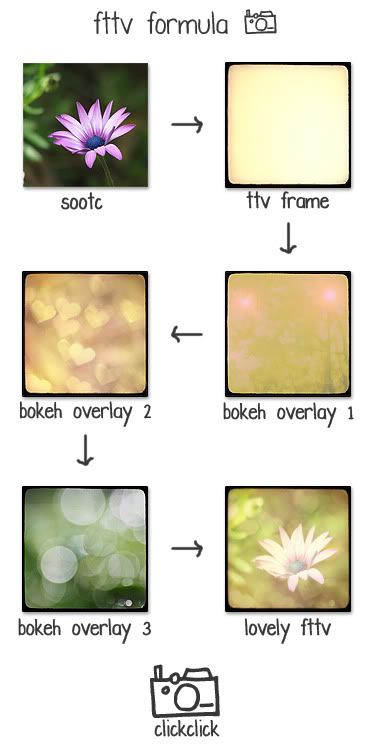
{I recently purchased the Luxe, Vintage, B&W and Color & Haze.....AMAZING!} However......we can make soft ttv photos using what is available
{without spending any money} from around the net. Have a look at how I constructed my little ttv photos...
Here is the list of what I used, in reverse order from photo
{bottom} to ttv frame
{top} and what settings I used in photoshop:
- natural stock bokeh by stock-feele HERE > Layer Style: overlay Opacity: 100%
- heart bokeh by mifti-stock found HERE > Layer Style: screen Opacity: 78%
- autumn gold bokeh by virtually supine HERE > Layer Style: overlay Opacity 51%
- ttv frame by DLSDesigns found HERE > Layer Style: multiply Opacity 100%
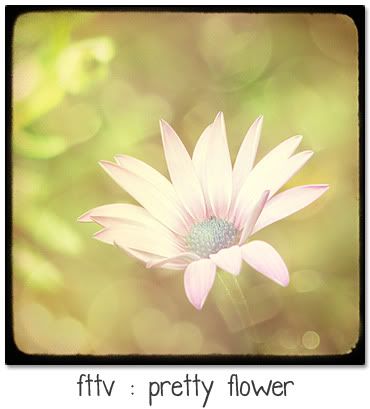
Depending on the photo you use, you shouldn't need to edit it at all before you place the overlays/textures over the top of it. The overlays/textures should lighten any poorly lit or under-exposed photos. Have a play with the layer styles and the opacities to suit your own needs and likes! Even add some more layers such as a layer of texture to turn the above PRETTY ♡
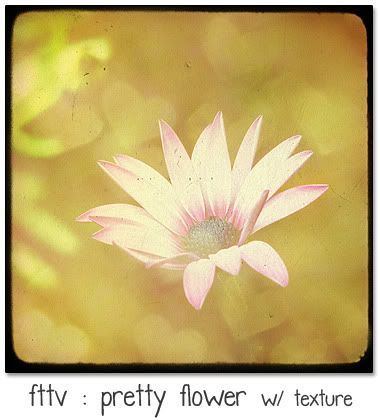
flower photo to a slightly grungy one like this:
Here is a link to the texture I used in the above photo. I placed the texture in between the ttv frame and the autumn gold bokeh:
- autumn gold bokeh by virtually supine HERE > Layer Style: overlay Opacity 51%
- INSERT TEXTURE HERE WITH THESE SETTINGS: > Layer Style: multiply Opacity 48% <<<<<<<<<<<<
- ttv frame by DLSDesigns found HERE > Layer Style: multiply Opacity 100%
I have put together a little list of some of my favorite flickr groups that have wonderful textures and overlays that you can use to experiment with. The possibilities are truly endless and so much fun to play around with. There are no wrong or rights with the amount of layers you use or how little, just as long as YOU like the end result! ENJOY ♡
!!
If you have any questions, please leave me a comment or send me an email! I'd be happy to help ;) Happy hump day ♡
!!


.jpg)