Showing posts with label hand made. Show all posts

HAPPY AUSTRALIA DAY one and all!!!

We love Australia Day here in Australia. We spend the public holiday celebrating in so many different ways. Today we will be having a barbie (BBQ) with a few snags (sausages) and a tinny or two (a can of beer...lol)! We fly our flags high with Aussie pride, even on our cars!


Some fake TTV ♥ from leahleaf

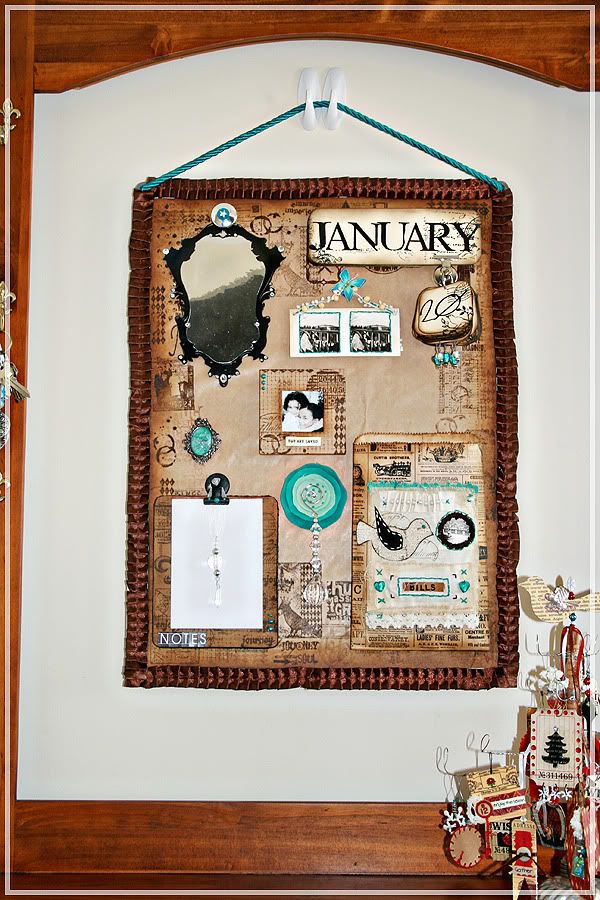
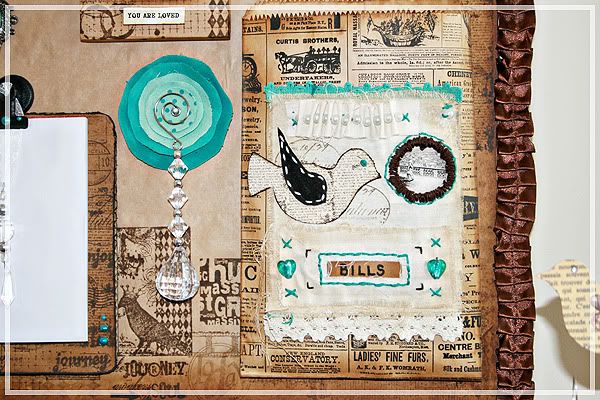
On to some creative goodness..... I actually made this last year at the beginning of December but it was sitting against the wall until I was able to find some trim or ribbon I like to go around the edges. It is finally up on the wall now and I just love looking at it when we come and go through the front door.


As you can sort of see I have a hall stand at the front door. I found it at a furniture store very cheap as the mirror had been smashed so they took a large chunk of money off it. I was planning on putting a mirror back in but never got around to it (so glad I didn't now). I thought it would be the perfect place for the magnet board. I use the House of 3 digital project kit for the months and the dates. I used my House of 3 House Warming kit to print the frame out and add some mirror paper to the inside of the frame. Similar to the one I made for my house warming album here.

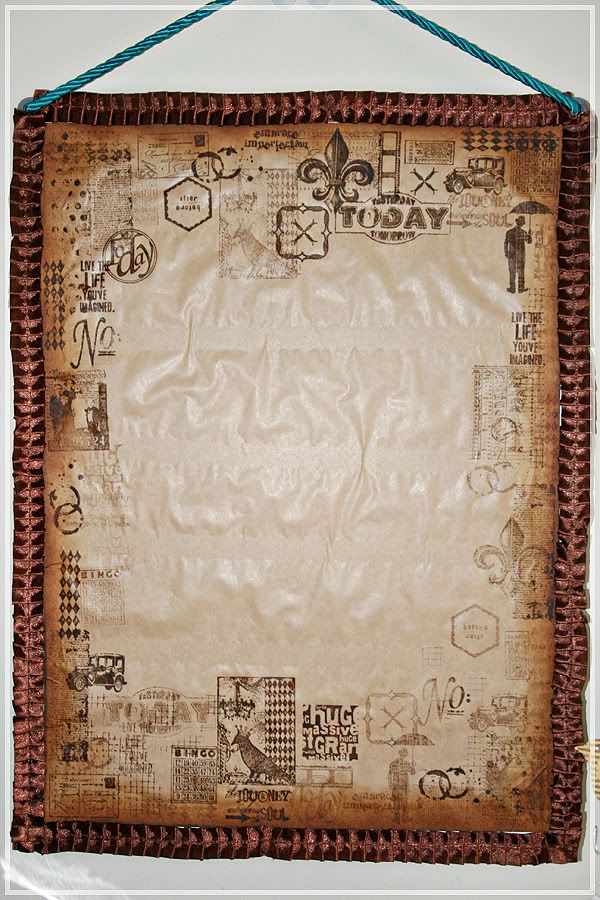
I simply purchased a cheap magnetic board from my local office supply store with some plain brown wrapping paper to cover the board with. I went with the brown wrapping paper is it's really thin, perfect thickness for the magnets to still stick to the board. I used a bunch of stamps from my Kenner Road kits and some from one of Tim Holtz's collections here. I also used Tim Holtz's distressing inks to stamp them onto the brown paper and used a blending tool to ink the edges of the paper. 


I was inspired by Heidi Swapps notepad she made for her magnet board so I made a similar little notepad. I used a gorgeous teal Prima flower and added a gorgeous crystal Christmas decoration to it and stuck a magnet on the back of it.


I cut a piece of muslin, inked and frayed the edges, added a Kenner Road stamp and a vintage photo from Old School (August '09), added some hand embroidery with pearls, leaves and glass hearts, and added a hand drawn bird on canvas stuck onto some chipboard and added some vintage trim from my stash as well as some teal trim from We R Memory Keepers. I then attached all this to a vintage paper bag that I received with some free goodies from Blue Bazzar. I inked the edges of the paper bag as well to give it a more aged appearance.


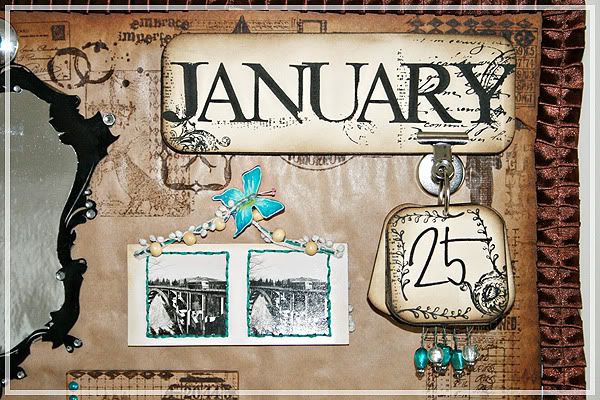
I printed out the Hof3 months and dates and inked all the edges, attached some beads and wire to some of the dates and hung them from a magnetic clip with an album ring to hold the dates.
I took another vintage photo from KR kit Old School '09 and hand sewed around the edges, added some vintage trim from the same KR kit and threaded the trim with some teal embroidery thread with wooden beads in every second loop. I simply added a Prima butterfly with a magnet on the back to hand it from the board.


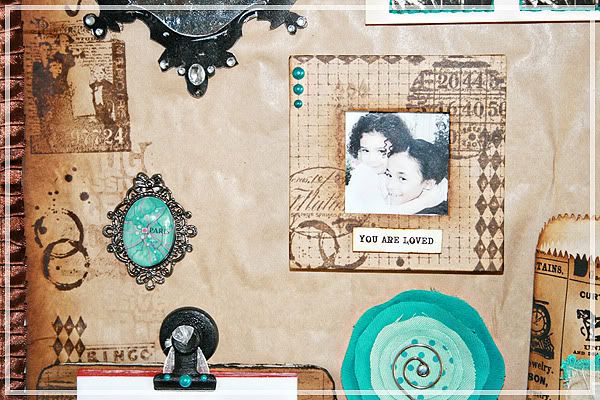
Lastly I took an small old frame I found in my stash and covered it with the brown paper with more TH and KR stamps and added some little teal pearls from Kaisercraft. I inserted a photo of the girls inside and added a little word bit I made in Photoshop, "You are loved". I found a gorgeous teal 'Paris' broach and added a magnet on the back of it and added it to the board.

Well that's pretty much the basics of how I put my magnet board together. The things that I constantly look for are all in the same place now. A writing pad, the bills that need paying, what the date is...lol and a cute little photo of my two girls that I can smile at every day!

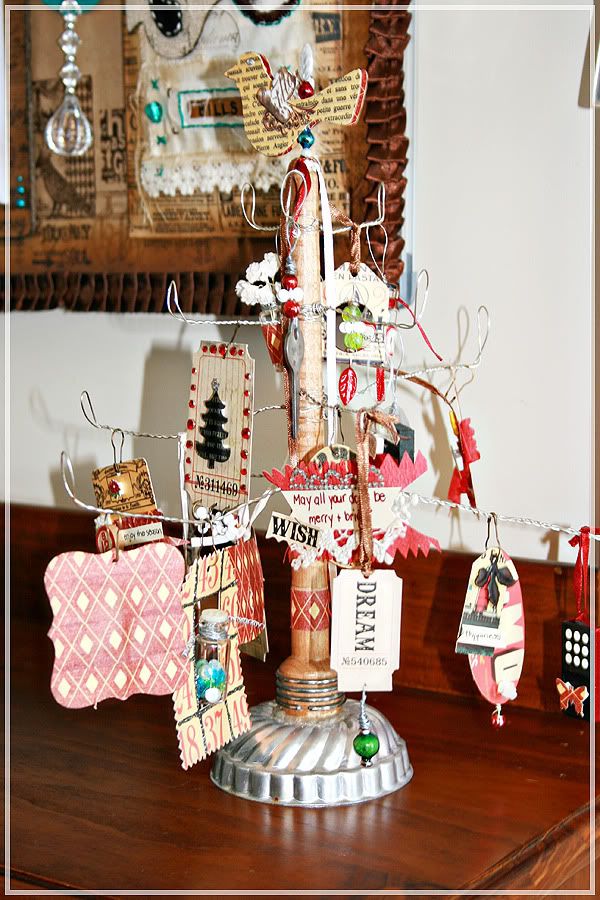
In the first photo you can see another creation in the bottom right hand corner that is ALL Kenner Road goodness that was a project kit in November '09. I seriously had so much fun making this Tannenbaum tree. I even added some of my own creations to the tree. It got so many comments from friends and family that came over. Mind you I still have it on the hall stand. I think I am going to leave it there for now as I have an idea of how I can re-use the little tree hanging thingys........when I get a chance that is......I have a deadline for a very exciting project coming up on March 1st. Can't wait to tell you more...lol!


Happy, creative Australia Day!!!

Belated Christmas Gifts: All Wrapped Up
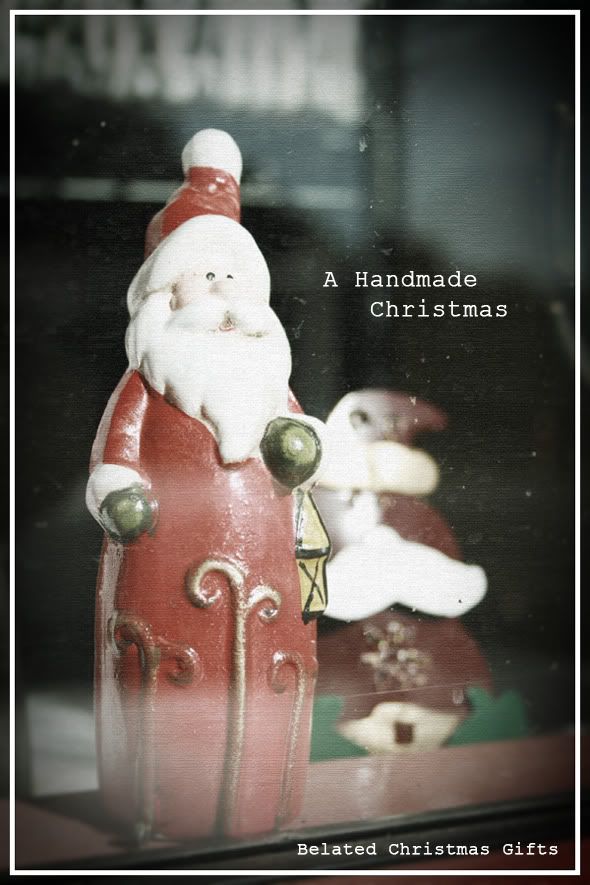

 I heart this photo I took in a store window at my favorite vintage styled town of Berry.

As promised I finally found some time to edit the Christmas gift photos. This year I had so much fun creating some of the Christmas presents for friends and family. I plan to keep the tradition going each Christmas. I loved the look on my family's faces as they unwrapped their handmade gifts. My sister especially. It took several hours to convince her to just open the gift. She said it was wrapped so beautifully she didn't want to open the gift. I had to threaten her saying that I would go home now if she didn't open it. My niece Miss C loved her gift, she has it sitting on her dresser and to my surprise, the colors in her room go perfectly with the canvas. Ok, on with some photos!

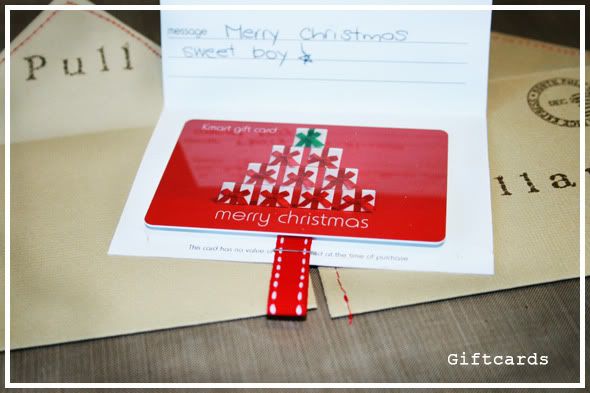
I made my 3 nephews gift card holders for their gift cards. Nothing fancy as they just tore them open as I suspected....lol. I simply stapled a bit of ribbon the the bottom of the gift card to use it to pull the gift card from the handmade envelope. Stamped them with Pink Paislee's Mistletoe and Co Impressions clear stamps and also used Fiskars a to z clear stamps that I got in one of my Teckni Colour kits from Tarisota. I used a sewing machine to seal the edges of the envelopes and stuck a Making Memories glitter foam sticker on the back to seal the envelope.


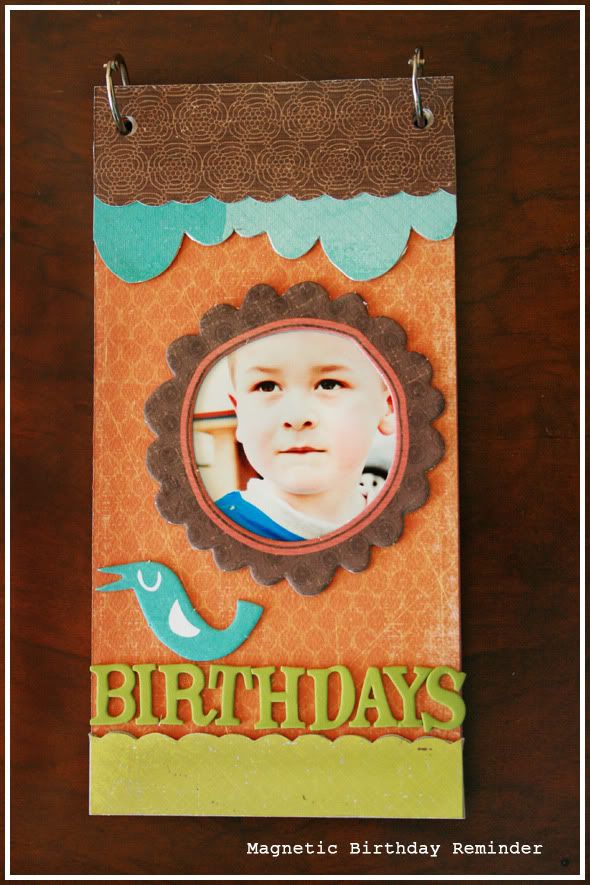
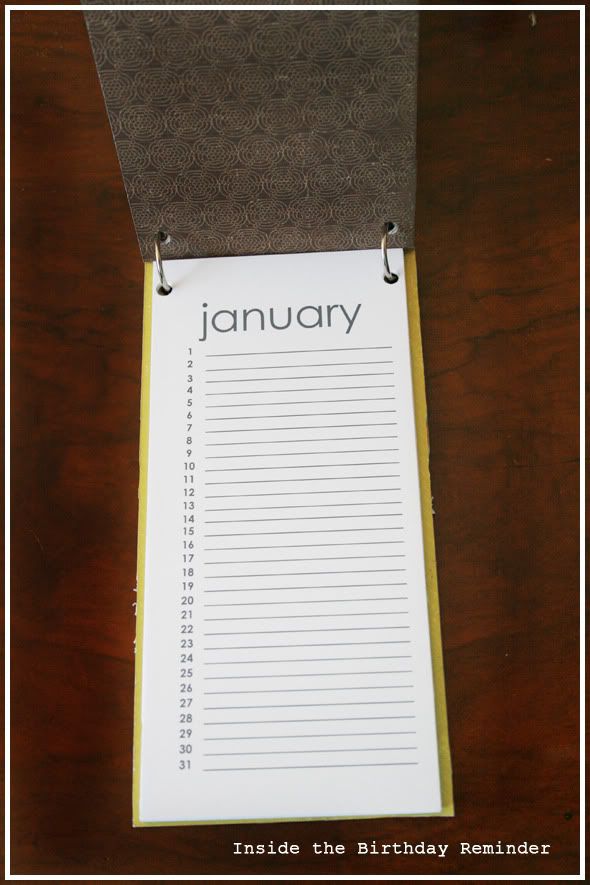
 My brother has a terrible memory (either that or he just couldn't be bothered....lol) and he always forgets our birthdays so I made him a magnetic birthday reminder calendar so he can put it on his fridge. I got the idea and the printable perpetual calendar from the Pebbles Inc blog that Celeste Smith made. A perfect and fitting gift for my lazy bones brother! I  used all Kenner Road goodies from Windy Corner (October '09 Add on kit) and Handmaiden (October '09 Main kit).
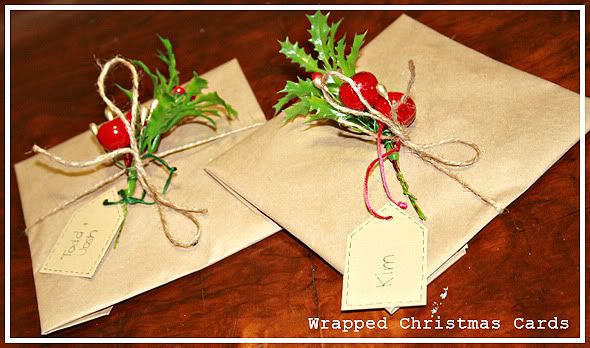
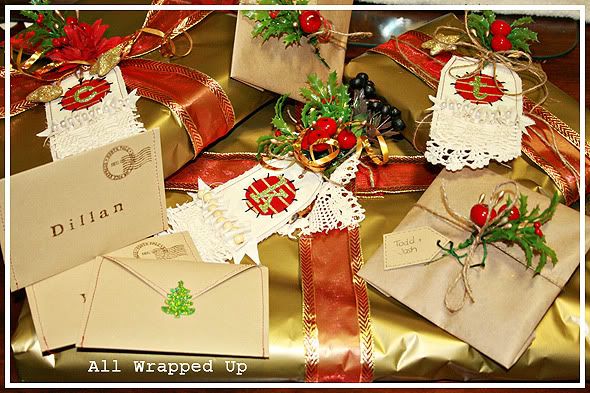
 

I would show you a photo of the gorgeous Christmas cards I made this year but I simply forgot to take any....lol!!! Well,I can show you how I wrapped the cards. I wrapped the cards in simple brown wrapping paper, tied them with some jute cord and added some holly spray and cherries. I hand cut some little tags and attacked them with some ribbon.


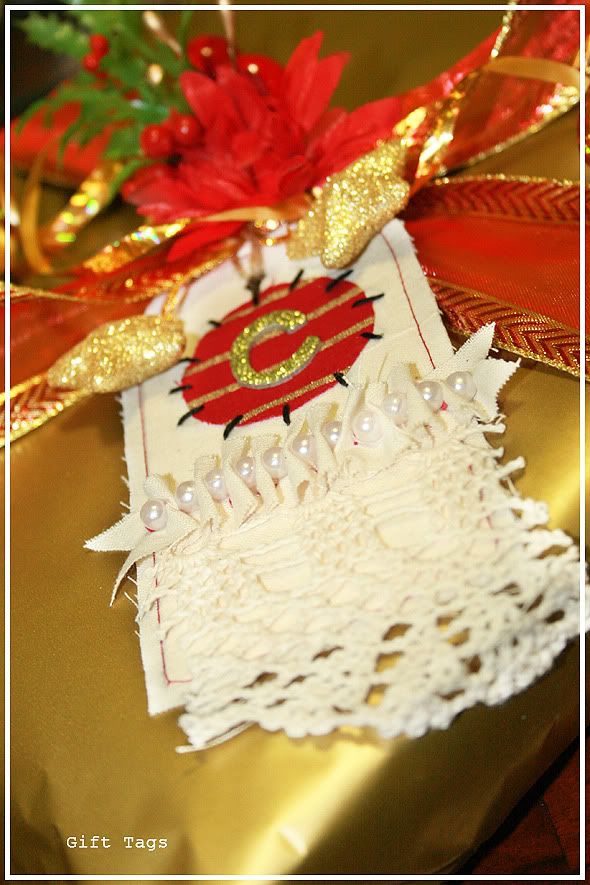
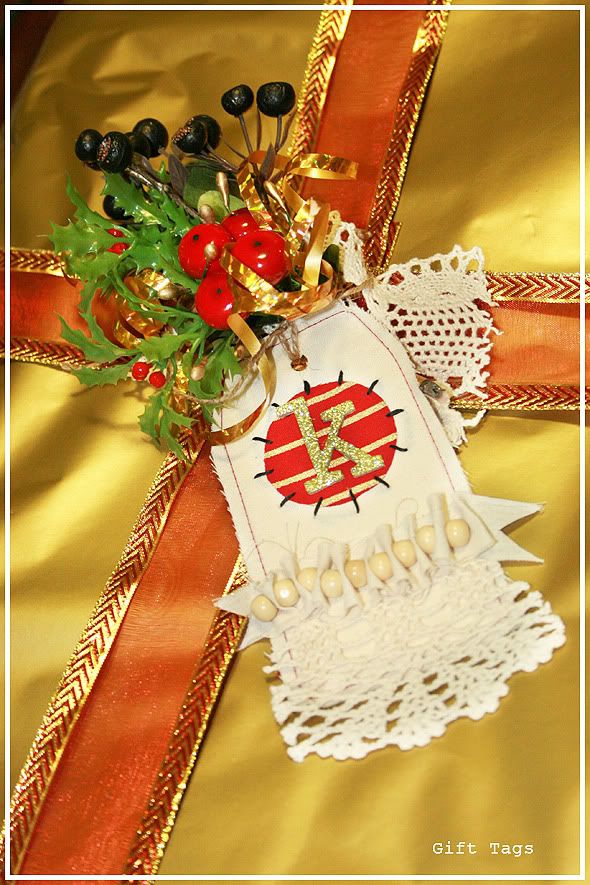
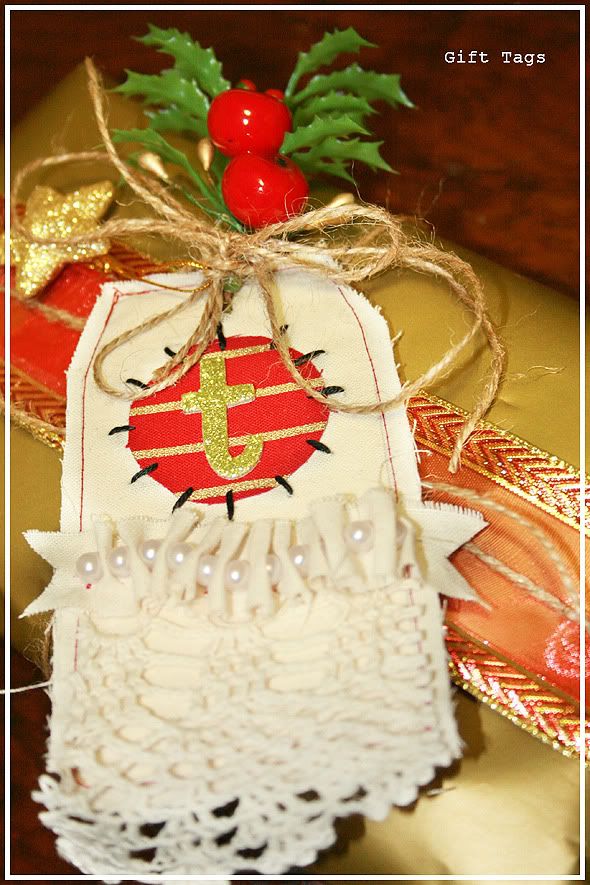
Each Christmas I change the colors I use for wrapping the presents and this year I chose gold, red, green and beige/tan/brown. Wrapping presents would have to be my favorite part of gift giving.


I was inspired by a Christmas tutorial that Kendra McCracken (this woman has such amazing talent) did for Fiskars called Cardinals and Tags Tree so I made similar ones as my gift tags for my family's presents and added American Crafts Thickers for the first letter of their names.


Well, that's my Christmas Gifts for 2009. Hope you are inspired to have a handmade Christmas next year. I know I am!!

Peace, Hope & Joy xo

In: , , , ,

Christmas Gifts - Art Quilt

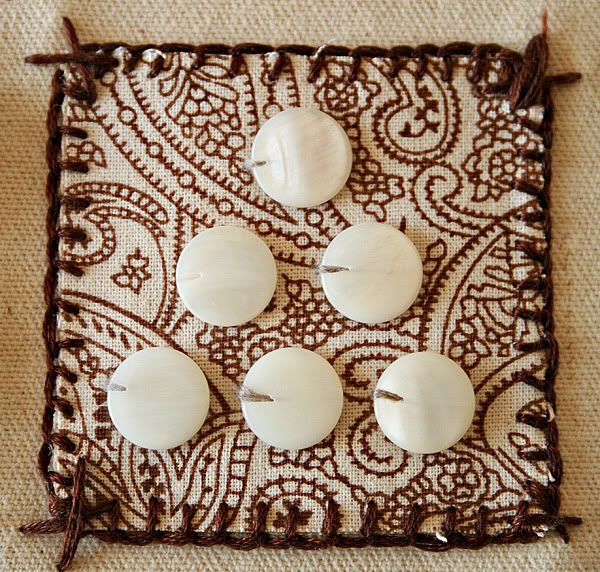
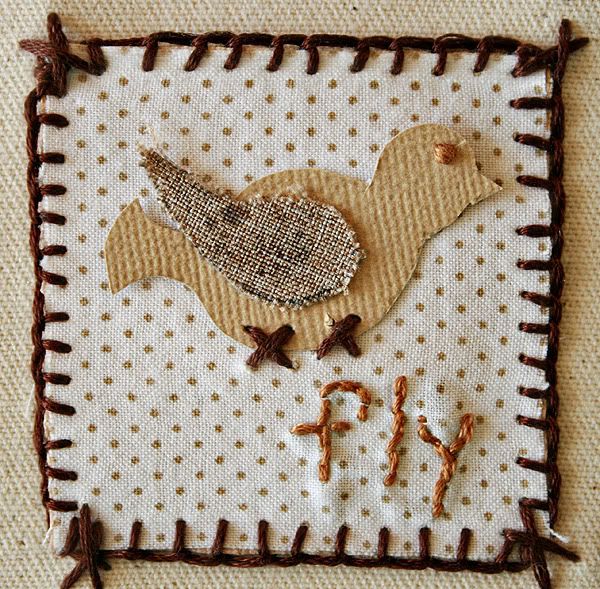
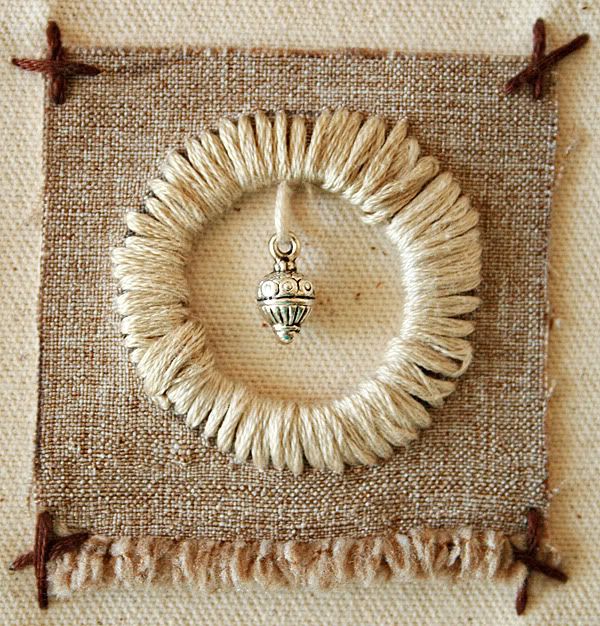
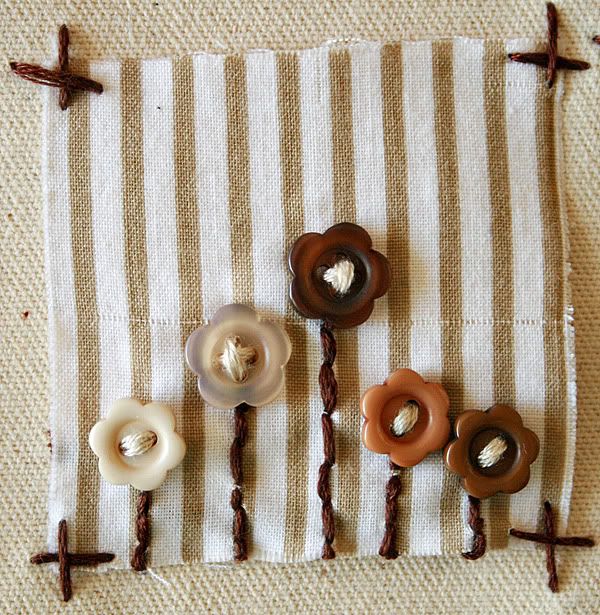
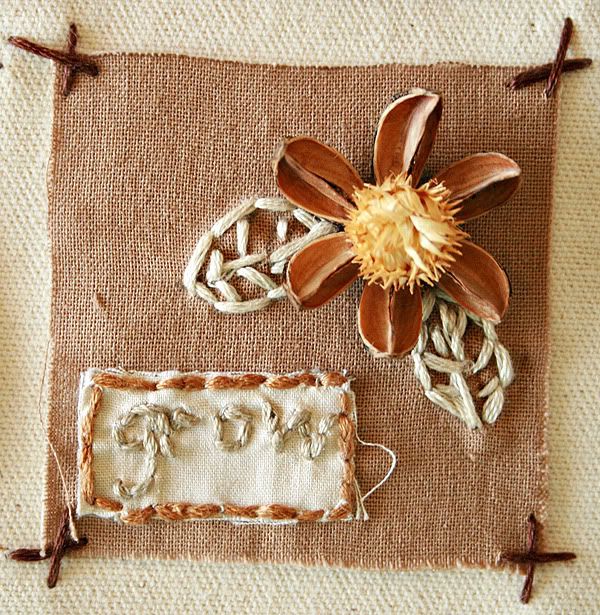
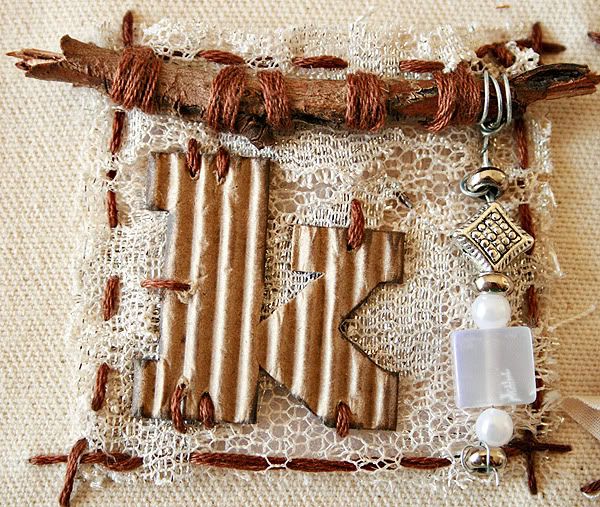
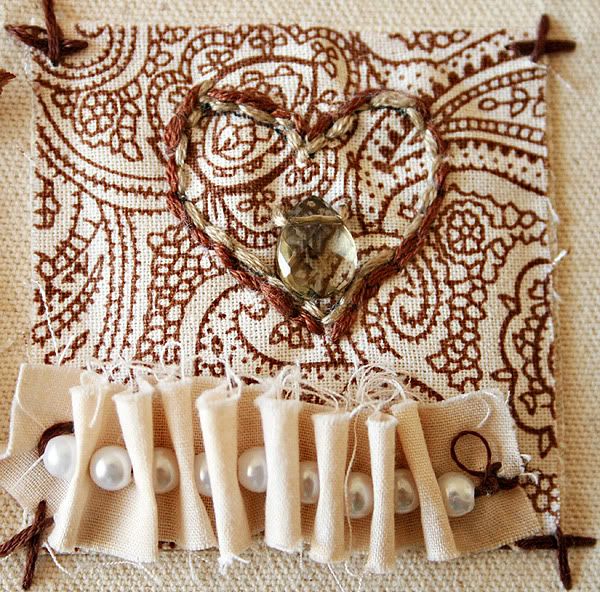
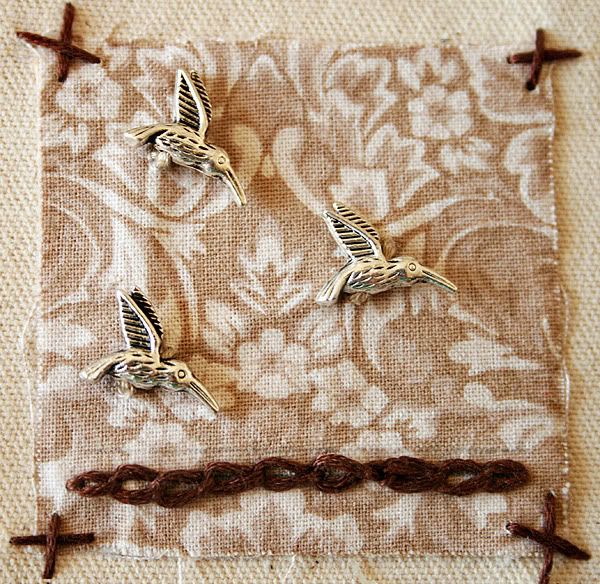
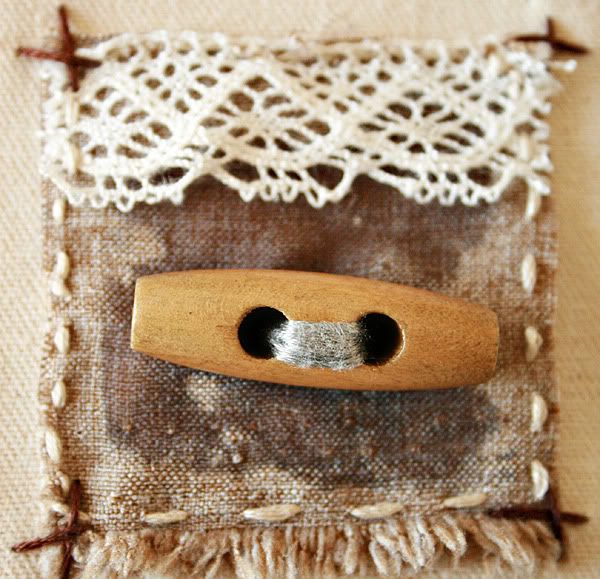
I wanted to make my sister an art quilt similar to this one but with a neutral color theme so she could hang it in any room she wished. I had so much fun with this doing all of the sewing by hand. Time consuming but loads of fun to play around with different stitches. I really can't sew to save my life so I just googled a few videos on different types of stitches and away I went...lol! Here are the materials I chose:
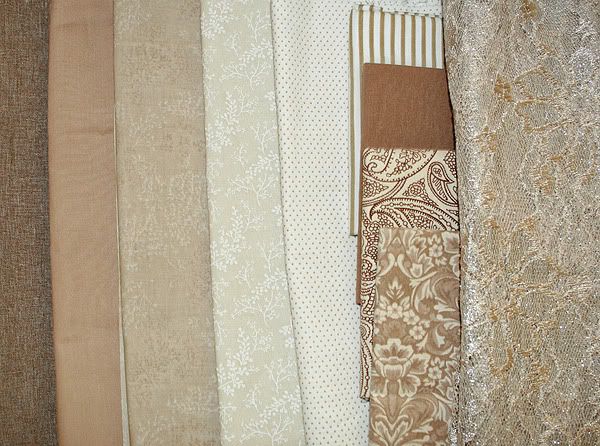


I didn't end up using all of the materials, just  a few patterns I thought went really well together. I have loads left for future ideas, I think I may make a few more of these as I loved the way it turned out. I went with the flow and didn't worry about making any mistakes (one you can see quite plainly......lol) I wanted it to look like I had made it, not purchased it. So some of the stitches aren't straight, I love that it isn't perfect it just adds charm! Here is what the finished quilt looks like:
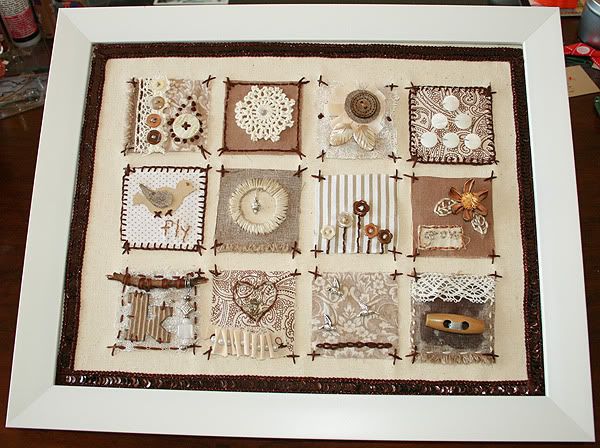


The material squares have all been hand sewn onto canvas and I framed the inside with this gorgeous sequined trim I found in my ribbon stash. The material and the frame are the only items I went out and purchased, the rest of the products I found in my art cupboards. Oh I did go out into the yard to find a twig......lol! Here are some close ups of the individual squares, hope you like them!
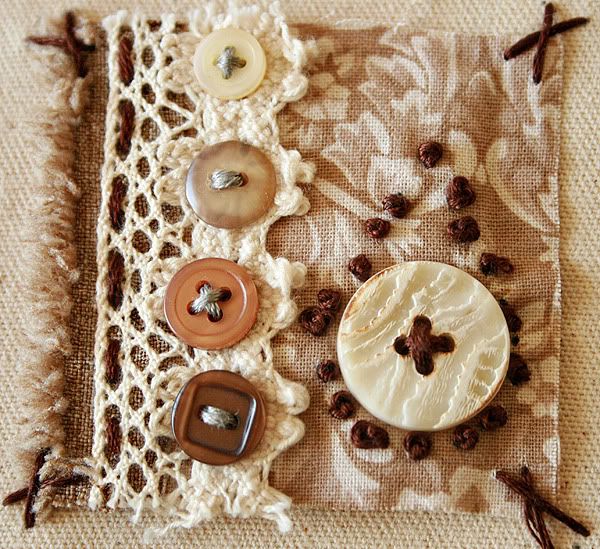
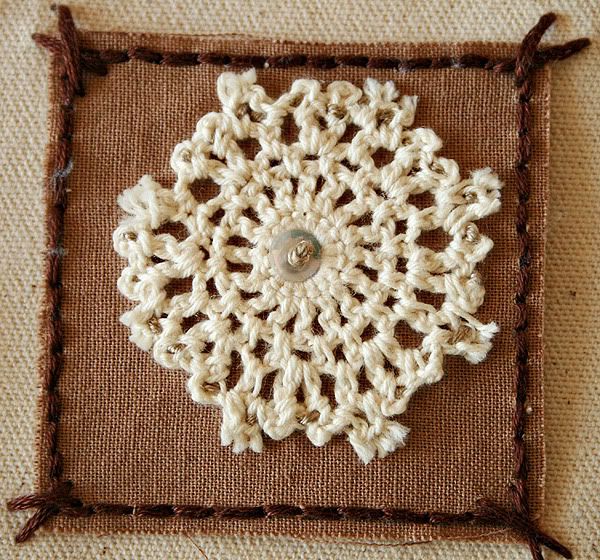
Square 1


Square 2


Square 3


Square 4


Square 5


Square 6


Square 7


Square 8


Square 9


Square 10


Square 11


Square 12


As always, if you have any questions leave me a comment or send me an email. You can find the email link on the right towards the top of my blog. Hope you're having a creative week!

HAPPY HUMP DAY!! xoxo

Christmas Gifts - Mixed Media Canvas Part 7: Final

Continuing on from the last post.... A canvas for my niece Miss C. This is the final part of the Mixed Media Canvas, hope you liked it!
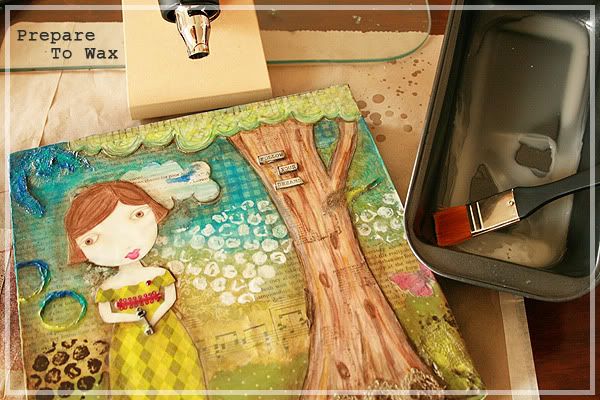
Preparing To Wax: This stage is so much fun, I love playing with wax! There are quite a few types of waxes you can used and many ways to melt it but I just grabbed a packet of white (bleached) beeswax from my local art store. That's all I could find so I made do. You can purchase different types of beeswax and in different forms. I was on the hunt for a block of natural beeswax but I didn't want to wait for it to come via snail mail.

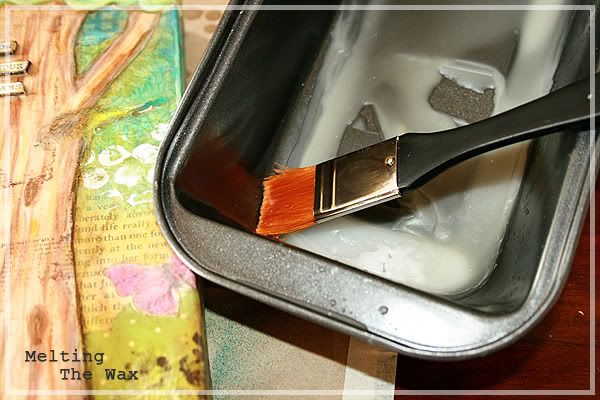
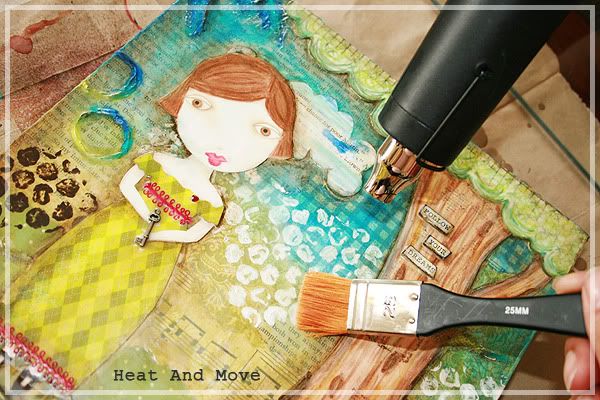
Melting The Wax: I have an old cake tin that I use for melting my wax with my heat gun. Quick and easy! You could also used an old slow cooker to melt your wax or a melting pot. I use a flat wide brush to apply the melted wax, it spreads the wax out better.


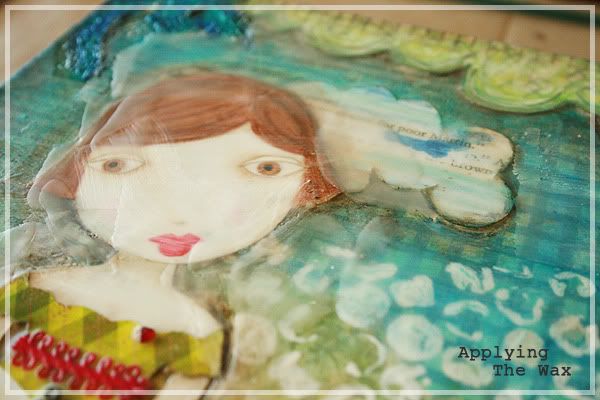
Applying The Wax: Once my wax was melted I applied short strokes over the entire canvas. As it was beginning to dry I could see where more wax was needed and I applied more. Don't worry about any brush marks in the wax as the heat gun will take care of that next.


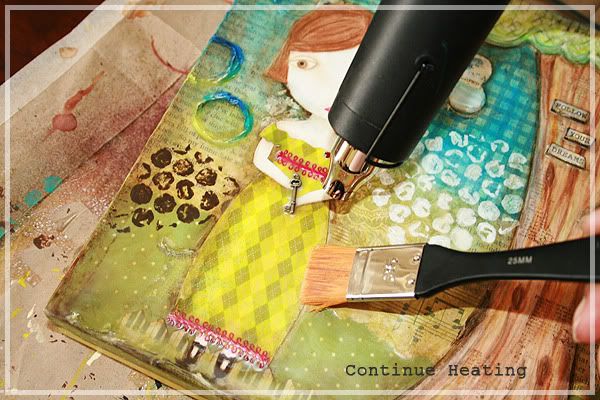
Heat & Move: Once the wax had started to dry, I noticed a few places where the wax had pooled so I took my heat gun and remelted these parts. Using my brush I pushed the puddles around the canvas till I was happy with the thickness of the layer of wax. I had to do this a few times to get an even coat of wax over my canvas. I used the heat gun to slightly melt other sections of the canvas to get rid of the brush strokes that showed up in the wax. No need to completely melt the wax, just a few blows with the heat gun is enough to give the wax a lovely sheen.


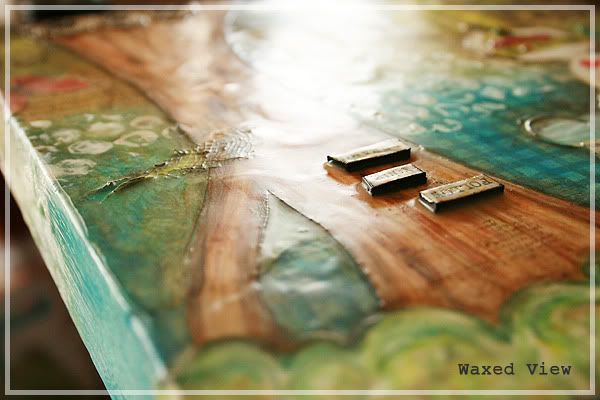
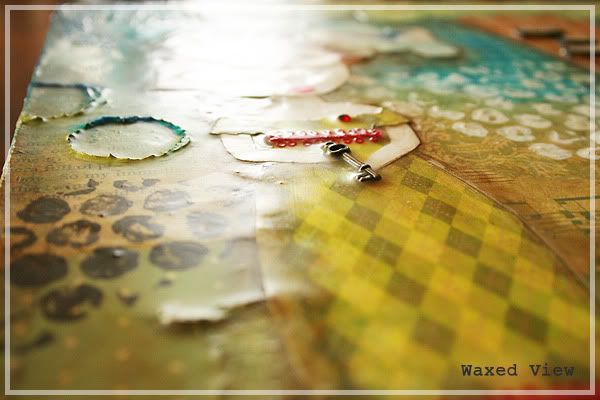
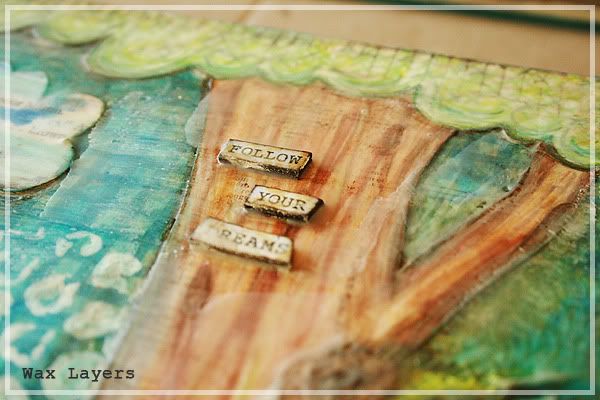
Waxed Views: Sorry about the photos above, it was hard to get a good photo of the finished layer of wax. As you can see the wax has softened the edges and given the canvas a very slight dreamy effect. The layer of wax also seals, protects and holds onto any embellishments (like the key) that are attached to the canvas.

You can take this step further by scratching or cutting into the wax and rubbing ink or a diluted paint mixture into them to add yet another layer of goodness. I have tried this with Tim's Walnut Stain and a little of raw umber acrylic paint mixed with a little glossy gel medium. The results are gorgeous. I chose not to on this canvas as I was happy with the overall result and thought this would be more of what my niece would like. I can always introduce her to some dirty art later on.

Well, that brings me to the end of this tutorial, I do hope you enjoyed it and found some inspiration along the way. Maybe even discovered something new....lol! If you have any questions, please don't hesitate in leaving me a comment or even sending me an email. I would love to hear from you! You can find my email below my profile.
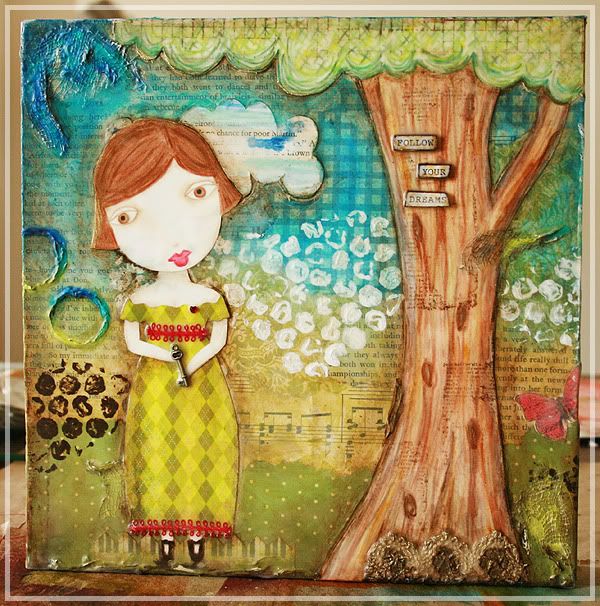
Lastly, here is the finished canvas:


GET CREATIVE, LEARN NEW THINGS!!! xoxo

Christmas Gifts - Mixed Media Canvas Part 6

Continuing on from the last post.... A canvas for my niece Miss C.

For this post I want to concentrate on adding highlights to the canvas and touching up any area's that I thought needed that little bit extra.
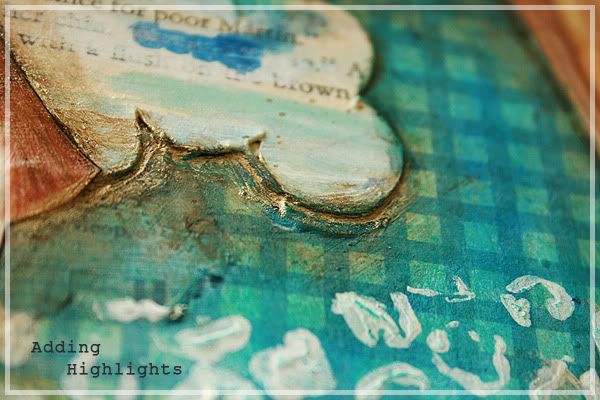
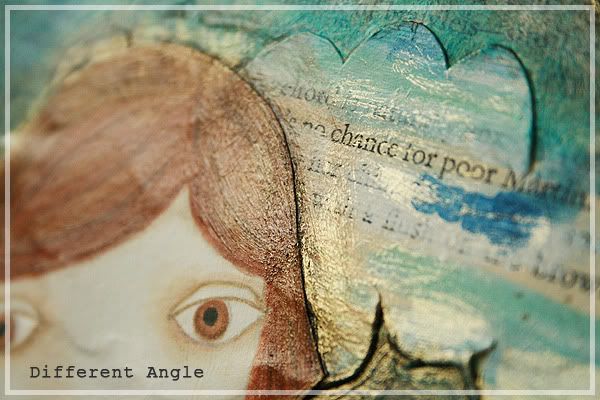
 

I just want to jump in here and talk about the differences in the two photos above.

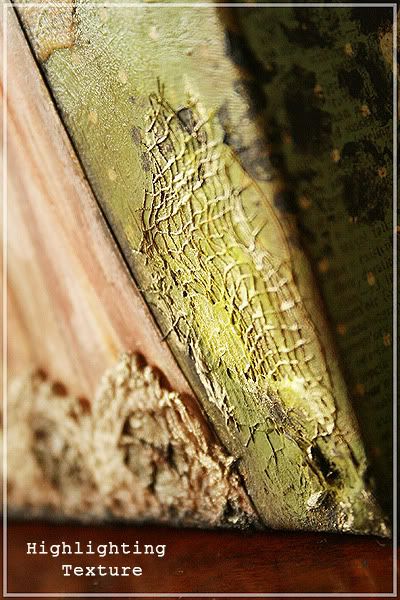
Adding Highlights: There are quite a few products out there such as iridescent paints like Jo Sonja's Iridescent Colors that you can use for highlights on your canvas. I did find another one called FW Pearlescent but I haven't tried this one yet. I chose to use an Iridescent Gel by a French company called Pébéo. You can mix this gel with almost any acrylic color to give it a pearlized or iridescent effect or it can be used alone which is what I did. It goes onto the canvas as an off white color but when it's dry it becomes more iridescent. 
In the top photo you can see that the gel is quite gold and add's real depth in the cracks but compare it to the next photo from a different angle and the appearance changes. I chose to use some brush strokes (you can really notice this in the second photo) to apply the gel in some places as well as using my finger to blend out the edges in other sections of the canvas. 
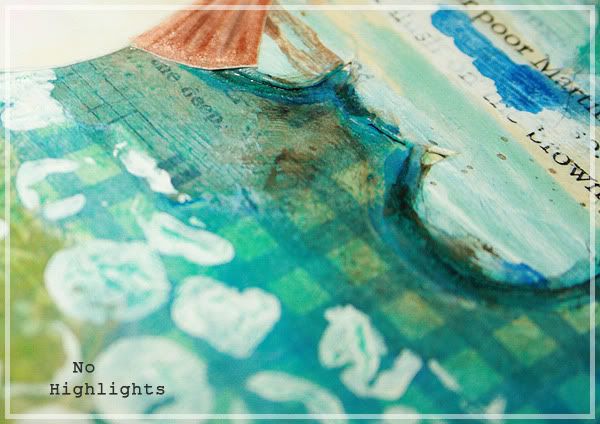
Here is an excellent example of the difference between adding highlights and leaving them out.


Notice how much depth the top photo has compared to the bottom photo which has no highlights. Amazing isn't it!


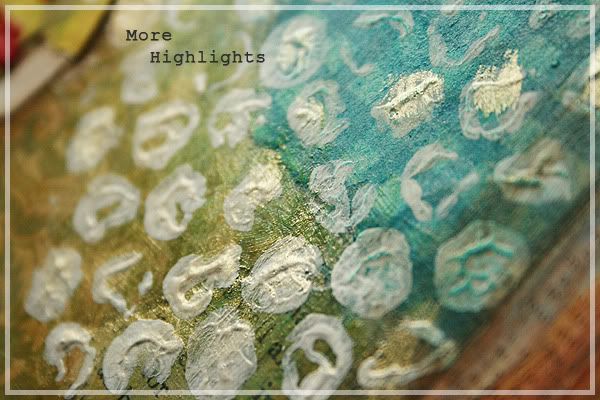
More Highlights: I used my brush and my finger to add more highlights and depth to various parts of my canvas paying close attention to the raised up area's left by using texture paste and gesso. Most of the time I choose to use gesso instead of white paint as most of the time I like to add another layer. With gesso being a primer it's perfect for me to add layers over it and build them up if I want to.

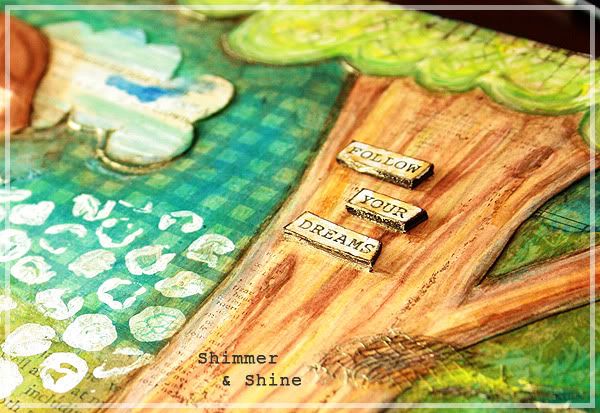
Shimmer & Shine: In the last photo you can just see the area's that have highlight's as they shimmer and shine from different angles. You can see that I have added the iridescent gel to the bottom of the tree's canopy, around the bottom of the cloud, underneath the word bits and a little in the grooves of the gauze.


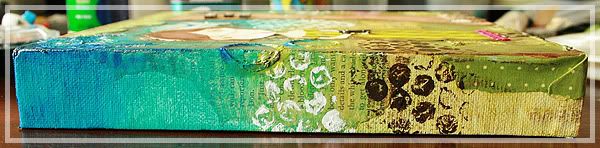
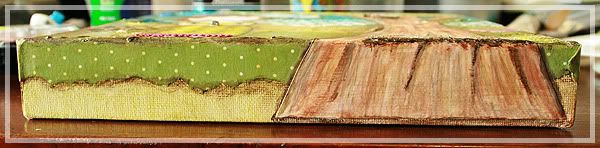
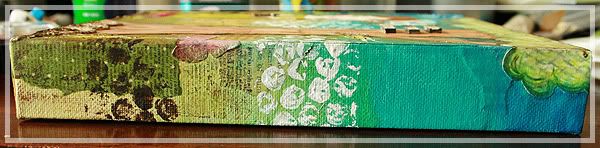
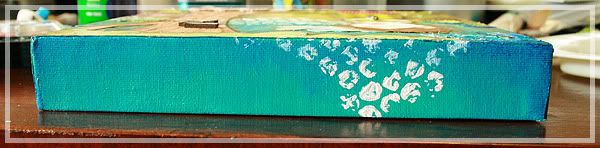
The Sides: I only added light touches to the sides of my canvas such as adding more dark blue slightly watered down and blended it in well with my fingers. A few raw umber accents on the tree trunk and along the edges of the green spotted paper.


Guess what.....we are about to go onto the last stage of how I completed this canvas and this part is loads of fun! See you back here tomorrow for the last part of my mixed media canvas for my sweet niece Miss C.


CREATIVE MESS = ART   xxoo


Blog Widget by LinkWithin