
Posted by
Diana Martin
In:
art,
canvas,
Christmas,
drawing,
hand made,
inspiration,
mixed media,
painting,
petite doll,
tim holtz,
tutorial,
walk through
Christmas Gifts - Mixed Media Canvas Part 7: Final
Continuing on from the last post.... A canvas for my niece Miss C. This is the final part of the Mixed Media Canvas, hope you liked it!
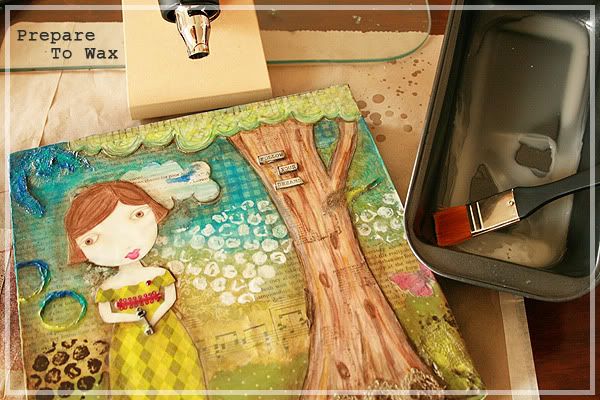
Preparing To Wax: This stage is so much fun, I love playing with wax! There are quite a few types of waxes you can used and many ways to melt it but I just grabbed a packet of white (bleached) beeswax from my local art store. That's all I could find so I made do. You can purchase different types of beeswax and in different forms. I was on the hunt for a block of natural beeswax but I didn't want to wait for it to come via snail mail.
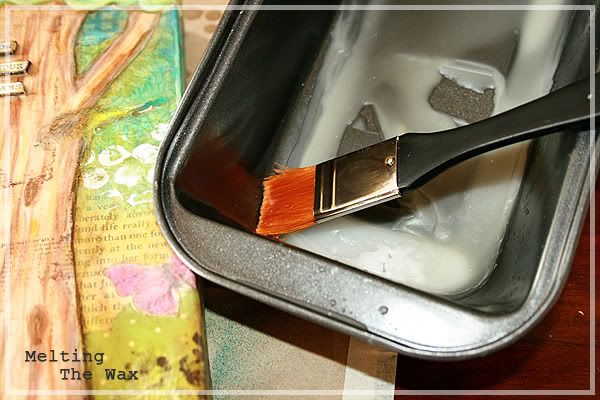
Melting The Wax: I have an old cake tin that I use for melting my wax with my heat gun. Quick and easy! You could also used an old slow cooker to melt your wax or a melting pot™. I use a flat wide brush to apply the melted wax, it spreads the wax out better.
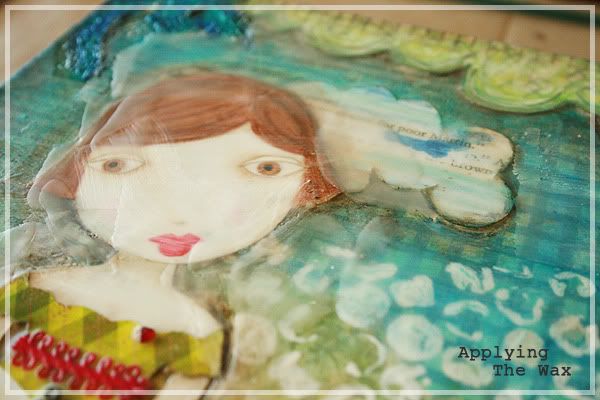
Applying The Wax: Once my wax was melted I applied short strokes over the entire canvas. As it was beginning to dry I could see where more wax was needed and I applied more. Don't worry about any brush marks in the wax as the heat gun will take care of that next.
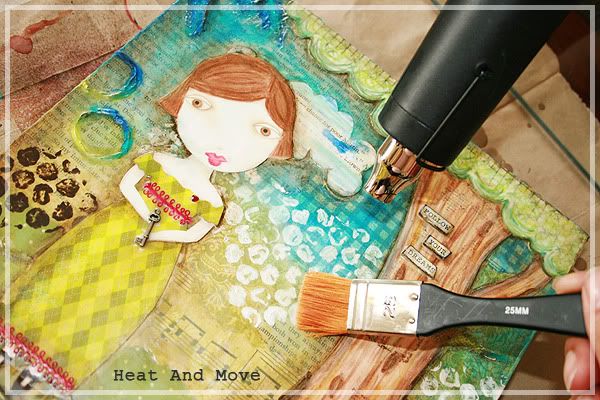
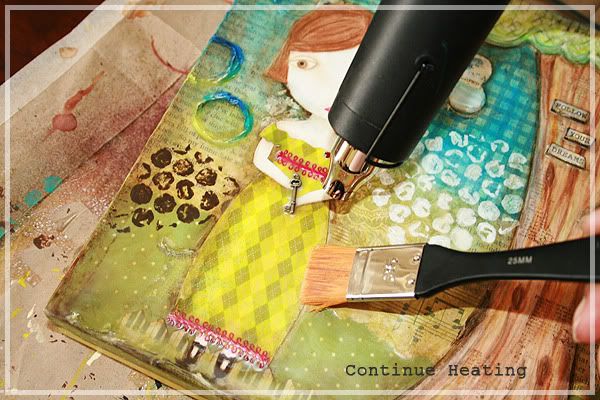
Heat & Move: Once the wax had started to dry, I noticed a few places where the wax had pooled so I took my heat gun and remelted these parts. Using my brush I pushed the puddles around the canvas till I was happy with the thickness of the layer of wax. I had to do this a few times to get an even coat of wax over my canvas. I used the heat gun to slightly melt other sections of the canvas to get rid of the brush strokes that showed up in the wax. No need to completely melt the wax, just a few blows with the heat gun is enough to give the wax a lovely sheen.
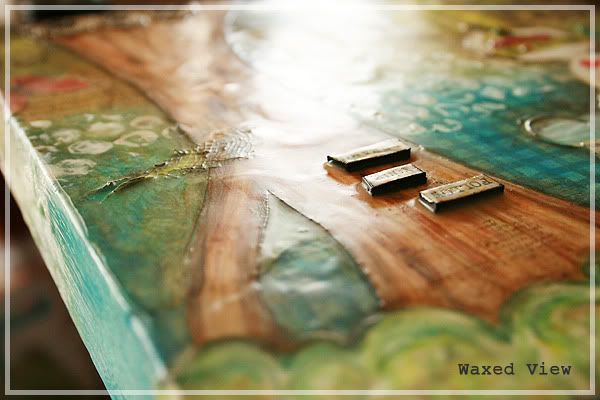
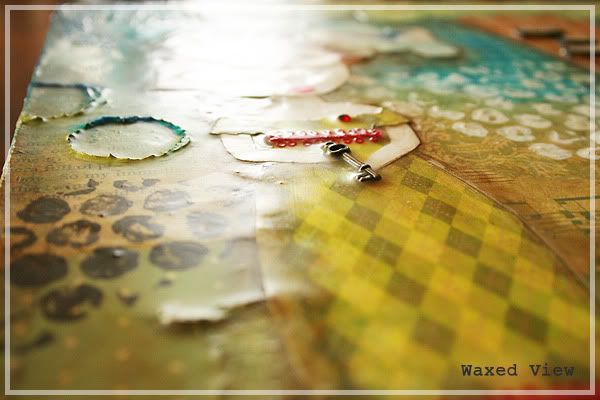
Waxed Views: Sorry about the photos above, it was hard to get a good photo of the finished layer of wax. As you can see the wax has softened the edges and given the canvas a very slight dreamy effect. The layer of wax also seals, protects and holds onto any embellishments (like the key) that are attached to the canvas.
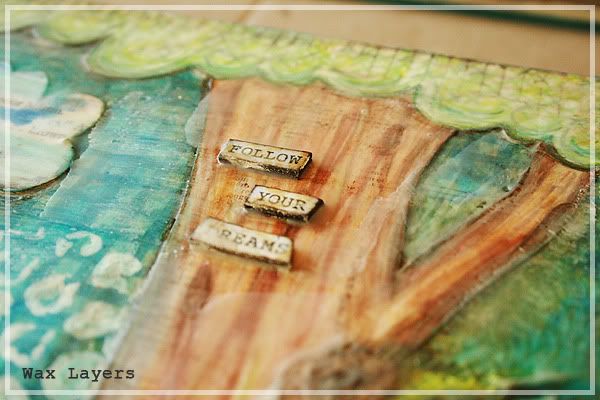
You can take this step further by scratching or cutting into the wax and rubbing ink or a diluted paint mixture into them to add yet another layer of goodness. I have tried this with Tim's Walnut Stain and a little of raw umber acrylic paint mixed with a little glossy gel medium. The results are gorgeous. I chose not to on this canvas as I was happy with the overall result and thought this would be more of what my niece would like. I can always introduce her to some dirty art later on.
Well, that brings me to the end of this tutorial, I do hope you enjoyed it and found some inspiration along the way. Maybe even discovered something new....lol! If you have any questions, please don't hesitate in leaving me a comment or even sending me an email. I would love to hear from you! You can find my email below my profile.
Lastly, here is the finished canvas:
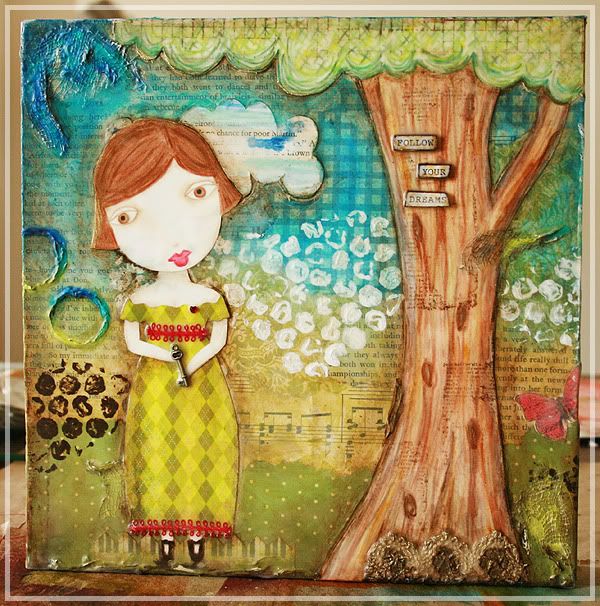
GET CREATIVE, LEARN NEW THINGS!!! xoxo
Subscribe to:
Post Comments (Atom)


.jpg)


6 comments:
What a gorgeous canvas! you are so talented!
I hope you had a great weekend, my friend!
B
you truly inspire me! thank you for the tutorial...you are so talented.
Thanks so much for sharing .. love this canvas .. very inspiring .. and I have some beeswax to play with .. now I need to play with my heatgun!
This is SUPER!! totally love all the details...Beautiful artwork!! *o*
Lovely!
I love how you used wax to create that dreamy effect.
Post a Comment