
Showing posts with label walk through. Show all posts
Showing posts with label walk through. Show all posts
Posted by
Diana Martin
In:
After 5 Designs,
Catherine Designs,
CT,
digital,
inspiration,
layout,
scrapbooking,
walk through
Petit Jardin + A Digital Walk Through
A gorgeous new mini kit Petit Jardin by Catherine Designs from After 5 Designs was released yesterday and I wanted to share a digital page I created using the April Shot as well as using some of Catherine's part of the After 5 Collaboration kit Little Garden:

{♥}
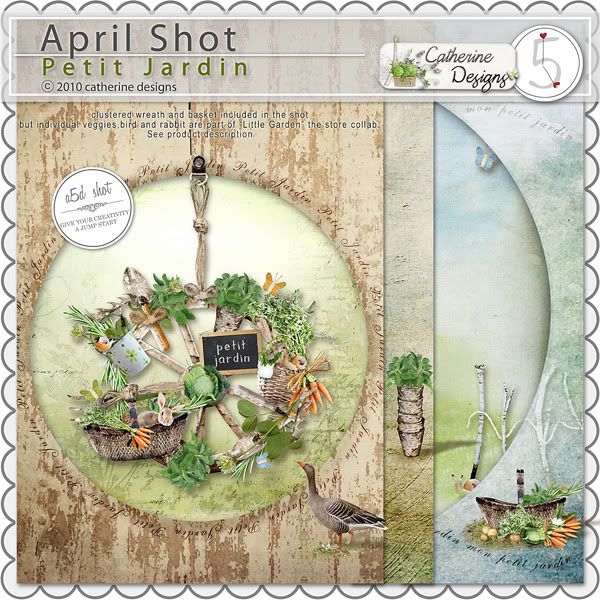
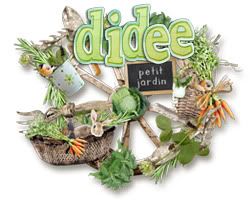
Can you believe that this mini kit {below} is only $2.00!! Here's what is in Catherine's April Shot:
(most elements include one or two shadowed versions)
4 beautifully textured papers ( 12" papers, 300 dpi, .jpg )
1 bird
1 basket
1 herb pot (with one stacked version)
1 bucket
1 duck
3 butterfly (green, blue, orange)
1 wheel ( with a frame version)
1 snail
1 raffia bows
3 garden tools (green, white, orange) 2 'petit jardin' WA
4 beautifully textured papers ( 12" papers, 300 dpi, .jpg )
1 bird
1 basket
1 herb pot (with one stacked version)
1 bucket
1 duck
3 butterfly (green, blue, orange)
1 wheel ( with a frame version)
1 snail
1 raffia bows
3 garden tools (green, white, orange) 2 'petit jardin' WA
several embellished clusters (including some elements from the store collab 'Little Garden')
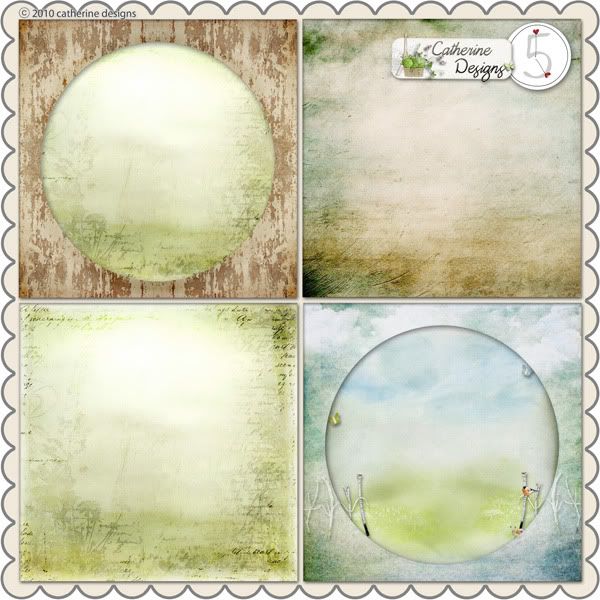
Each month the After 5 Designs store designers create a collaborative kit that coordinates with the designer's individual shots, here is Catherine's part of the collaboration:
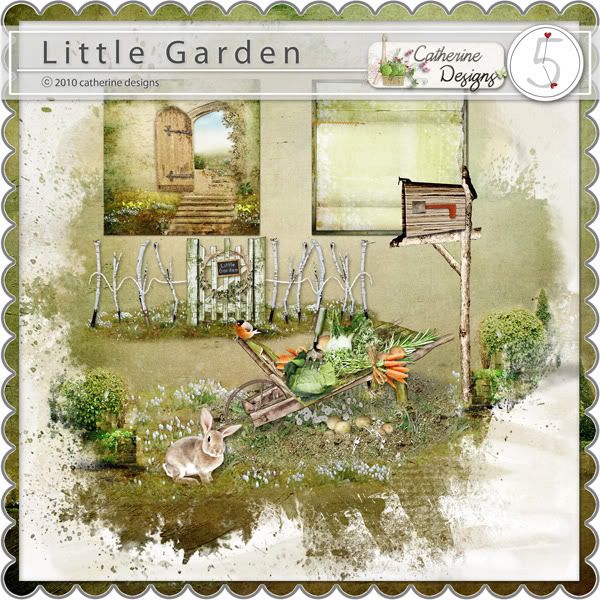
The collaborative kit Little Garden has some of the best digital scrapbooking designer's in the industry including:
The April Guest Bren Boone, Bisontine, Catherine Designs, Cinnamon Designs, Createwings Designs, K Studio, Kimla Designs, Jazzmin Designs and Lily Designs.
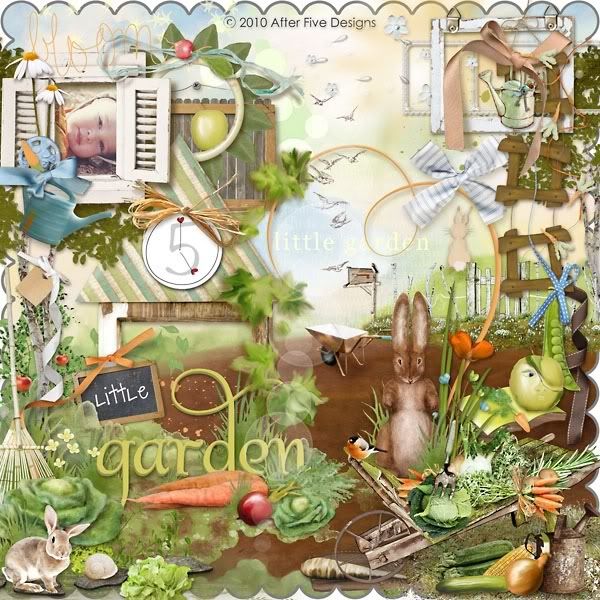
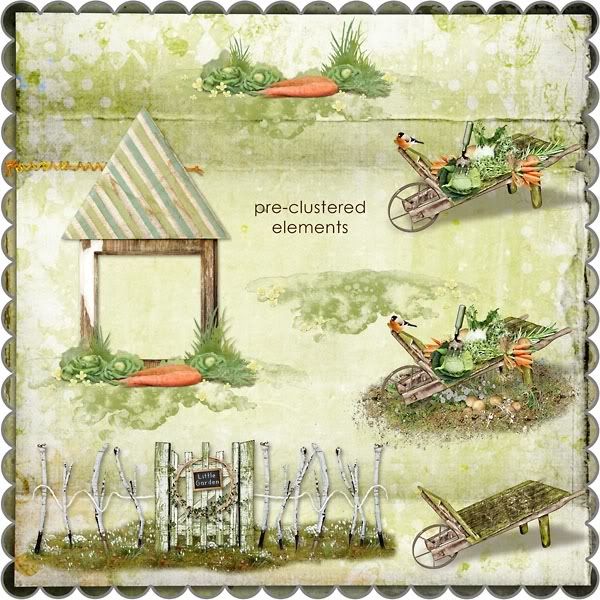
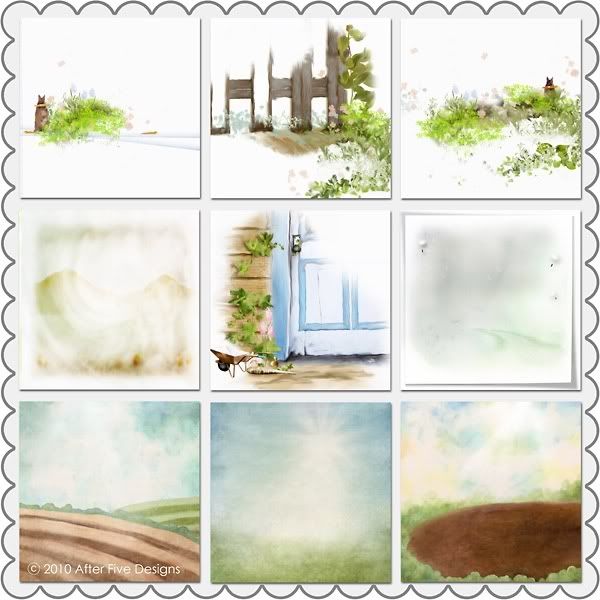
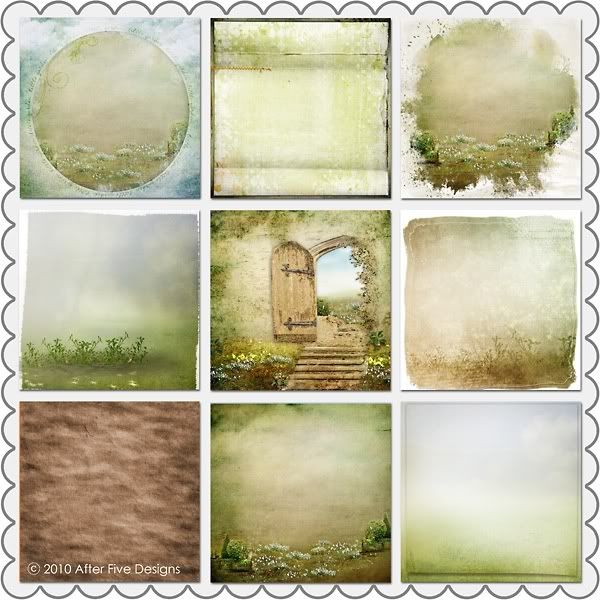
The Little Garden kit is only $5.00 for 5 days, how awesome is that!! All those goodies for 5 bucks! Be sure to check out some of the other pages created using this gorgeous kit. You will find some in the gallery here & here, and on the kit page in the store.
I just love brown's and green's, makes me think of dirt and grass and the smell of freshly cut lawn....lol!
A sweet friend asked if that was my garden on my layout and no it's not. I simply created the scene using all of Catherine's goodies from her shot and her part of the collab.
QUICK NOTE: Catherine has posted a tutorial towards the end of her blog post on how to create a natural looking scene on your digital pages.
Once this was created I flattened the image and ran a photo action from My Four Hens Photography called Eggshell from the Freshly Vintage Action collection. I took this paper:
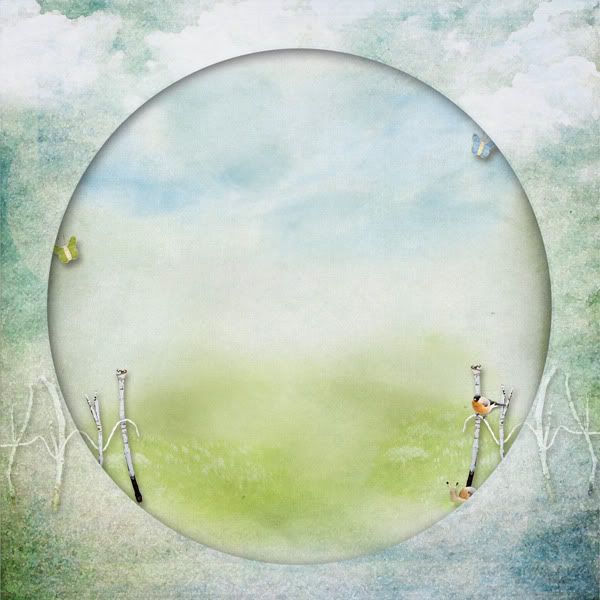
And used the Polygonal Lasso Tool in Photoshop to cut the center circle from the page and promoted it to it's own layer. I used this circle as a mask and clipped my layout to this circle.
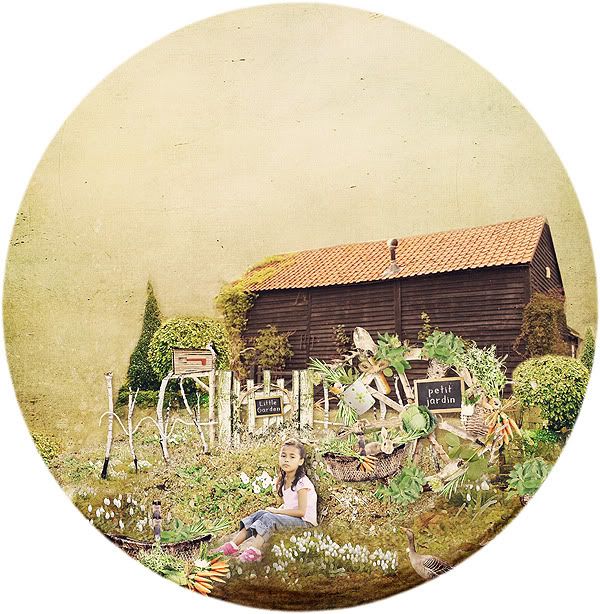
I changed the layer to Multiply in the layer palette so that the inner shadow of the original paper would show through:
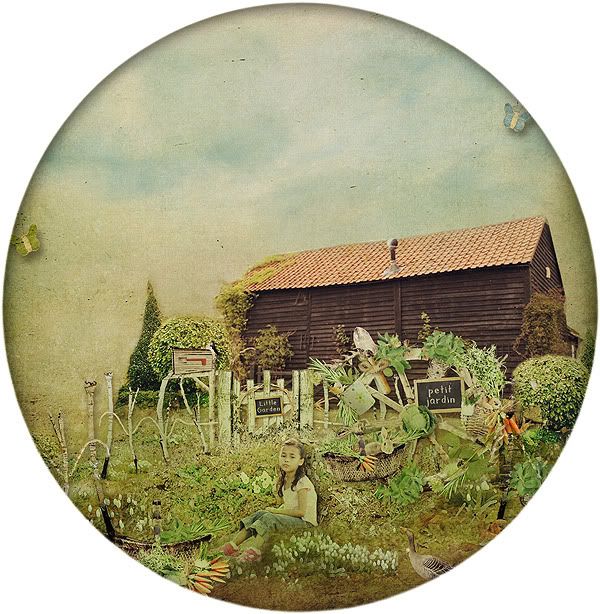
The scene is looking a little washed out so I duplicated the layer and changed this layer to Soft Light to brighten it up a little:
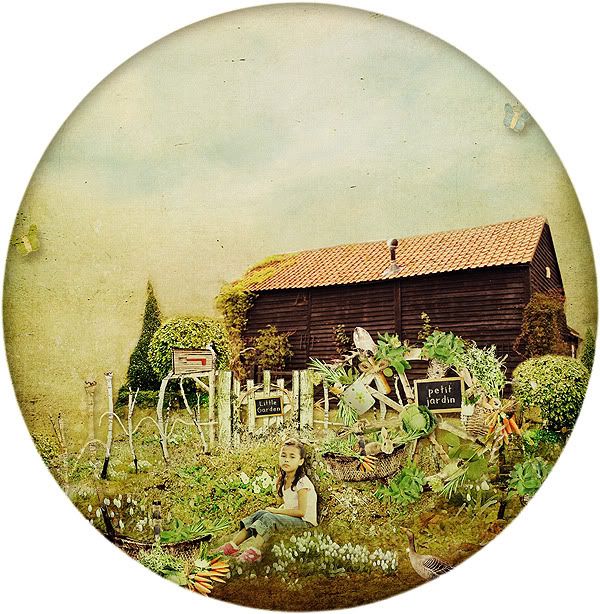
Now we are left with this:
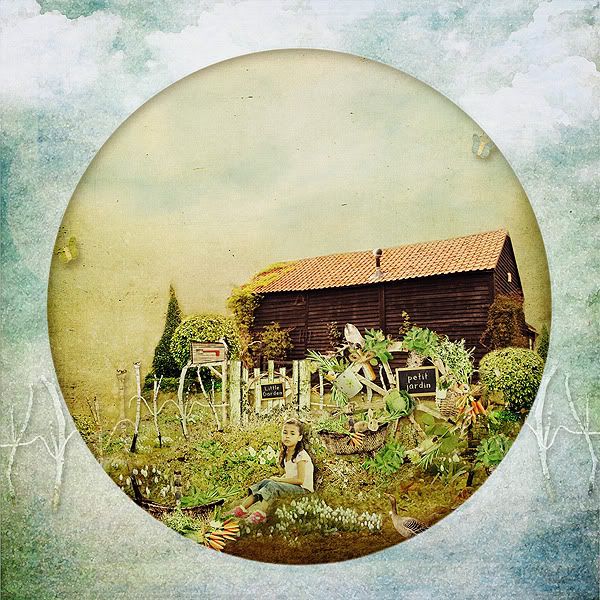
I really want this page to POP so I changed the outside paper to this:
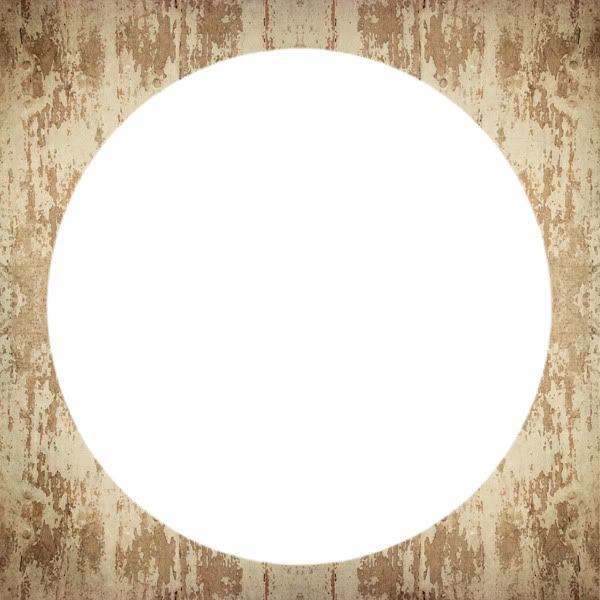
I simply clipped the paper over the outer side of the circle cut out, duplicated the layer and changed this layer to Multiply:
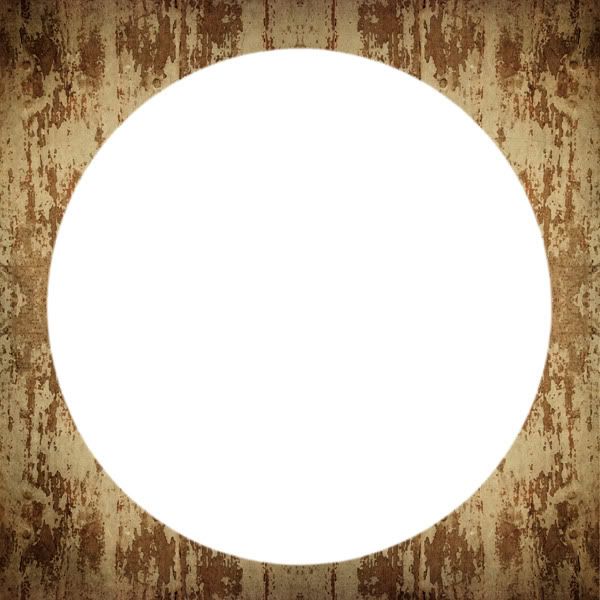
Now once I turn all the layers back on, added a few more embellishments and a cute title using Catherine's Alpha called Aqua-Lime Alpha {which coordinates with one of Catherine's gorgeous kit called Guy Things} Here is the end result:
{♥}
Hope you enjoyed the little walk through on how I created this page. As always, any questions, shoot me an email or leave me a comment....I love comments......lol!! Wishing everyone a very Happy Easter! xo
Posted by
Diana Martin
In:
art,
canvas,
Christmas,
drawing,
hand made,
inspiration,
mixed media,
painting,
petite doll,
tim holtz,
tutorial,
walk through
Christmas Gifts - Mixed Media Canvas Part 7: Final
Continuing on from the last post.... A canvas for my niece Miss C. This is the final part of the Mixed Media Canvas, hope you liked it!
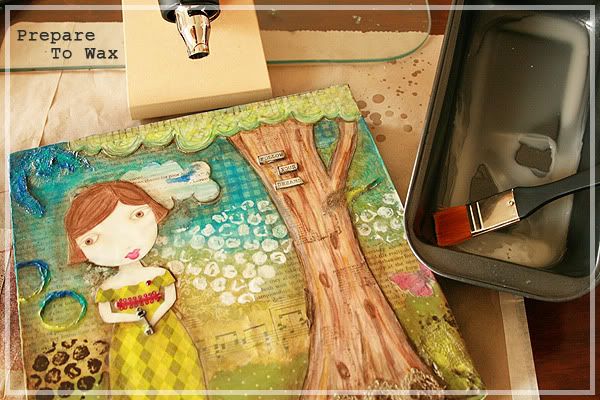
Preparing To Wax: This stage is so much fun, I love playing with wax! There are quite a few types of waxes you can used and many ways to melt it but I just grabbed a packet of white (bleached) beeswax from my local art store. That's all I could find so I made do. You can purchase different types of beeswax and in different forms. I was on the hunt for a block of natural beeswax but I didn't want to wait for it to come via snail mail.
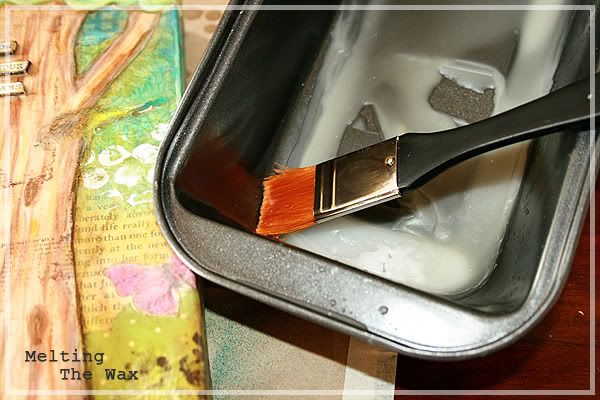
Melting The Wax: I have an old cake tin that I use for melting my wax with my heat gun. Quick and easy! You could also used an old slow cooker to melt your wax or a melting pot™. I use a flat wide brush to apply the melted wax, it spreads the wax out better.
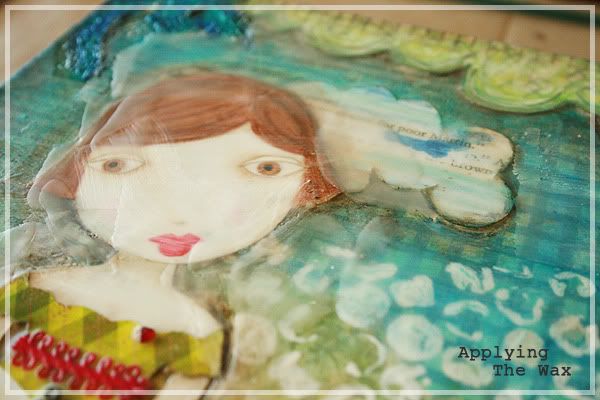
Applying The Wax: Once my wax was melted I applied short strokes over the entire canvas. As it was beginning to dry I could see where more wax was needed and I applied more. Don't worry about any brush marks in the wax as the heat gun will take care of that next.
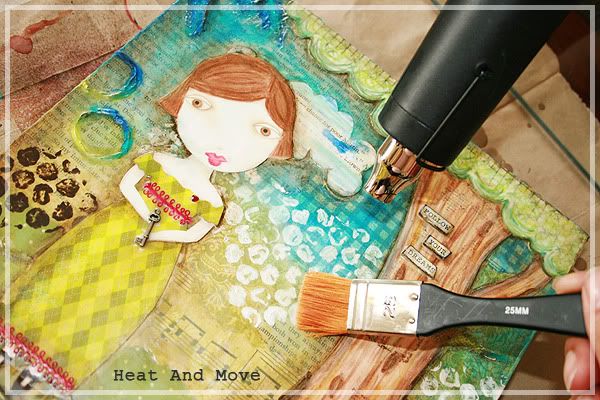
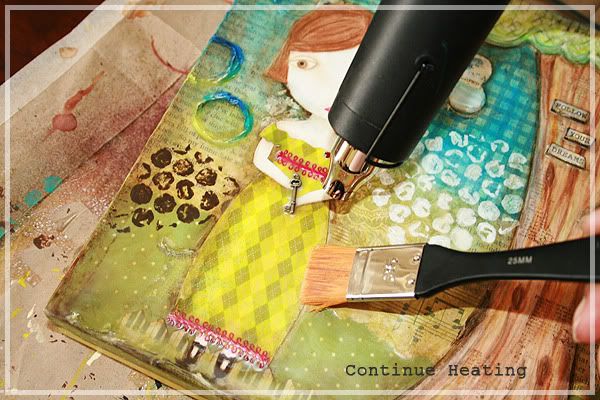
Heat & Move: Once the wax had started to dry, I noticed a few places where the wax had pooled so I took my heat gun and remelted these parts. Using my brush I pushed the puddles around the canvas till I was happy with the thickness of the layer of wax. I had to do this a few times to get an even coat of wax over my canvas. I used the heat gun to slightly melt other sections of the canvas to get rid of the brush strokes that showed up in the wax. No need to completely melt the wax, just a few blows with the heat gun is enough to give the wax a lovely sheen.
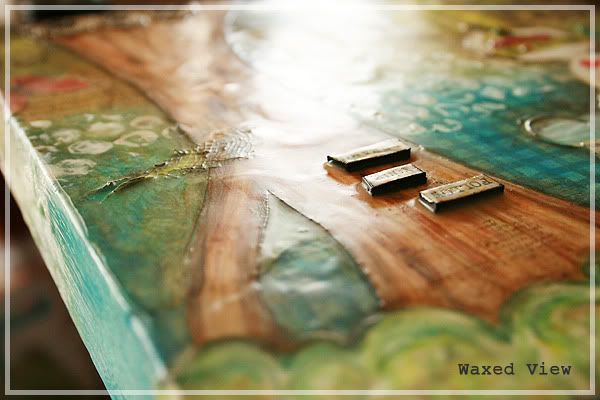
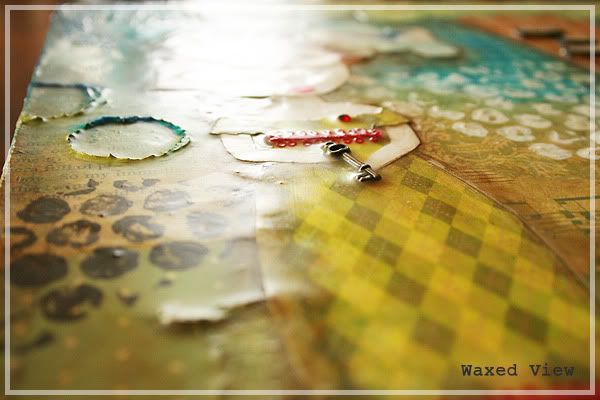
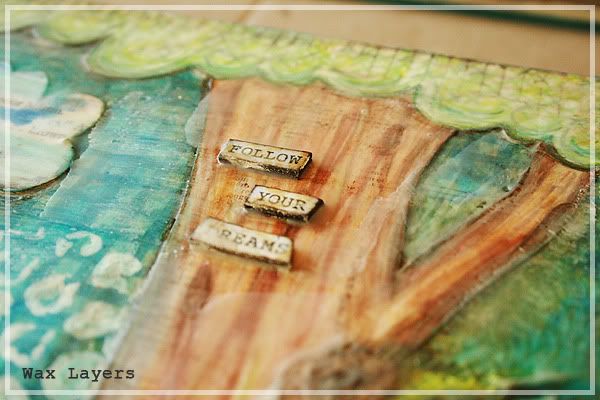
Waxed Views: Sorry about the photos above, it was hard to get a good photo of the finished layer of wax. As you can see the wax has softened the edges and given the canvas a very slight dreamy effect. The layer of wax also seals, protects and holds onto any embellishments (like the key) that are attached to the canvas.
You can take this step further by scratching or cutting into the wax and rubbing ink or a diluted paint mixture into them to add yet another layer of goodness. I have tried this with Tim's Walnut Stain and a little of raw umber acrylic paint mixed with a little glossy gel medium. The results are gorgeous. I chose not to on this canvas as I was happy with the overall result and thought this would be more of what my niece would like. I can always introduce her to some dirty art later on.
Well, that brings me to the end of this tutorial, I do hope you enjoyed it and found some inspiration along the way. Maybe even discovered something new....lol! If you have any questions, please don't hesitate in leaving me a comment or even sending me an email. I would love to hear from you! You can find my email below my profile.
Lastly, here is the finished canvas:
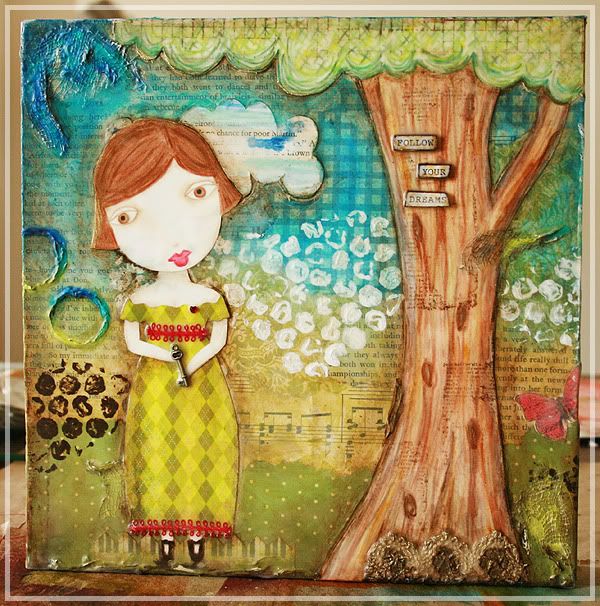
GET CREATIVE, LEARN NEW THINGS!!! xoxo
Posted by
Diana Martin
In:
art,
canvas,
Christmas,
drawing,
hand made,
inspiration,
mixed media,
painting,
petite doll,
tutorial,
walk through
Christmas Gifts - Mixed Media Canvas Part 6
Continuing on from the last post.... A canvas for my niece Miss C.
For this post I want to concentrate on adding highlights to the canvas and touching up any area's that I thought needed that little bit extra.
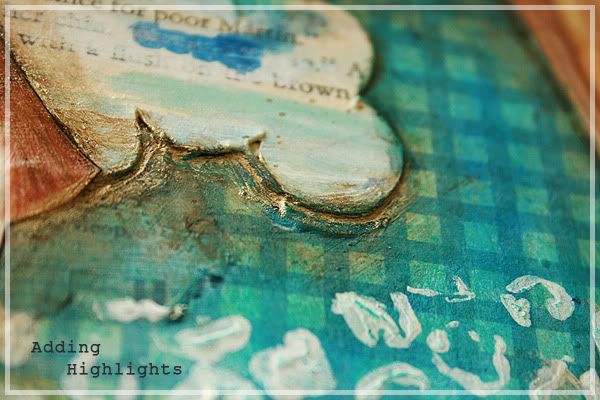
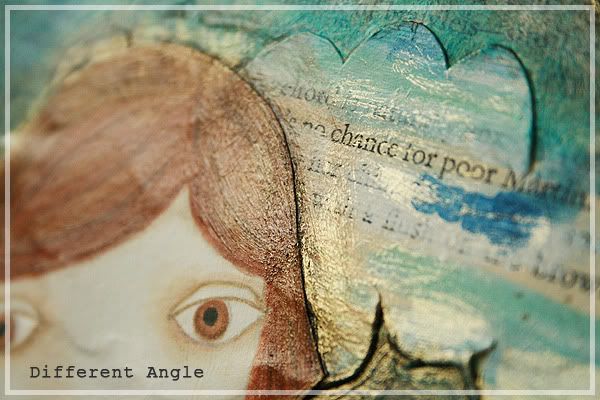
I just want to jump in here and talk about the differences in the two photos above.
Adding Highlights: There are quite a few products out there such as iridescent paints like Jo Sonja's Iridescent Colors that you can use for highlights on your canvas. I did find another one called FW Pearlescent but I haven't tried this one yet. I chose to use an Iridescent Gel by a French company called Pébéo. You can mix this gel with almost any acrylic color to give it a pearlized or iridescent effect or it can be used alone which is what I did. It goes onto the canvas as an off white color but when it's dry it becomes more iridescent.
In the top photo you can see that the gel is quite gold and add's real depth in the cracks but compare it to the next photo from a different angle and the appearance changes. I chose to use some brush strokes (you can really notice this in the second photo) to apply the gel in some places as well as using my finger to blend out the edges in other sections of the canvas.
Here is an excellent example of the difference between adding highlights and leaving them out.
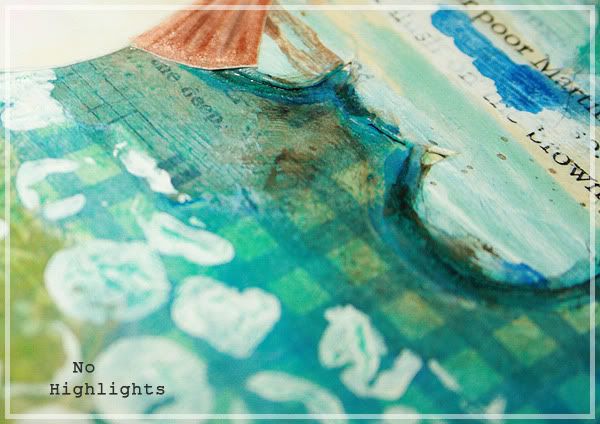
Notice how much depth the top photo has compared to the bottom photo which has no highlights. Amazing isn't it!
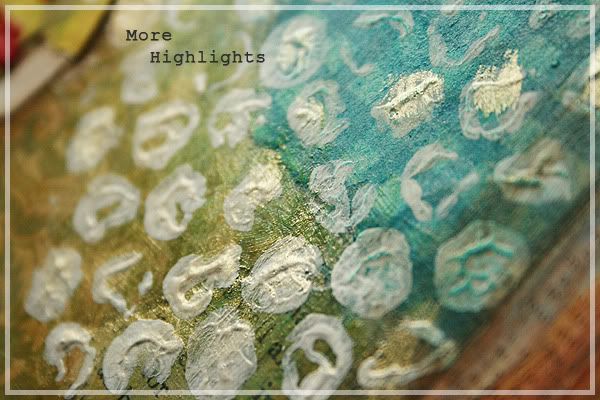
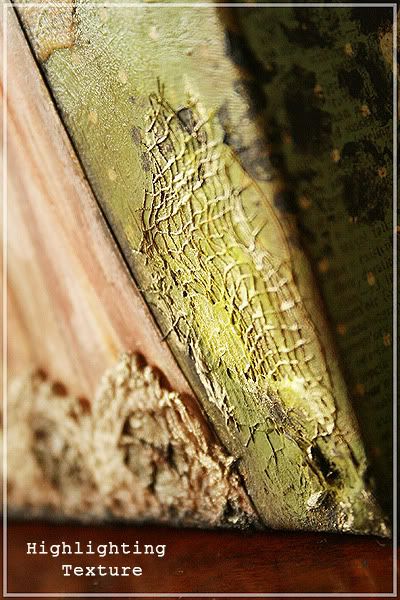
More Highlights: I used my brush and my finger to add more highlights and depth to various parts of my canvas paying close attention to the raised up area's left by using texture paste and gesso. Most of the time I choose to use gesso instead of white paint as most of the time I like to add another layer. With gesso being a primer it's perfect for me to add layers over it and build them up if I want to.
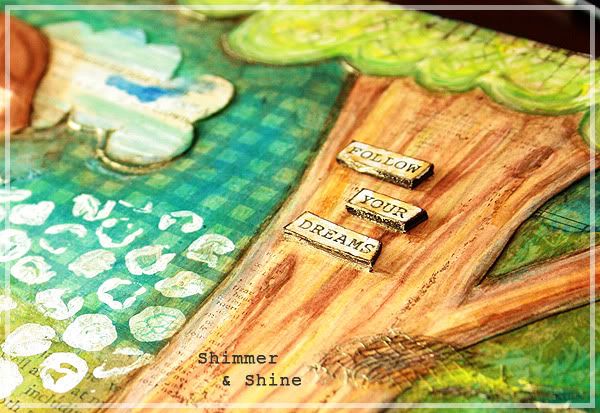
Shimmer & Shine: In the last photo you can just see the area's that have highlight's as they shimmer and shine from different angles. You can see that I have added the iridescent gel to the bottom of the tree's canopy, around the bottom of the cloud, underneath the word bits and a little in the grooves of the gauze.
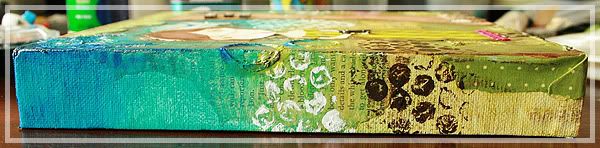
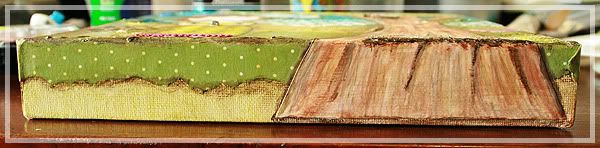
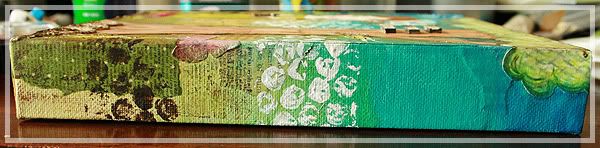
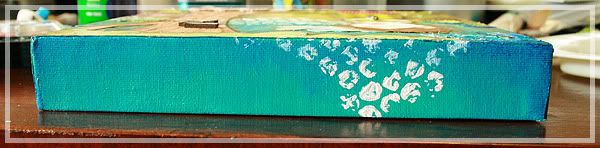
The Sides: I only added light touches to the sides of my canvas such as adding more dark blue slightly watered down and blended it in well with my fingers. A few raw umber accents on the tree trunk and along the edges of the green spotted paper.
Guess what.....we are about to go onto the last stage of how I completed this canvas and this part is loads of fun! See you back here tomorrow for the last part of my mixed media canvas for my sweet niece Miss C.
CREATIVE MESS = ART xxoo
Posted by
Diana Martin
In:
art,
canvas,
Christmas,
drawing,
hand made,
inspiration,
mixed media,
painting,
petite doll,
tim holtz,
tutorial,
walk through
Christmas Gifts - Mixed Media Canvas Part 5
Continuing on from the last post.... A canvas for my niece Miss C.
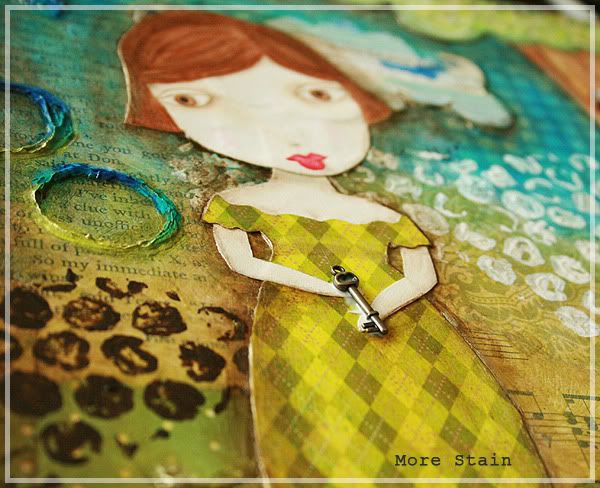
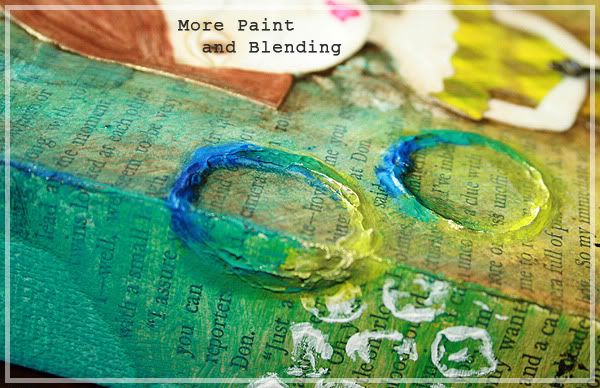

Stain Around the Doll: Now that the canvas is completely dry after adding the doll, I made up another mixture of a small amount of raw umber and loads of gel medium and added a stain around the doll making sure I didn't get any on the dolls face.
More Painting and Blending: Seeing that the canvas dried for a full 24 hours, I noticed some area's needed a little more definition so I added some more undiluted acrylic paint to the texture paste circles I created in a previous step (part 3). Remember to blend your colors so they flow seamlessly from one color to the next. I added some of the stain I used for around the doll, into the inside of the circles using my finger to blend it in to create even more shadow and depth. Notice in the above photo how the top of the circles look much higher than the rest of the circle.
Inspirational Words: I wanted to make sure that the words or phrase I used tied the whole canvas together and I definitely wanted something that a teenager would/could relate to hence the words 'FOLLOW YOUR DREAMS'. I adhered the printed words onto a thick layer of chipboard, inked the edges with my favorite color ink Pinecone then adhered them to another layer of chipboard and inked again. I added some distress ink Antique Linen over the top of the words to dull the white of the photo paper the words were printed on.
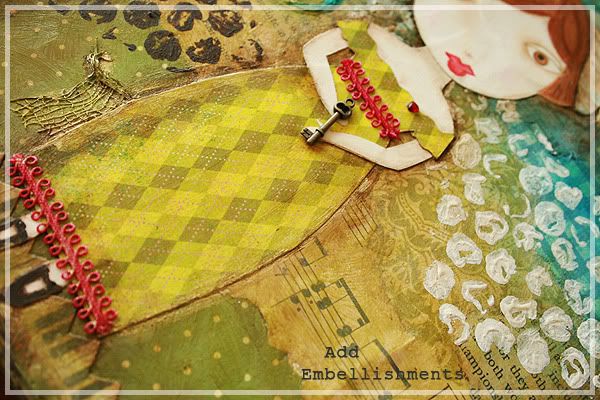
Add Embellishments: Time to break out some of my favorite scrapbooking supplies. I always find somewhere to add a little 7 Gypsies key. I HEART keys! A key says to me "You hold the key to unlock...." (insert so many different words and phrases that the key can represent to you). I also added some ribbon trim to the dress to make her look even prettier and a tiny little jeweled heart on her chest. I really had an urge to add a bookplate, another one of my favorite embellishments but as they say 'less is more' even though that only works some of the time in my opinion...lol! So I left the bookplate off, it really had no place on this canvas, maybe if I had used a single word I could have used a bookplate. I am happy with the result any way.
We are finally nearing the end now and I am starting to get excited to see the finished product. More photos and guides tomorrow.
CREATE OUT OF YOUR COMFORT ZONE... You won't regret it! xxoo
Posted by
Diana Martin
In:
art,
canvas,
Christmas,
drawing,
hand made,
inspiration,
mixed media,
painting,
petite doll,
tutorial,
walk through
Christmas Gifts - Mixed Media Canvas Part 4
Continuing on from the last post.... A canvas for my niece Miss C.
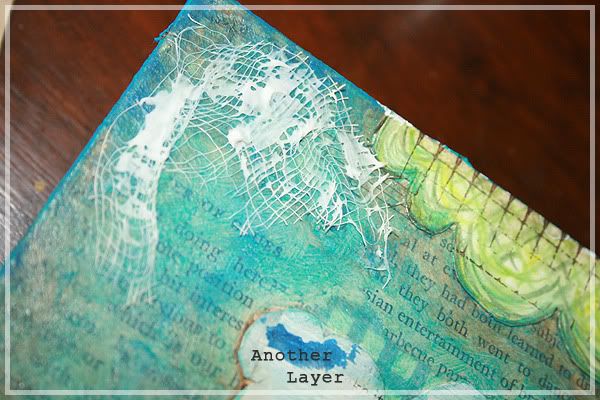
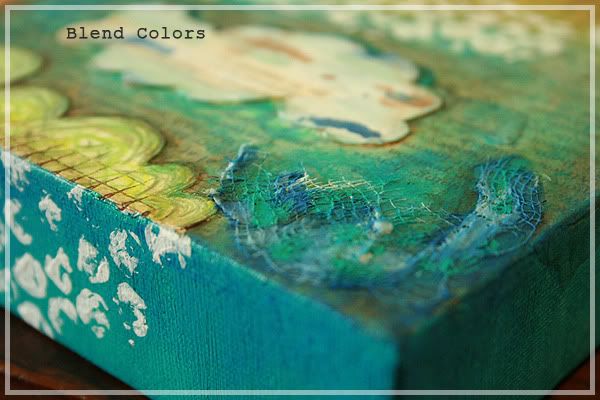
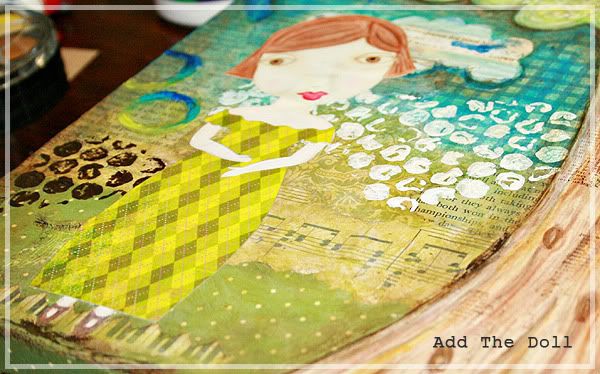
Another Layer: Building up layers on your canvas can really give it dimension so on with another layer. This time I have used gauze to build up some layers using matte medium to adhere it and some texture paste over the top.
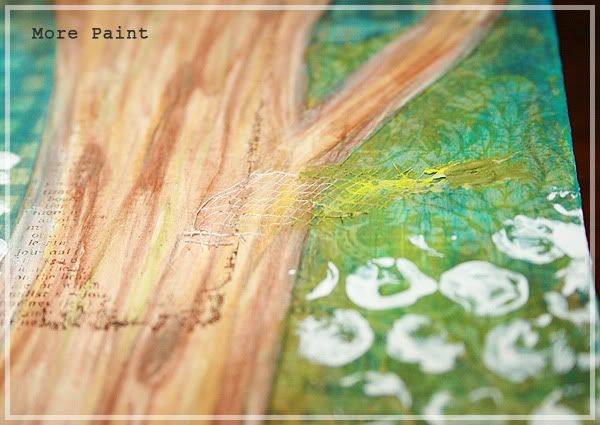
More Paint: I have added some paint to the texture paste and gauze with acrylic paints. No need to add any gel medium as we want thick full color now. I added small amounts of paint to the edge of the tree, the tree's knots, under her feet, a little under the tree top and some around the bottom of the cloud to emphasize the depth and shadow.
Blend The Colors: I made sure that I continued to blend the undiluted paints. It helped if I just dipped the tip of my brush into gel medium and mixed it roughly in between the colors I wanted to blend. If the paint is starting to get transparent, use a tiny amount of water to blend the colors.
Add The Doll: It's finally time to add my petite doll. Making sure my canvas was dry in the area I wanted to place her, I used lots of matte medium to adhere her to the page. I made sure all her sides were stuck down well by adding a good layer of matte medium over the doll as well making sure I didn't go over her face too many times. I left the canvas to dry for a complete 24 hours before I started on it again.
Quite a long process but it is so worth it in the end. This isn't my first petite doll/mixed media canvas and I have learned by my mistakes. On my very first canvas in one of Suzi's classes, I totally rushed the beginning stage of staining with the raw umber mixture and the result was horrible. Well the girl's and Mum liked it but I don't like it. The doll had such a pretty little face too. I just added another notch on my learning curve.
Back tomorrow with another part of the process!
Play Nice xxoo
Posted by
Diana Martin
In:
art,
canvas,
Christmas,
drawing,
hand made,
inspiration,
mixed media,
painting,
petite doll,
tutorial,
walk through
Christmas Gifts - Mixed Media Canvas Part 3
Continuing on from the last post.... A canvas for my niece Miss C.
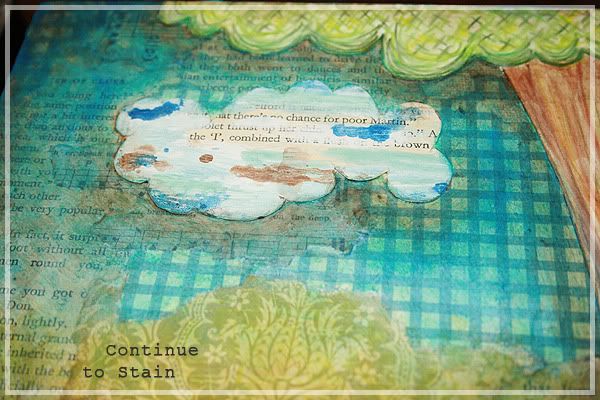
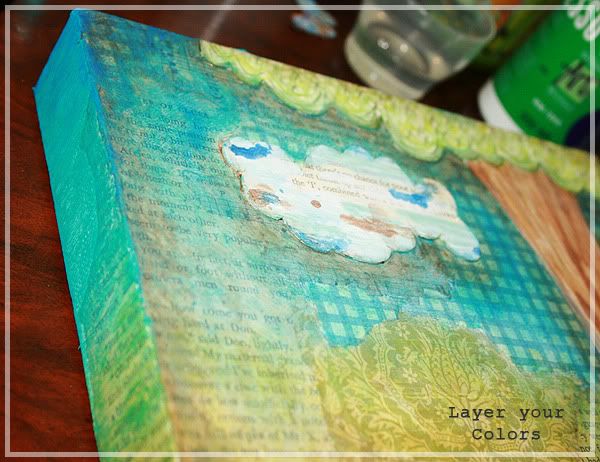
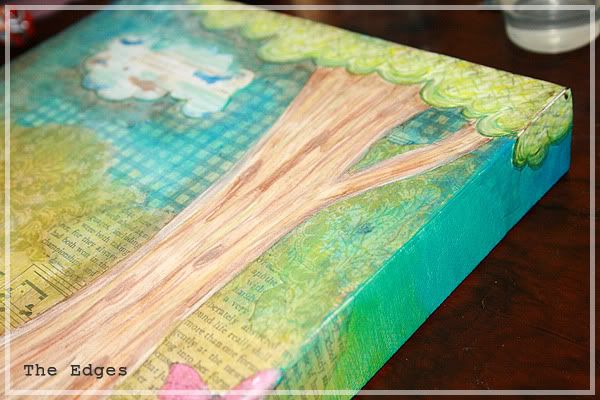
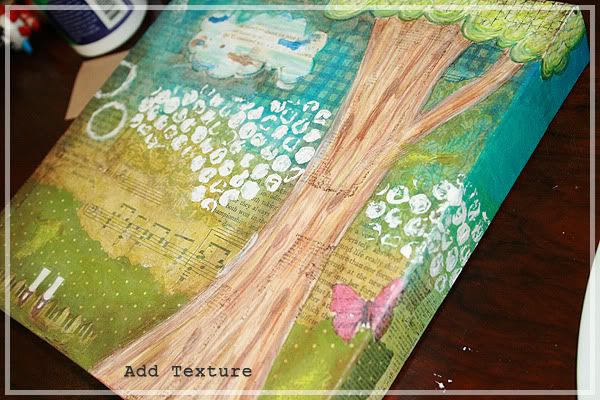
Continue to Stain: After a few layers of staining, let the canvas dry overnight to see if you need any more stain or shadowing. You can always add extra gel medium to lighten the stain. I also added some to the trunk of the tree with a slightly darker mixture to add definition.
Add Other Colors: Time to play with some more colors such as shades of blue and green. I made a mixture of aqua using Jo Sonja's Aqua with loads of gel medium and slowly added the color to the upper area's of the canvas. I used a shade of green called Olive and mixed the gel medium with it also and applied it to the lower half of the canvas. I applied a much darker shade of blue over the aqua at the top of the canvas adding a little water on my finger tip to help blend it in.
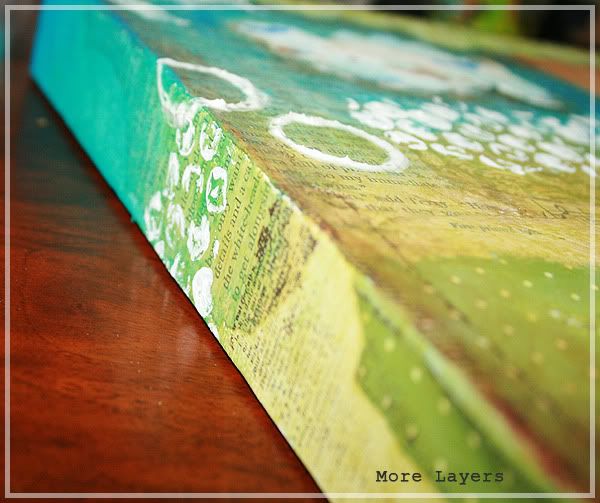
Don't Forget the Sides: With the sides of the canvas I added a little less gel medium to make the paint less translucent. Try using your fingers to blend the colors together for an even flow from one color to another.
Texture & Layers: Using gesso, I applied it generously over some bubble wrap and stamped it onto the canvas and a little on the sides as well. I used an old thick roll that my garbage bags were wrapped around and dipped it in texture paste a few times before stamping it onto the canvas. To add more layers to the canvas, I used some text stamps on the trunk and sides as well as adding my new favorite Unity Stamp to the top of the tree.
More photos and guides tomorrow, hope you are enjoying this little walk through!
Get Messy!! xoxo
Subscribe to:
Posts (Atom)





.jpg)


 Posts
Posts


