Showing posts with label tim holtz. Show all posts

HAPPY AUSTRALIA DAY one and all!!!

We love Australia Day here in Australia. We spend the public holiday celebrating in so many different ways. Today we will be having a barbie (BBQ) with a few snags (sausages) and a tinny or two (a can of beer...lol)! We fly our flags high with Aussie pride, even on our cars!

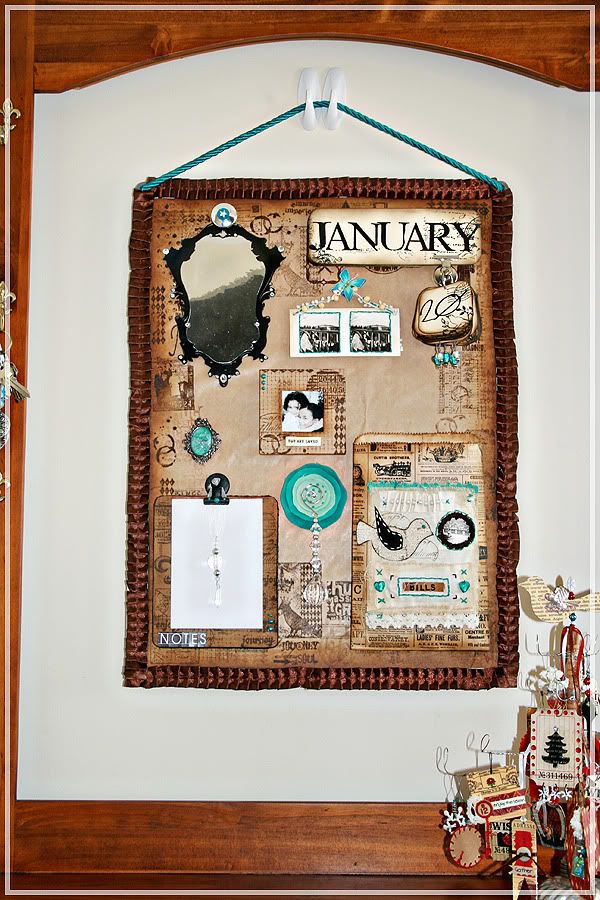

Some fake TTV ♥ from leahleaf

On to some creative goodness..... I actually made this last year at the beginning of December but it was sitting against the wall until I was able to find some trim or ribbon I like to go around the edges. It is finally up on the wall now and I just love looking at it when we come and go through the front door.


As you can sort of see I have a hall stand at the front door. I found it at a furniture store very cheap as the mirror had been smashed so they took a large chunk of money off it. I was planning on putting a mirror back in but never got around to it (so glad I didn't now). I thought it would be the perfect place for the magnet board. I use the House of 3 digital project kit for the months and the dates. I used my House of 3 House Warming kit to print the frame out and add some mirror paper to the inside of the frame. Similar to the one I made for my house warming album here.

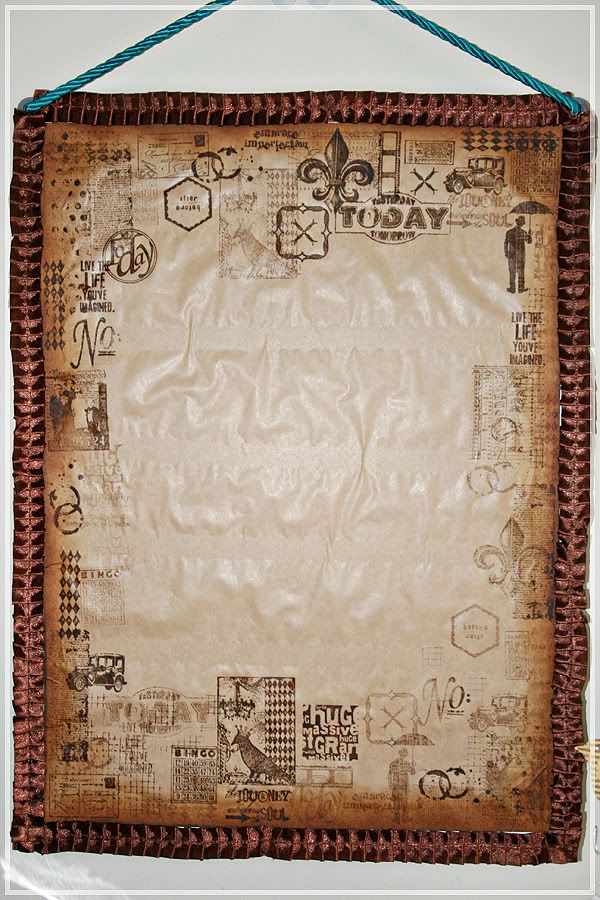
I simply purchased a cheap magnetic board from my local office supply store with some plain brown wrapping paper to cover the board with. I went with the brown wrapping paper is it's really thin, perfect thickness for the magnets to still stick to the board. I used a bunch of stamps from my Kenner Road kits and some from one of Tim Holtz's collections here. I also used Tim Holtz's distressing inks to stamp them onto the brown paper and used a blending tool to ink the edges of the paper. 


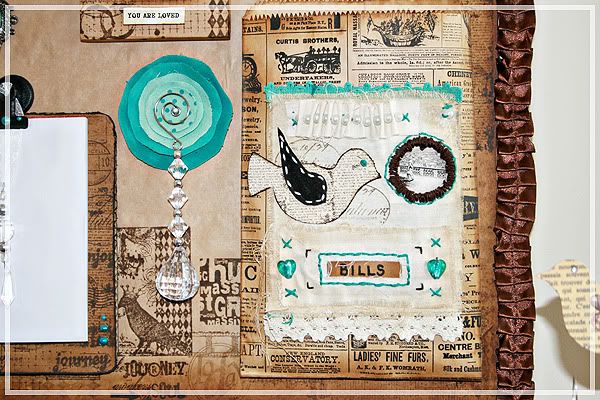
I was inspired by Heidi Swapps notepad she made for her magnet board so I made a similar little notepad. I used a gorgeous teal Prima flower and added a gorgeous crystal Christmas decoration to it and stuck a magnet on the back of it.


I cut a piece of muslin, inked and frayed the edges, added a Kenner Road stamp and a vintage photo from Old School (August '09), added some hand embroidery with pearls, leaves and glass hearts, and added a hand drawn bird on canvas stuck onto some chipboard and added some vintage trim from my stash as well as some teal trim from We R Memory Keepers. I then attached all this to a vintage paper bag that I received with some free goodies from Blue Bazzar. I inked the edges of the paper bag as well to give it a more aged appearance.


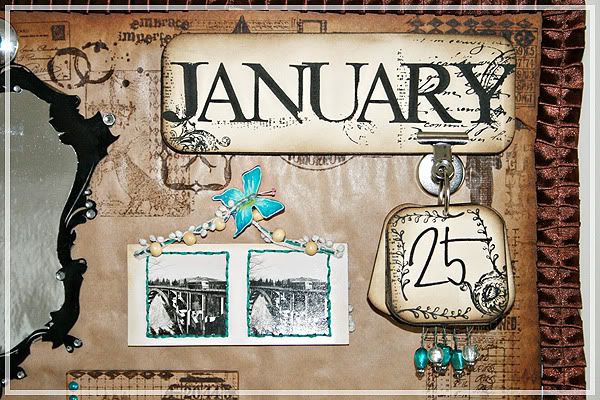
I printed out the Hof3 months and dates and inked all the edges, attached some beads and wire to some of the dates and hung them from a magnetic clip with an album ring to hold the dates.
I took another vintage photo from KR kit Old School '09 and hand sewed around the edges, added some vintage trim from the same KR kit and threaded the trim with some teal embroidery thread with wooden beads in every second loop. I simply added a Prima butterfly with a magnet on the back to hand it from the board.


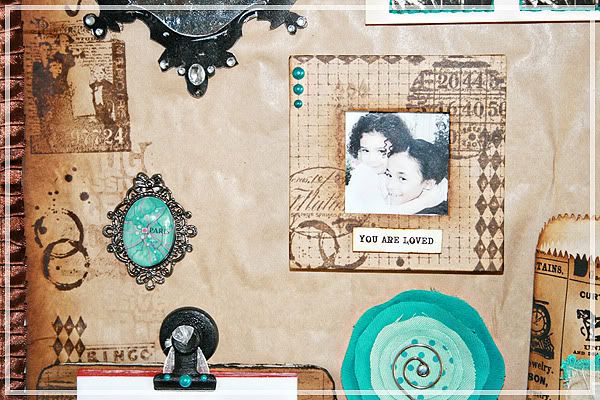
Lastly I took an small old frame I found in my stash and covered it with the brown paper with more TH and KR stamps and added some little teal pearls from Kaisercraft. I inserted a photo of the girls inside and added a little word bit I made in Photoshop, "You are loved". I found a gorgeous teal 'Paris' broach and added a magnet on the back of it and added it to the board.

Well that's pretty much the basics of how I put my magnet board together. The things that I constantly look for are all in the same place now. A writing pad, the bills that need paying, what the date is...lol and a cute little photo of my two girls that I can smile at every day!

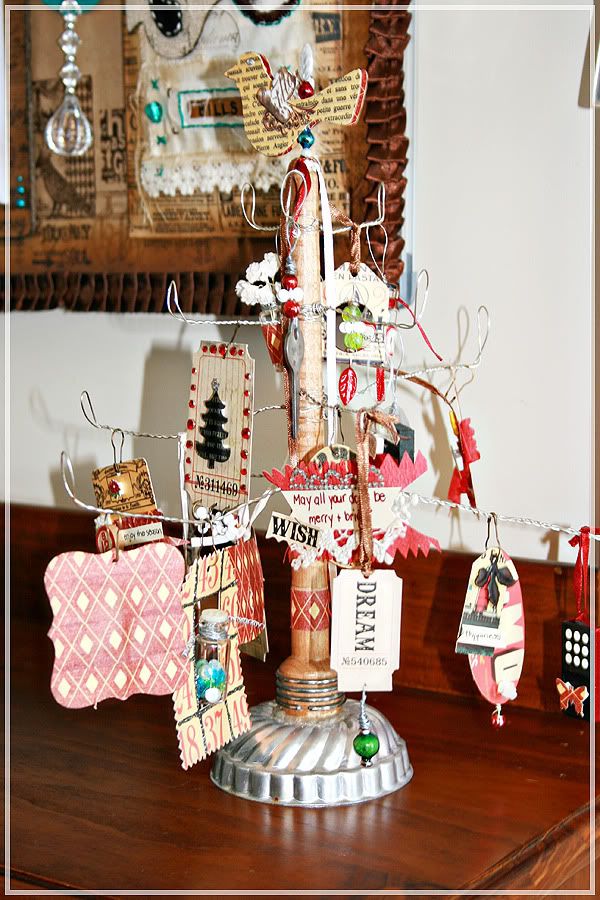
In the first photo you can see another creation in the bottom right hand corner that is ALL Kenner Road goodness that was a project kit in November '09. I seriously had so much fun making this Tannenbaum tree. I even added some of my own creations to the tree. It got so many comments from friends and family that came over. Mind you I still have it on the hall stand. I think I am going to leave it there for now as I have an idea of how I can re-use the little tree hanging thingys........when I get a chance that is......I have a deadline for a very exciting project coming up on March 1st. Can't wait to tell you more...lol!


Happy, creative Australia Day!!!

Christmas Gifts - Mixed Media Canvas Part 7: Final

Continuing on from the last post.... A canvas for my niece Miss C. This is the final part of the Mixed Media Canvas, hope you liked it!
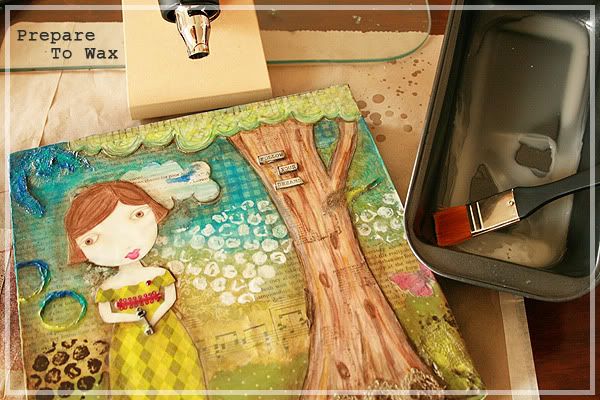
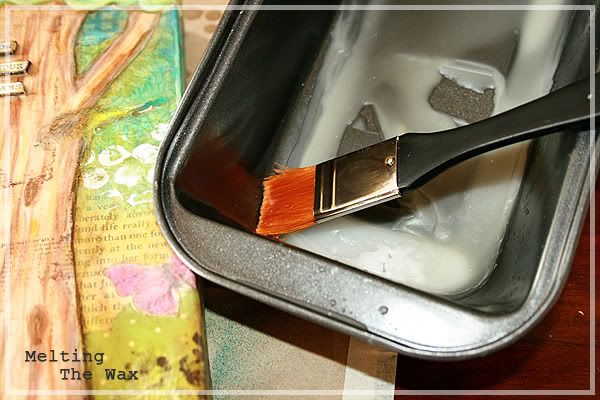
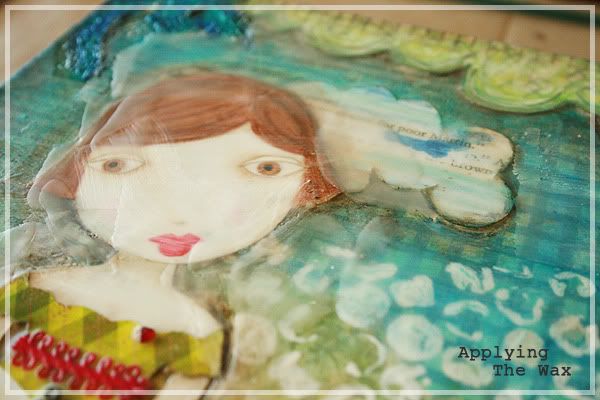
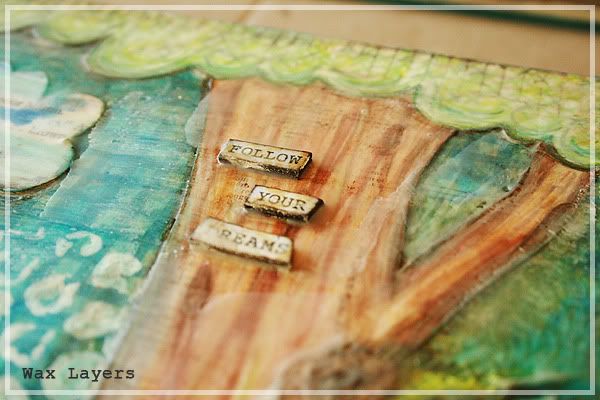
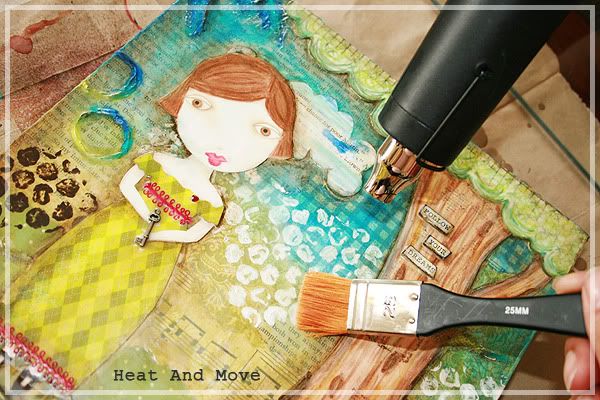
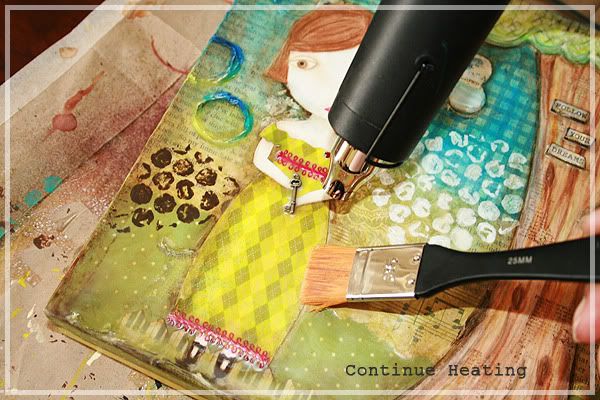
Preparing To Wax: This stage is so much fun, I love playing with wax! There are quite a few types of waxes you can used and many ways to melt it but I just grabbed a packet of white (bleached) beeswax from my local art store. That's all I could find so I made do. You can purchase different types of beeswax and in different forms. I was on the hunt for a block of natural beeswax but I didn't want to wait for it to come via snail mail.

Melting The Wax: I have an old cake tin that I use for melting my wax with my heat gun. Quick and easy! You could also used an old slow cooker to melt your wax or a melting pot. I use a flat wide brush to apply the melted wax, it spreads the wax out better.


Applying The Wax: Once my wax was melted I applied short strokes over the entire canvas. As it was beginning to dry I could see where more wax was needed and I applied more. Don't worry about any brush marks in the wax as the heat gun will take care of that next.


Heat & Move: Once the wax had started to dry, I noticed a few places where the wax had pooled so I took my heat gun and remelted these parts. Using my brush I pushed the puddles around the canvas till I was happy with the thickness of the layer of wax. I had to do this a few times to get an even coat of wax over my canvas. I used the heat gun to slightly melt other sections of the canvas to get rid of the brush strokes that showed up in the wax. No need to completely melt the wax, just a few blows with the heat gun is enough to give the wax a lovely sheen.


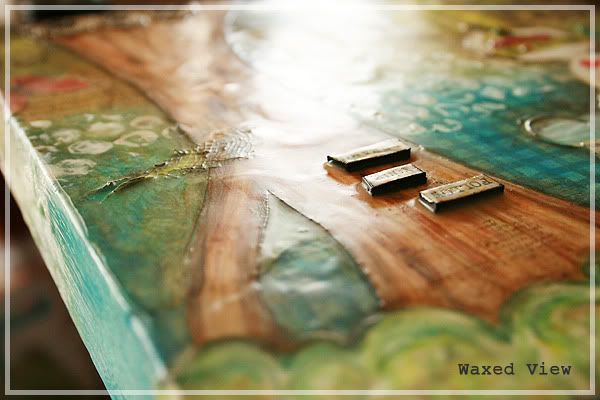
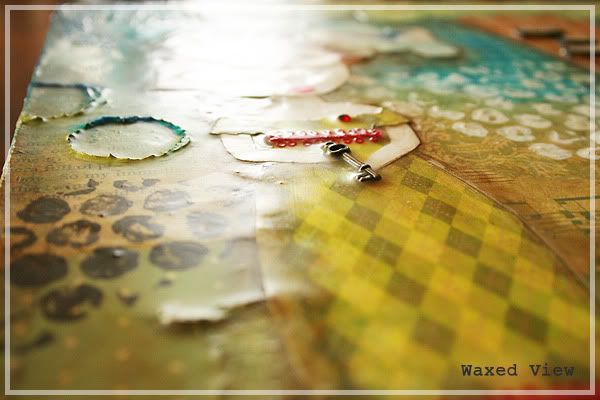
Waxed Views: Sorry about the photos above, it was hard to get a good photo of the finished layer of wax. As you can see the wax has softened the edges and given the canvas a very slight dreamy effect. The layer of wax also seals, protects and holds onto any embellishments (like the key) that are attached to the canvas.

You can take this step further by scratching or cutting into the wax and rubbing ink or a diluted paint mixture into them to add yet another layer of goodness. I have tried this with Tim's Walnut Stain and a little of raw umber acrylic paint mixed with a little glossy gel medium. The results are gorgeous. I chose not to on this canvas as I was happy with the overall result and thought this would be more of what my niece would like. I can always introduce her to some dirty art later on.

Well, that brings me to the end of this tutorial, I do hope you enjoyed it and found some inspiration along the way. Maybe even discovered something new....lol! If you have any questions, please don't hesitate in leaving me a comment or even sending me an email. I would love to hear from you! You can find my email below my profile.
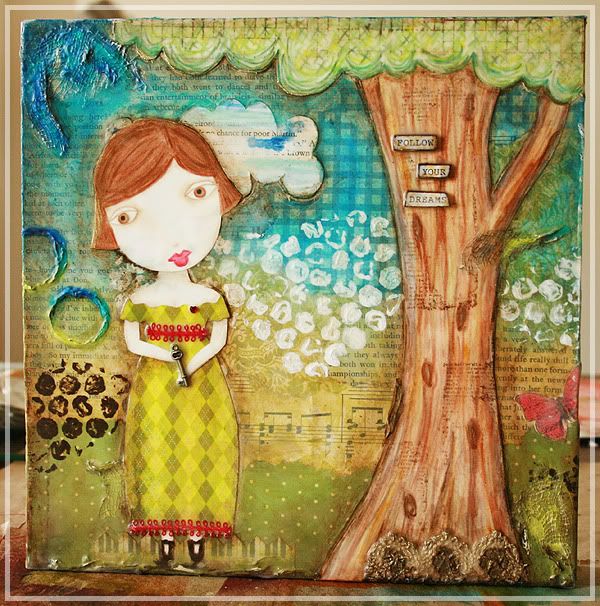
Lastly, here is the finished canvas:


GET CREATIVE, LEARN NEW THINGS!!! xoxo

Christmas Gifts - Mixed Media Canvas Part 5

Continuing on from the last post.... A canvas for my niece Miss C.
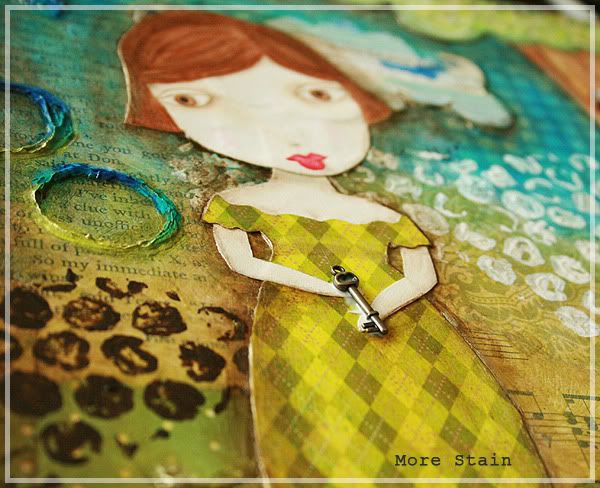


Stain Around the Doll:  Now that the canvas is completely dry after adding the doll, I made up another mixture of a small amount of raw umber and loads of gel medium and added a stain around the doll making sure I didn't get any on the dolls face.

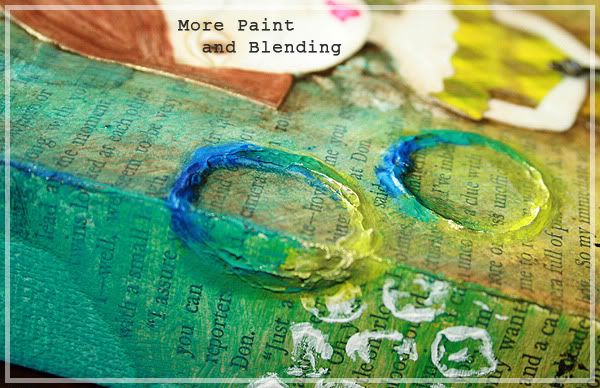
More Painting and Blending: Seeing that the canvas dried for a full 24 hours, I noticed some area's needed a little more definition so I added some more undiluted acrylic paint to the texture paste circles I created in a previous step (part 3). Remember to blend your colors so they flow seamlessly from one color to the next. I added some of the stain I used for around the doll, into the inside of the circles using my finger to blend it in to create even more shadow and depth. Notice in the above photo how the top of the circles look much higher than the rest of the circle.

Inspirational Words: I wanted to make sure that the words or phrase I used tied the whole canvas together and I definitely wanted something that a teenager would/could relate to hence the words 'FOLLOW YOUR DREAMS'. I adhered the printed words onto a thick layer of chipboard, inked the edges with my favorite color ink Pinecone then adhered them to another layer of chipboard and inked again. I added some distress ink Antique Linen over the top of the words to dull the white of the photo paper the words were printed on.

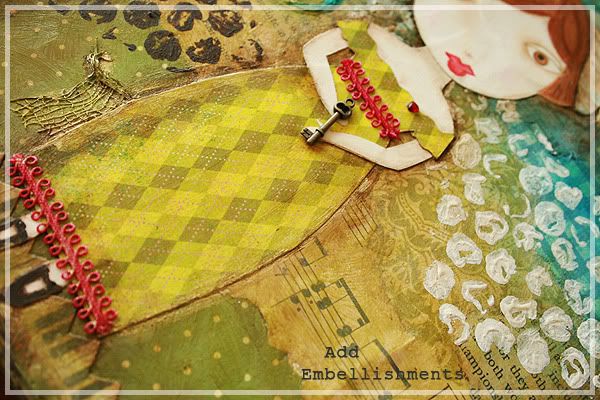
Add Embellishments: Time to break out some of my favorite scrapbooking supplies. I always find somewhere to add a little 7 Gypsies key. I HEART keys! A key says to me "You hold the key to unlock...." (insert so many different words and phrases that the key can represent to you). I also added some ribbon trim to the dress to make her look even prettier and a tiny little jeweled heart on her chest. I really had an urge to add a bookplate, another one of my favorite embellishments but as they say 'less is more' even though that only works some of the time in my opinion...lol! So I left the bookplate off, it really had no place on this canvas, maybe if I had used a single word I could have used a bookplate. I am happy with the result any way.

We are finally nearing the end now and I am starting to get excited to see the finished product. More photos and guides tomorrow.

CREATE OUT OF YOUR COMFORT ZONE... You won't regret it! xxoo

In: , , ,

And The Winner Is...

Just a quick post today! Promise....lol! I just wanted to share my happiness! During my travels around blogland, I usually always enter any competition that offers a freebie, "you gotta be in it to win it" as they say. Well yesterday whilst I was sitting at my PC having my morning coffee and checking my feeds, I came across this....

our first 5 winners...

congrats to the first 5 winners from yesterday's post! your comments have been overwhelming to read - thank you so much for all of the kind words and i'm glad you're as excited about all of the new additions to the website. it's funny how many people thought i was done and moving to disneyland - someday! all of the demo videos are now uploaded and ready to watch, just click the demo section in the website to watch them all. be sure to post a comment on today's post for your chance to win some great ranger, idea-ology, or stampers anonymous stuff - remember 5 winners are selected each day so you can post each day to try to win....good luck - t!m

*winners: please email me your contact info to get your prizes set out - congrats!

How exciting Tim!!! You must be over the moon! Love the new product section, it's so easy to navigate through everything. I love being able to see the stamps up close, all the fine little details. Stunning. As soon as I saw your feed, I called my 60 year old mother (yes, she is a huge fan. You should see her go to work on some brads or grungeboard with your texture hammer, lucky she doesn't carry it around in her bag!!!! LOL) to tell her you had posted some new vid's, she's very excited to watch them in the morning as it's a bit late for her now. Any how congrats on the new look website (looks awesome sherryl!)off to watch some vid's ;c)
Posted by: Didee | March 01, 2009 at 01:53 AM


...that's right, I actually won something! I'm not sure what yet, but if it has Tim Holts' name on it, I don't care! Who doesn't love a surprise being sent to you via snail mail. Then this morning, doing my same routine, coffee, PC, feeds, I came across this...


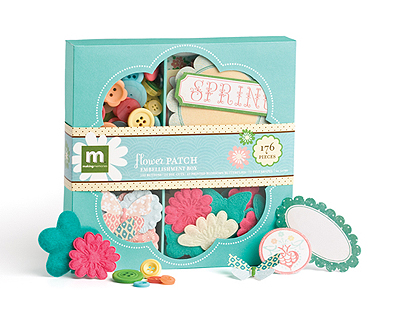
Flower Patch Winner

Thank you to everyone who submitted a comment yesterday. We picked one random winner who will be receiving Making Memories' Flower Patch Embellishment Box.

Congratulations to Didee - the winner!


Please email me (jweston@makingmemories.com) to redeem your prize.


Can you believe it??? I sure can't. But I am over the moon though. So take the time to enter those competitions during your travels, you never know it could be your turn next. xo
Blog Widget by LinkWithin