Showing posts with label hybrid. Show all posts

One of Those Weeks!!

Having both of the girls home from school and preschool the last two weeks sick as well as giving me their germs really took it's toll on me this last week. I hardly got anything done that I had planned to do but I did manage to have a cooking day with the girls on Saturday. After cleaning the house in the morning we gathered our supplies ready to make chocolate cupcakes with chocolate icing and shaved white chocolate on top.
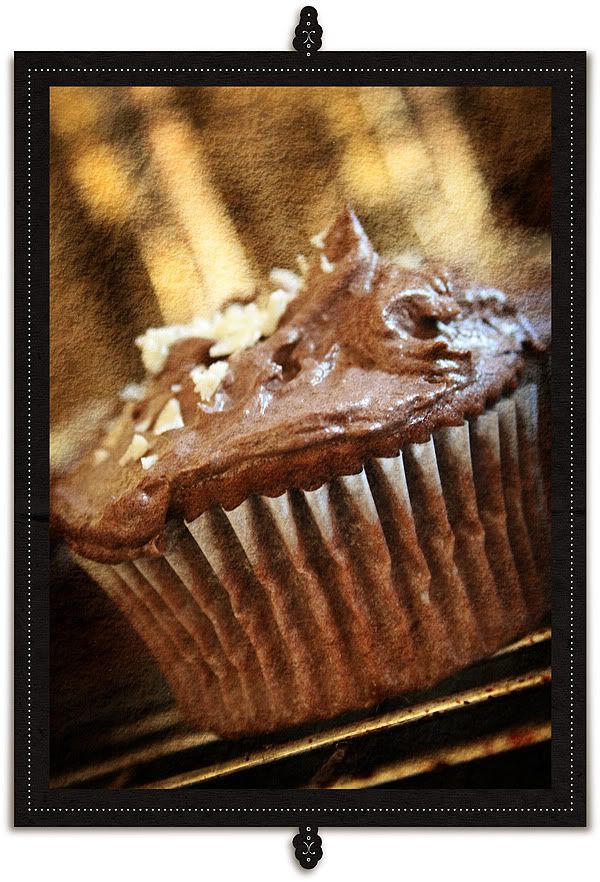
Little Miss J  proceeded to lick the icing off two of the cupcakes whilst I wasn't looking. She had washed all of the evidence of chocolate icing off her face when I ran to get the camera. She had me in stitches. Miss O wasn't too keen on the shaved white chocolate on top of the chocolate icing. She loves both types of chocolate but not mixed together at the same time.....crazy child! 

Speaking of Miss O, when I picked her up from school on Thursday 18th of February, she looked terrible so I felt her head and I could tell right away she had a temperature. She told me that she had told the teacher at lunch time that she felt sick and the teacher replied "You will be fine". I could feel my face burning with anger!! Let's rewind almost 9 years ago......


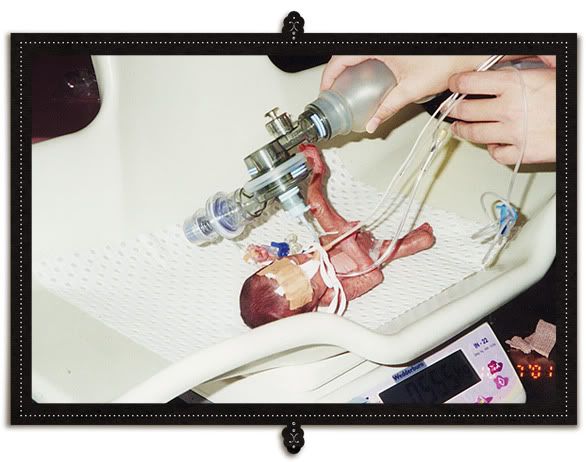
For those of you who don't know me so well, Miss O is now 8yrs old, turning 9 this year. She was born prematurely at 24 weeks gestation so she was born just over 3 months early. Here is a photo of her 13 days after she was born and if you look closely the regular hospital scales say she is 0.555kg. She could fit in the palm of your hand and your fingers would fold over her like a blanket.

  
Due to Miss O's lungs not being fully developed, she was given large quantities of oxygen until she was able to breath on her own. She spent the first 3 1/2 months of her life in hospital before I could bring her home. I lived 3 1/2 hours away from the hospital so I stayed at the hospital for one week, went home for one week and so on. I was able to express milk for her for nearly 3 months before it ran out. I would freeze the milk in little sterile jars, pack it up in a special ice box and take it up to the hospital every second week. We called it the milk run...lol! The weeks I was at home expressing milk every 3 hours for her day and night (yes I set my alarm clock to wake me so I could plug my breast into an electric pump which totally made me feel like a cow) made me feel so strange. With no baby to feed or cuddle. They were the longest 3 1/2 months I have ever had. There were numerous operations, lung drains, blood transfusions, xrays, scans....the list go on. 

One of the complications of being born so early is that Miss O has chronic lung disease or bronchopulmonary dysplasia (BPD) as well as being an asthmatic. Ever since Miss O could understand, she was told that if she feels sick at all she must either tell her family members or her teachers. Every school she has been to know Miss O's complete history. Her first school was an early intervention school, then preschool with an aid worker, then onto mainstream school until she turned 8yrs of age. Then the education department stepped in to assess her ('bout bloody time I say!!) as she has a severe developmental delay and finally took her out of mainstream school and put her in a special ed class with other children who have difficulties too. But she had to change school's at the beginning of this year which was really hard on her. She is a very shy girl and needs constant reminders of the little every day things you or I would take for granted. 

So the numerous people such as the principle, vice-principle, teachers and aid's who will be teaching Miss O throughout the year had been informed all about Miss O and her needs. We started the meetings a few months before school broke up last year. So that leads us back to Miss O letting the teacher know that she was sick and me picking her up from school and taking her home to find out that she had a temperature as well as wheezing from her asthma! For goodness sake, some people have no idea how fast asthma can knock you off your feet. And with Miss O, it happens really fast. For the first week and a half she stayed on the lounge and hardly moved as the congestion in her chest, the constant coughing as well as asthma take up so much of her energy and she is hardly able to move. So I marched right up there last week and demanded to have a meeting so I could explain to them once again that if Miss O tells any teacher she is sick, I am to be contacted immediately. There were a few other choice words that were said (nothing rude or no swearing, just a little bit of an irate mother coming out) so I hope they have got the message now! She went back today so I hope she has a good day today. 

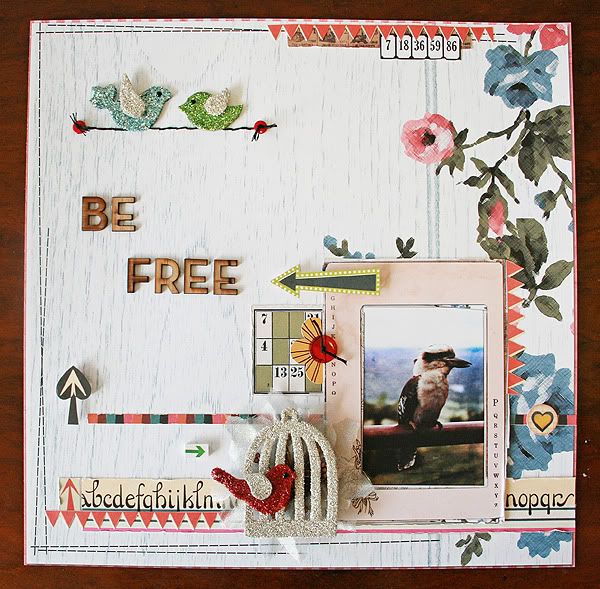
Phew......that turned into a little bit of a long story didn't it....lol! From cupcakes to babies so I might as well finish with some inspiration!  Most of you know by now that I was asked to join the Kenner Road design team using their digital goodies over at 2P's, thank you so much to everyone who left me a congrats comment and email, you are all so very sweet!! Well I had my first blog post over on their blog about how to create a basic background using digital papers in Photoshop. I was so very excited and nervous I mean look at all the other amazing ladies on the design team, talk about major talent!! If your not a digi girl at all, go check it out when you get a chance, it's very basic but informative. There will be loads more info and digital inspiration over on the blog so make sure you check it out regularly. Here's a hybrid layout I created using the basic background tutorial over on the blog:

 {}

The rest of the goodies are from KR paper kits Madeleine and Milk & Honey. The only other goodies I have had time to create is for Catherine Designs over at After 5 Designs. She just released this gorgeous mini kit called Feelin' Springy for only $2!! Now that's a bargain:


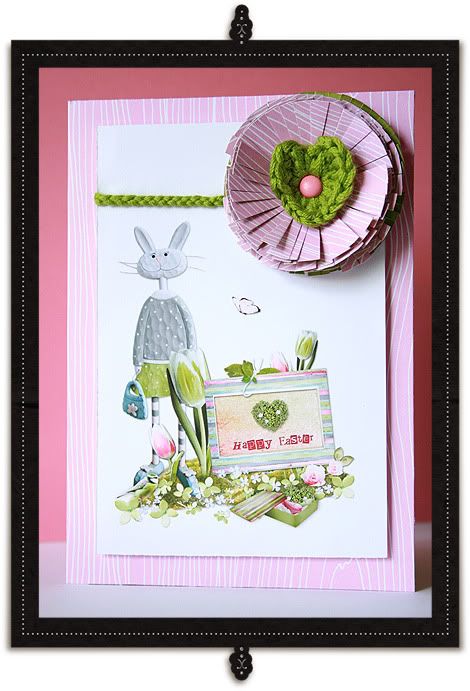
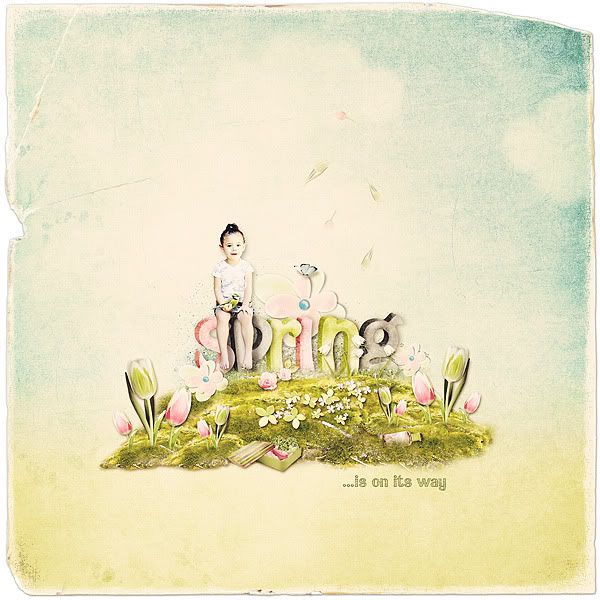
Here's an Easter card I created (yes it's a little bit early...lol) as well as a digital page using the above kit and the A5D March Collab:
{}
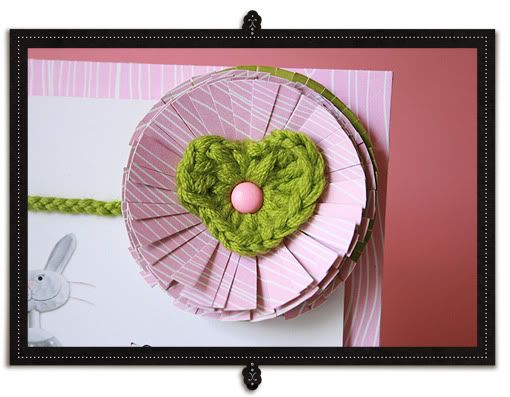
Look at that little crocheted heart.....
....loving these big time right now. I got a little carried away making them when I was watching over Miss O whilst she was sick. I even have some flowers too....but you will have to wait till I create something so I can stick them on it!


{}

Before I go I just wanted to let you know that the news I was supposed to tell you on the 1st of March is still coming......lol, I just haven't been given a release date as yet but as soon as I find out I will post about it. I can't wait to show you guys, I had soooooo much fun with it! Well that's it for me, off to get some dinner ready. Feeling lazy this afternoon, I really don't feel like cooking......wish the kids were old enough to make me something. Oh wait, Miss J makes a mean vegimite sandwich!!! Yes, I vegimite. I'm an aussie after all.....lol!!


EDIT:
After dinner tonight (yes I ended up cooking.....lol) we were outside on the porch having a cup of tea about to come come inside and watch MKR (my kitchen rules) and little Miss J was inside watching the beginning of the show when she runs outside and says "Mumma, there is absolutely no woom (room) for ewwa (error)" These quick little moments in life are to be remembered, documented and shared. How I love my dear little munchkins!!! Makes my heart melt, it does xox

HAPPY AUSTRALIA DAY one and all!!!

We love Australia Day here in Australia. We spend the public holiday celebrating in so many different ways. Today we will be having a barbie (BBQ) with a few snags (sausages) and a tinny or two (a can of beer...lol)! We fly our flags high with Aussie pride, even on our cars!


Some fake TTV ♥ from leahleaf

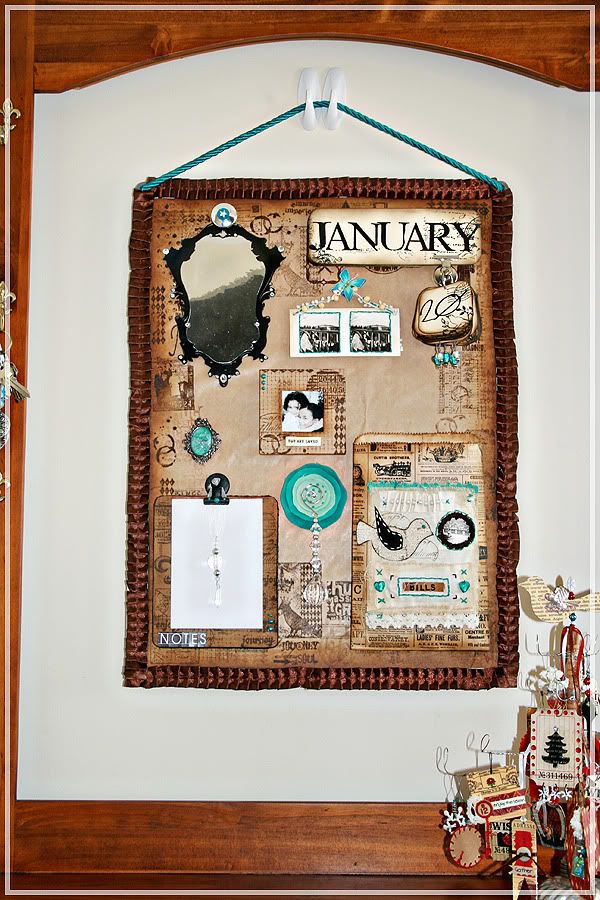
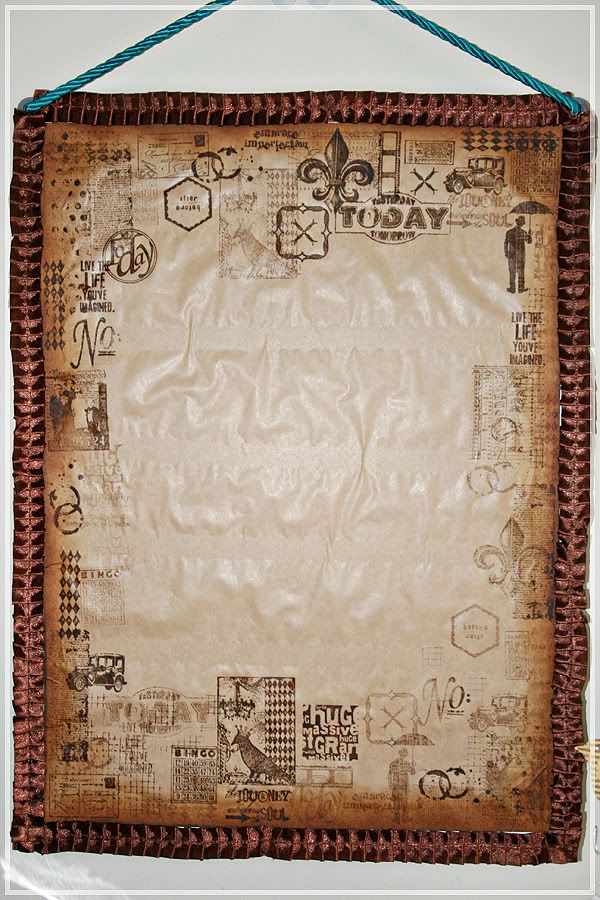
On to some creative goodness..... I actually made this last year at the beginning of December but it was sitting against the wall until I was able to find some trim or ribbon I like to go around the edges. It is finally up on the wall now and I just love looking at it when we come and go through the front door.


As you can sort of see I have a hall stand at the front door. I found it at a furniture store very cheap as the mirror had been smashed so they took a large chunk of money off it. I was planning on putting a mirror back in but never got around to it (so glad I didn't now). I thought it would be the perfect place for the magnet board. I use the House of 3 digital project kit for the months and the dates. I used my House of 3 House Warming kit to print the frame out and add some mirror paper to the inside of the frame. Similar to the one I made for my house warming album here.

I simply purchased a cheap magnetic board from my local office supply store with some plain brown wrapping paper to cover the board with. I went with the brown wrapping paper is it's really thin, perfect thickness for the magnets to still stick to the board. I used a bunch of stamps from my Kenner Road kits and some from one of Tim Holtz's collections here. I also used Tim Holtz's distressing inks to stamp them onto the brown paper and used a blending tool to ink the edges of the paper. 


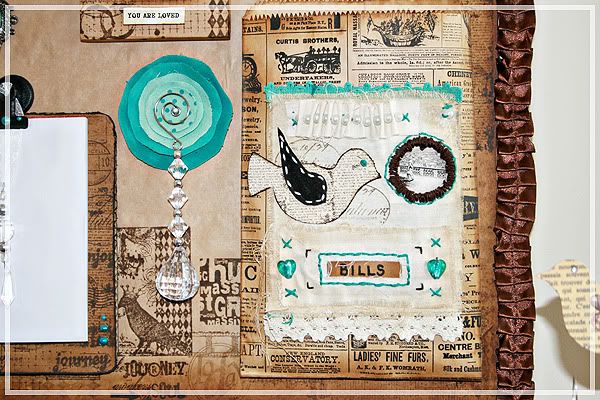
I was inspired by Heidi Swapps notepad she made for her magnet board so I made a similar little notepad. I used a gorgeous teal Prima flower and added a gorgeous crystal Christmas decoration to it and stuck a magnet on the back of it.


I cut a piece of muslin, inked and frayed the edges, added a Kenner Road stamp and a vintage photo from Old School (August '09), added some hand embroidery with pearls, leaves and glass hearts, and added a hand drawn bird on canvas stuck onto some chipboard and added some vintage trim from my stash as well as some teal trim from We R Memory Keepers. I then attached all this to a vintage paper bag that I received with some free goodies from Blue Bazzar. I inked the edges of the paper bag as well to give it a more aged appearance.


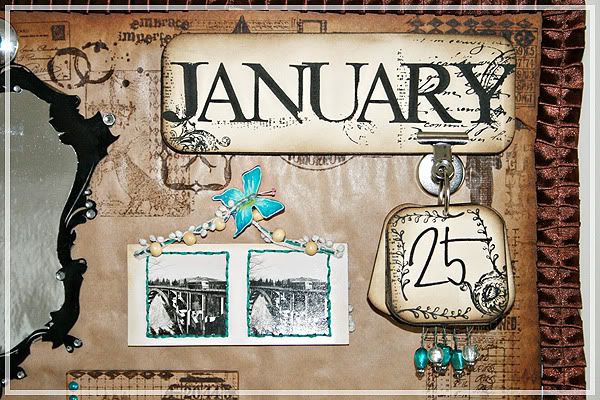
I printed out the Hof3 months and dates and inked all the edges, attached some beads and wire to some of the dates and hung them from a magnetic clip with an album ring to hold the dates.
I took another vintage photo from KR kit Old School '09 and hand sewed around the edges, added some vintage trim from the same KR kit and threaded the trim with some teal embroidery thread with wooden beads in every second loop. I simply added a Prima butterfly with a magnet on the back to hand it from the board.


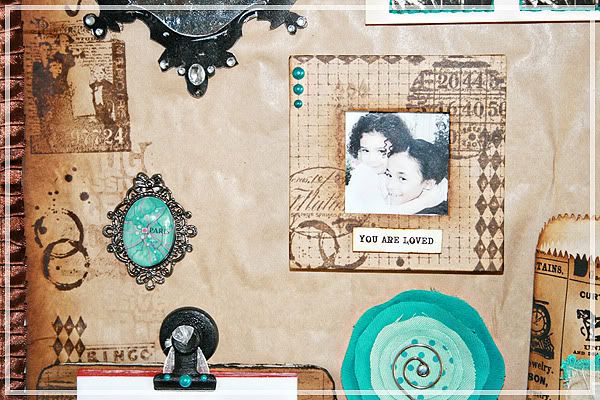
Lastly I took an small old frame I found in my stash and covered it with the brown paper with more TH and KR stamps and added some little teal pearls from Kaisercraft. I inserted a photo of the girls inside and added a little word bit I made in Photoshop, "You are loved". I found a gorgeous teal 'Paris' broach and added a magnet on the back of it and added it to the board.
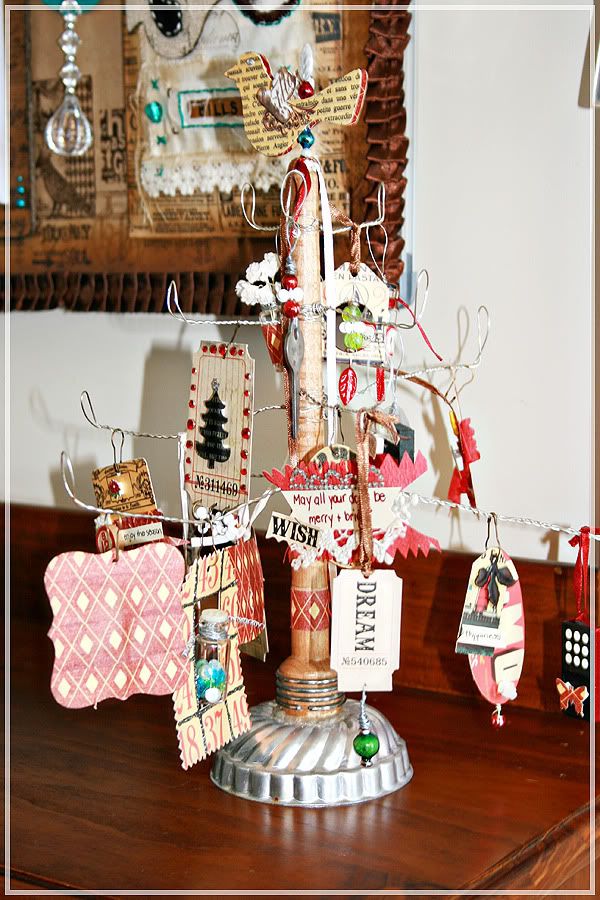

Well that's pretty much the basics of how I put my magnet board together. The things that I constantly look for are all in the same place now. A writing pad, the bills that need paying, what the date is...lol and a cute little photo of my two girls that I can smile at every day!

In the first photo you can see another creation in the bottom right hand corner that is ALL Kenner Road goodness that was a project kit in November '09. I seriously had so much fun making this Tannenbaum tree. I even added some of my own creations to the tree. It got so many comments from friends and family that came over. Mind you I still have it on the hall stand. I think I am going to leave it there for now as I have an idea of how I can re-use the little tree hanging thingys........when I get a chance that is......I have a deadline for a very exciting project coming up on March 1st. Can't wait to tell you more...lol!


Happy, creative Australia Day!!!

Hybrid Altered Book - Super Quick Tutorial

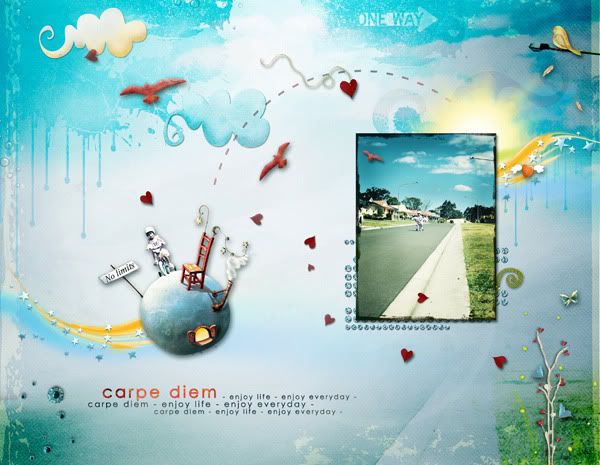
Last month I was asked by my good friend Catherine if I could create something using a collaborative kit she was taking part in called Delight. Here is a preview of the kit:

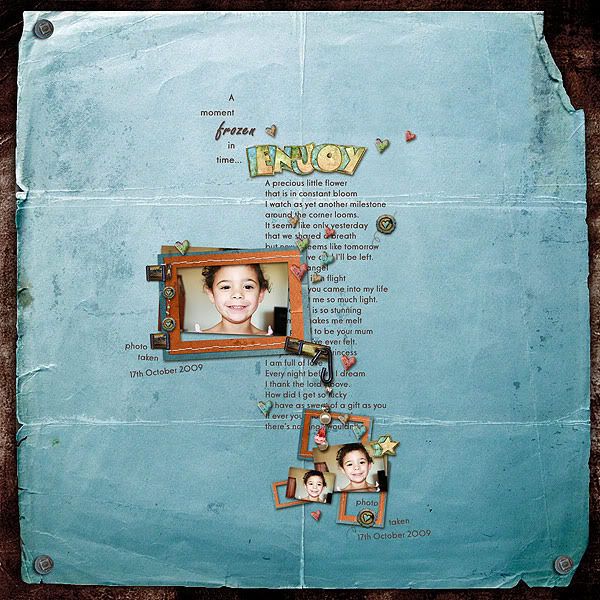
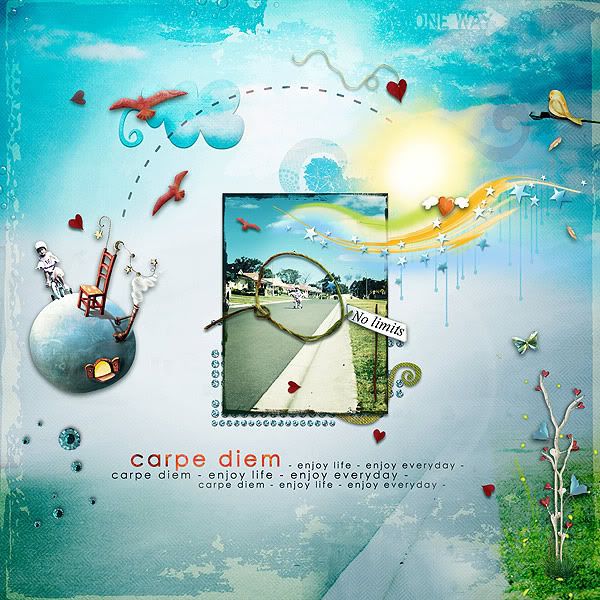
Of course I said yes, that I would be happy to create something for a great cause. I created these digital pages using this huge kit:


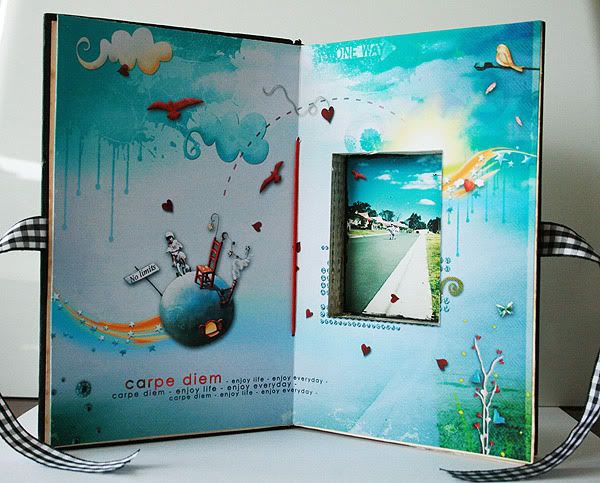
The last digital page inspired me to create an altered book using the layout as my guide.

SUPER QUICK TUTORIAL:
It was quite simple to create and didn't take that long at all to put together. I took the measurements from the open book I altered and created another layout using those dimensions in Photoshop.


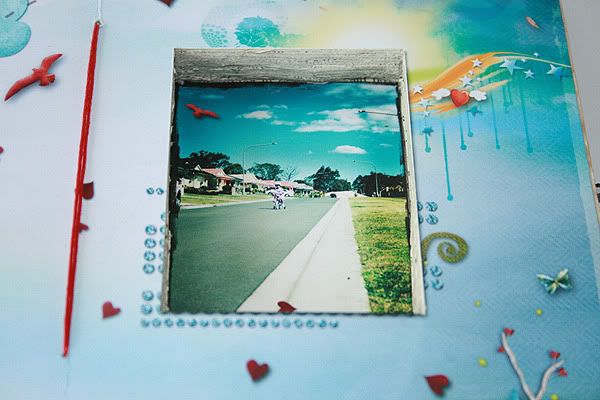
After preparing the book, I printed out the new layout and cut out the photo using a sharp craft knife. I placed the layout inside the open book and used the layout as a template to mark on the page where I had to cut out my window. Using my craft knife, I cut through all of the pages.
I marked lightly on the layout where the fold of the book would go and used a bone folder to fold the layout in half. I then adhered the right side of the layout down only. This allows the pages to move freely when the book is opened and closed.
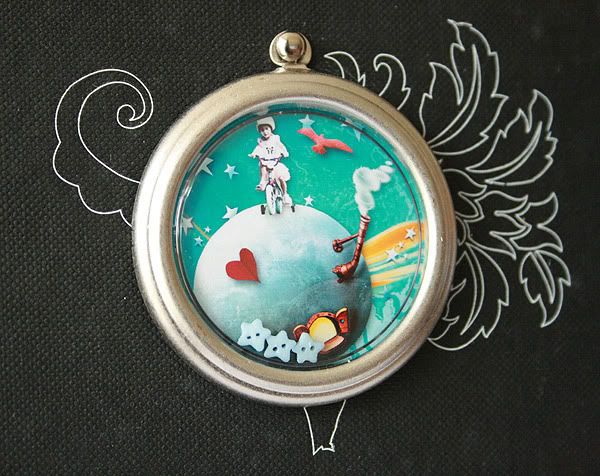
Decorate the book cover now so if you need to use any brads or eyelets, they will be hidden with the ribbon in the next step.
Attach some ribbon to the inside front cover page and the inside back cover page, adhere the first page down to hide the ribbon, brads and/or eyelets and do the same for the back cover.

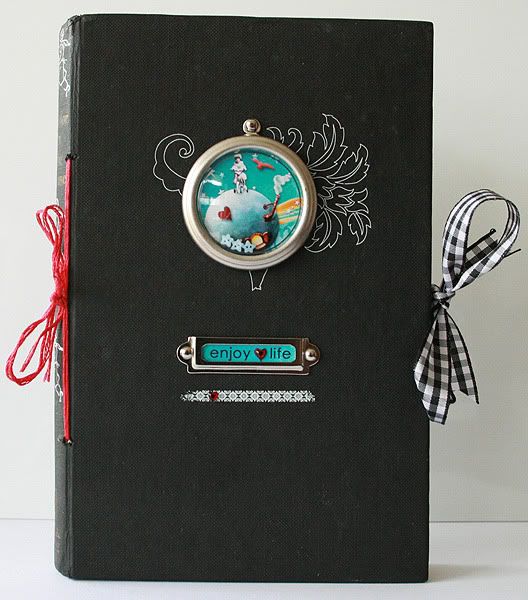
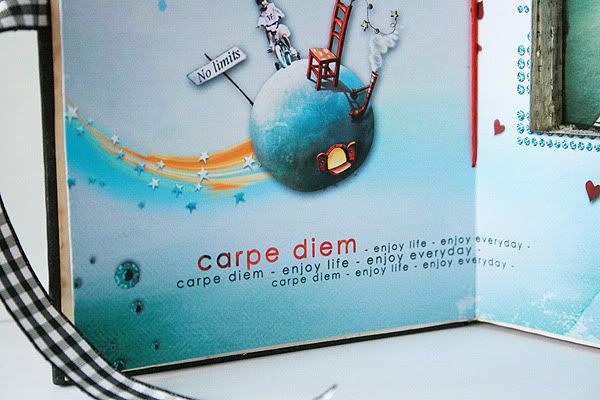
Here are some shots of the finished product:

The Cover


The Inside


If you have any questions, please be sure to leave a comment, I would be delighted (no pun intended....lol) to answer them ;c)

As mentioned in a previous post, I am going to make one of these for my sister for Christmas but I will be using only traditional products this time.

I have started working on a new project for my niece for Christmas....here's a little sneak peek:


Have a creative weekend and get messy!!! xxoo


In: , , , , , ,

Spring is in the Air

I think Spring would have to be my most favorite time of the year. Flowers every where, the weather is warming up, time to get out of the comfy trackie pants and let my legs see the sunlight, time to eat salads, have BBQ's, eat and drink outside! So many good things that make me happy and content. All of the Spring cleaning has been done in every room of the house except the garage....don't like cleaning that up, I have to part with all the bits I have been hoarding over the last year! I might do that job when it rains next....lol!

Speaking of happy and content, I have been a busy little bee creating some KR goodness (as usual, yes I am addicted to KR). The first layout in the post below actually won the July Stamp Challenge over at the KR blog. KL sent me the July Blue Ribbon kit with my August kits. Then on reveal night chat at KR, we had to guess the colors that were on one of CD's layout in the gallery and I guessed right. I totally guessed without seeing the actual layout and it was right....lol! Wooohooo! I won a yummy bag of vintage goodies that came with my August kits.

Ok, time for some eye candy using August KR goodness:

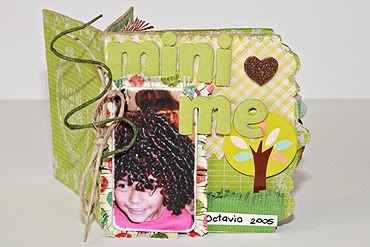
This is a little mini album using the packaging from the Prima Flowers called Mini Me. My eldest DD looked so much like a mini me when she was younger it's scary! The cover page on the mini album below is a photo of her with a wig on....she tried so many of them on, she had me in stitches!
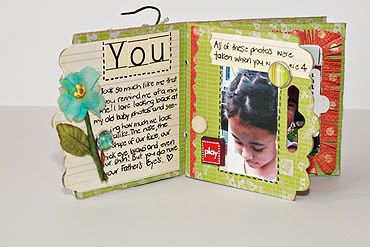
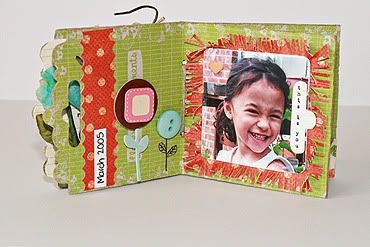
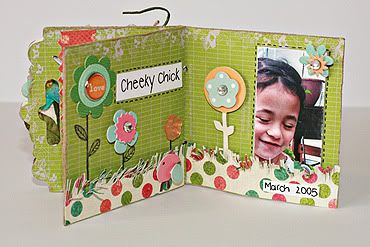


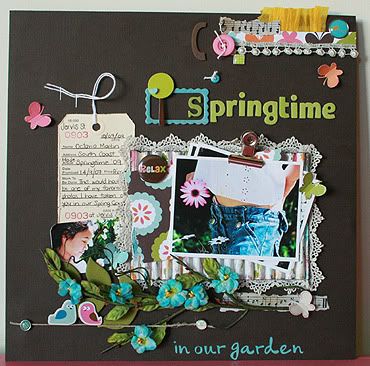
Below are two more layout's titled Road Trip and Springtime in our Garden. Click on the CREDITS HERE links to see more up close photos over at 2 Pea's.
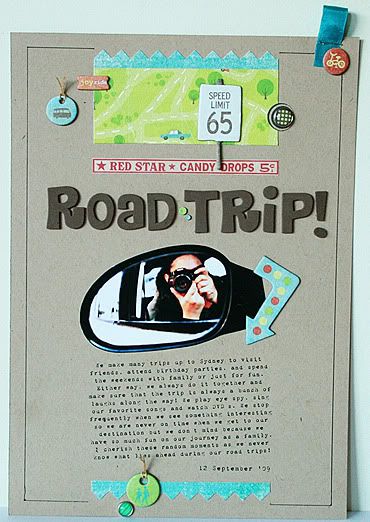


I mentioned in a previous post that I had a request from a good, trustworthy friend (Nancy Comelab) for me to make her a little somethin' somethin', well they have been sent off and received by her and she LOVED them!
I made myself an inspiration journal to add my magazine clippings, color swatches that I love, vintage goodies, anything that inspires me really. I have all these different bits and bobs in my art cupboard's that really need a home so that's where the idea came from. I showed Nancy my album as I had used a gorgeous paper pack she sent me a few months ago. I also made her a little noted book too as I wanted an excuse to used my pretty pink bind-it-all! So much fun once you figure it out....lol! Here are a few photos of the journal and notebook I sent to Nancy:
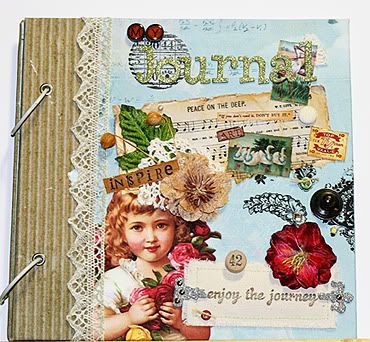
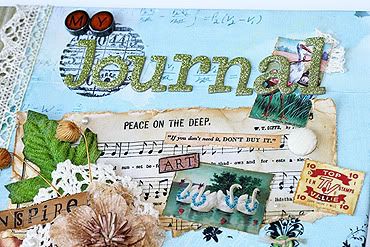
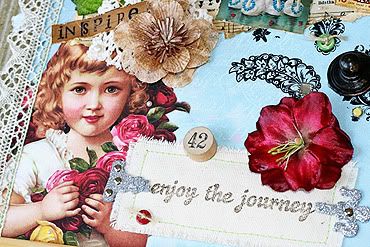
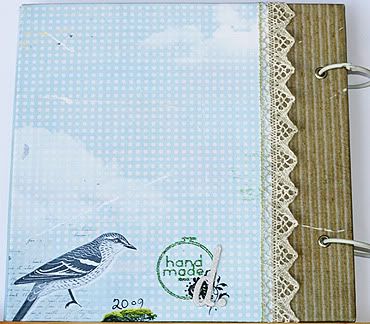
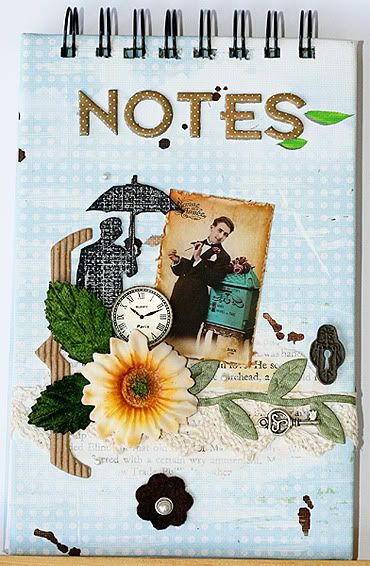
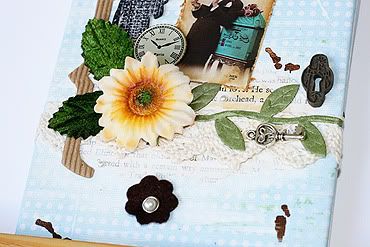
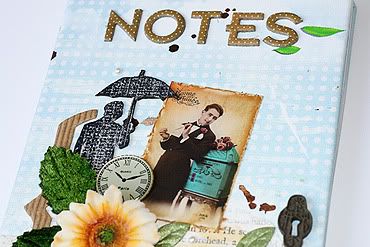


My notebook and journal are a little different from the ones I made Nancy such as a few embellies but they basically have the same layout. Nancy sent me a whole bunch of vintage goodness that I drooled all over. Can't wait to use some on my next project! Thanks so much Nancy for the yumminess you sent me sweetie xxxoooo

Well, that's it for today. I'm off to go do something outdoorsy as it is a beautiful day and it would be a shame to waste it!

Happy hugs to all!

BIG Update!!!

I celebrated my 35th birthday the end of last month, I had a wonderful day!!! Yummy chocolate mud cake, stunning flowers and a new coffee machine which makes awesome coffee...mmmmm!! My youngest DD Jada picked out her favorite toys and presented them to me at different intervals during the day....such a sweet little girl.
My mother and I went to a seafood restaurant which was sooooo yummy! Worth every cent, even though I didn't pay......lol! So all in all I had a fantastic birthday, very relaxing, wonderful gifts and special moments shared with family and friends.

My package I won from Tim arrived from the US about two weeks ago, and I still haven't opened them yet.
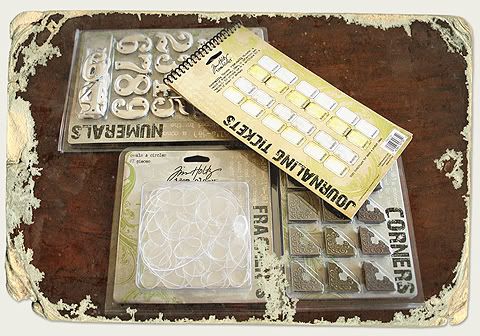
I was so very excited!!! I also received my Kenner Road kits last week and I have to say I am sooooo impressed!!! I can't wait to have a play with all the goodies. Everything was loving wrapped in brown paper and little stickers, I didn't want to open them but of course I ahd to see what was inside.


I can't wait to see the next one. It's the first time I have subscribed to a kit club as I have been drooling over KR goodies for ages so I bit the bullet and I am so glad I did!

On to some other very exciting news.......

Photobucket

I am so happy to announce that I am one of the newest full time creative team members for Catherine Designs!!!!! I adore Catherine's designs and I look forward to making loads of yummy pages/hybridy goodies for her. How gorgeous is that banner above, it shows her newest collaboration Chic Spring with Bisontine. You can find it at After 5 Designs and head over to Catherine's blog and check out the amazing pages the creative team have done, simply stunning!

Here are two pages I managed to get done in between the girls screaming around the house and getting the next issue of DAM finished up....lol:
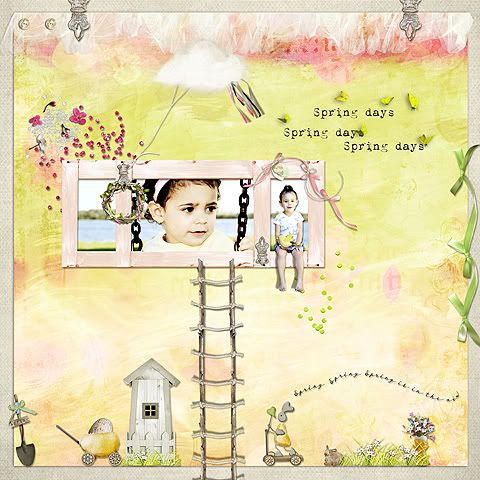
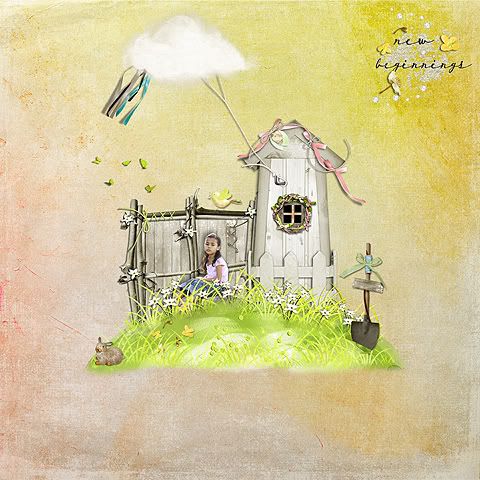
CLICK IMAGE FOR FULL CREDITS


CLICK IMAGE FOR FULL CREDITS

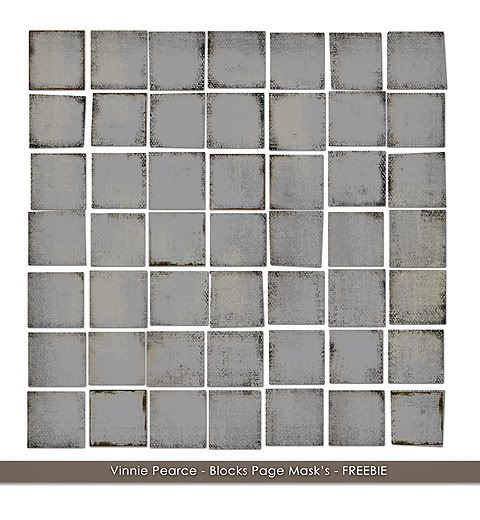
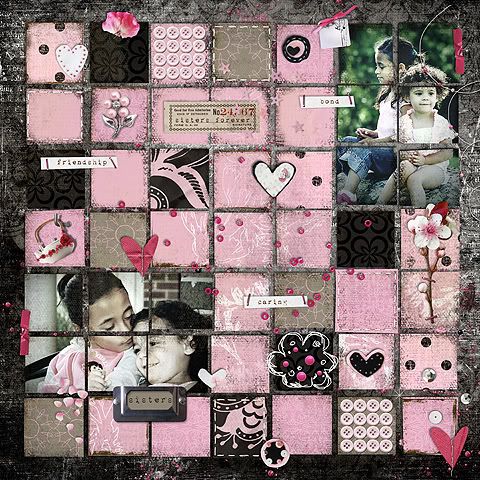
A page I did for the April 1st Challenge over at Pixel Canvas. The Challenge is to use the freebie with 100% Pixel Canvas Products. Upload it to the gallery and the Pixel Canvas team will award a $25.00 Pixel Canvas gift voucher to the best layout. Here's a preview of the awesome freebie and my page:
CLICK IMAGE TO GO TO THE SHOP AND GRAB THE FREEBIE

CLICK IMAGE FOR FULL CREDITS

And lastly, I finished an album early last month and haven't had the time to upload it so here's a photo of the cover:
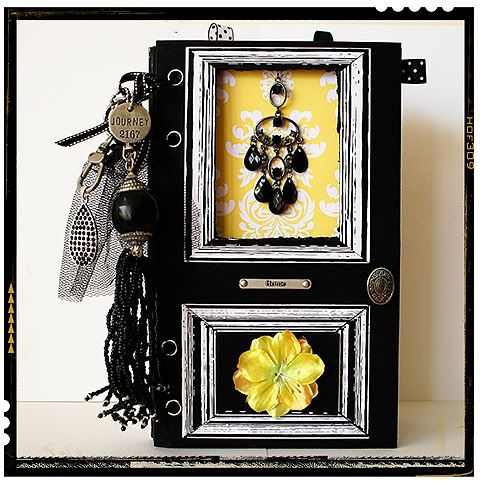


You can see the rest of the pages here on my photoblog called Artwork. It's easier to post all the pages on a blog instead of uploading all of them to the galleries. The full credit list is over there too. Well, that's about it for today, quite a big post...lol! I have to get back to work now..... xo

CREDITS: Frame on the first photo is from Kiss From by Line Designs and Miss Vivi available at Scrapmalin and now at Scrapbookgraphics.



Blog Widget by LinkWithin