
I ♥ Faces - Fix-It Friday #76 & #77

The last 2 weeks have been busy, busy around here! I didn't get a chance last week to post my fix for FIF so I will post both of them today.
Both of the photos were stunning, I especially loved the tones of last weeks photo by Susan Keller's of her son at the beach. Here is the original:
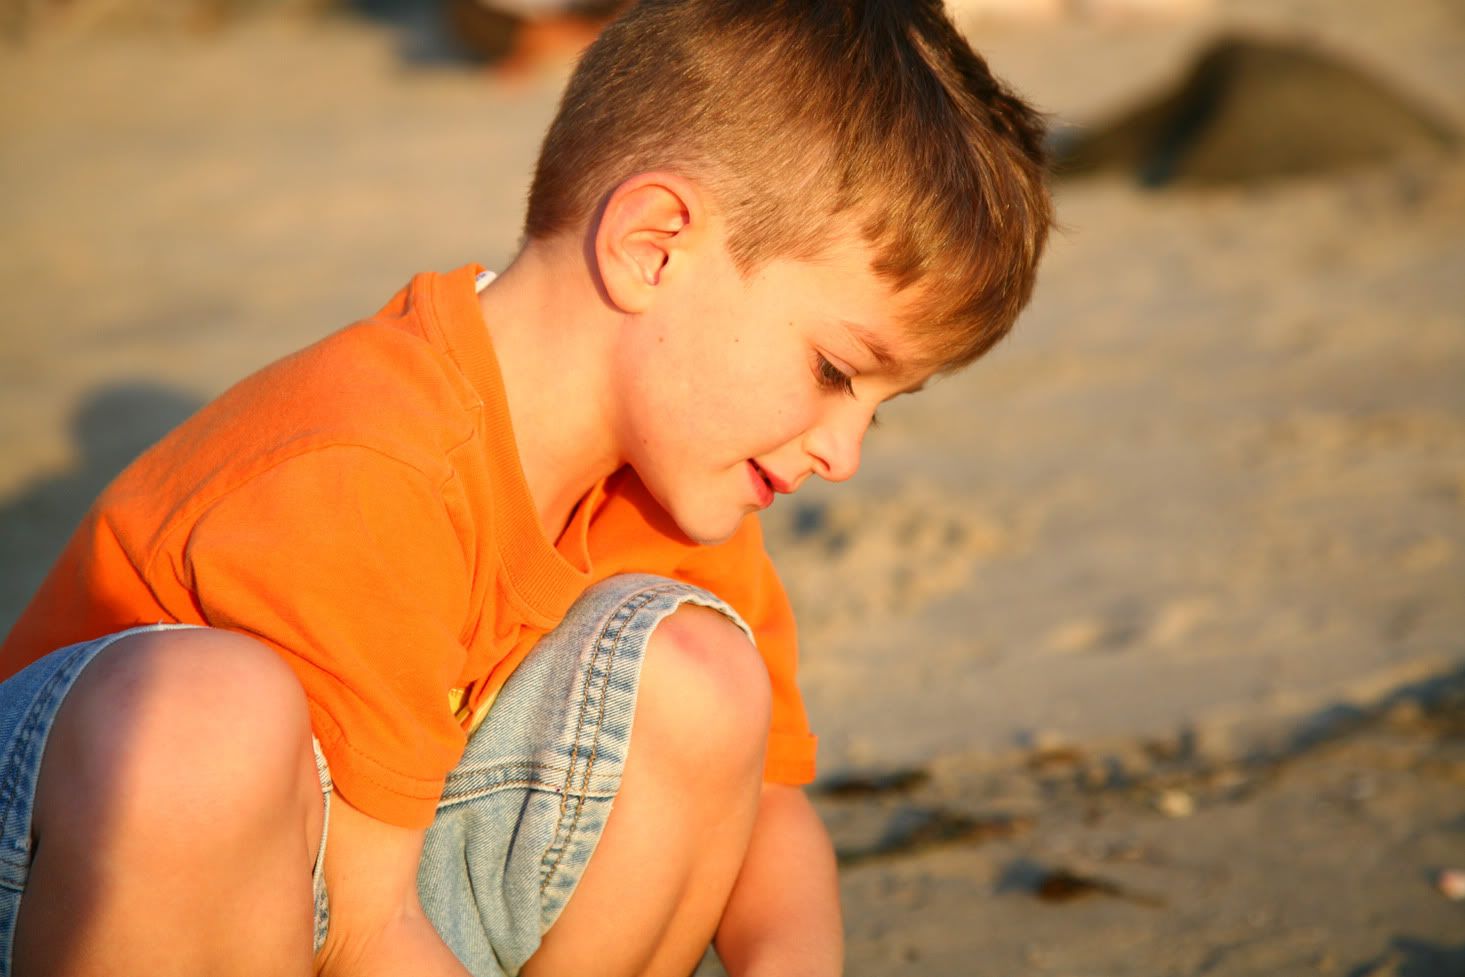
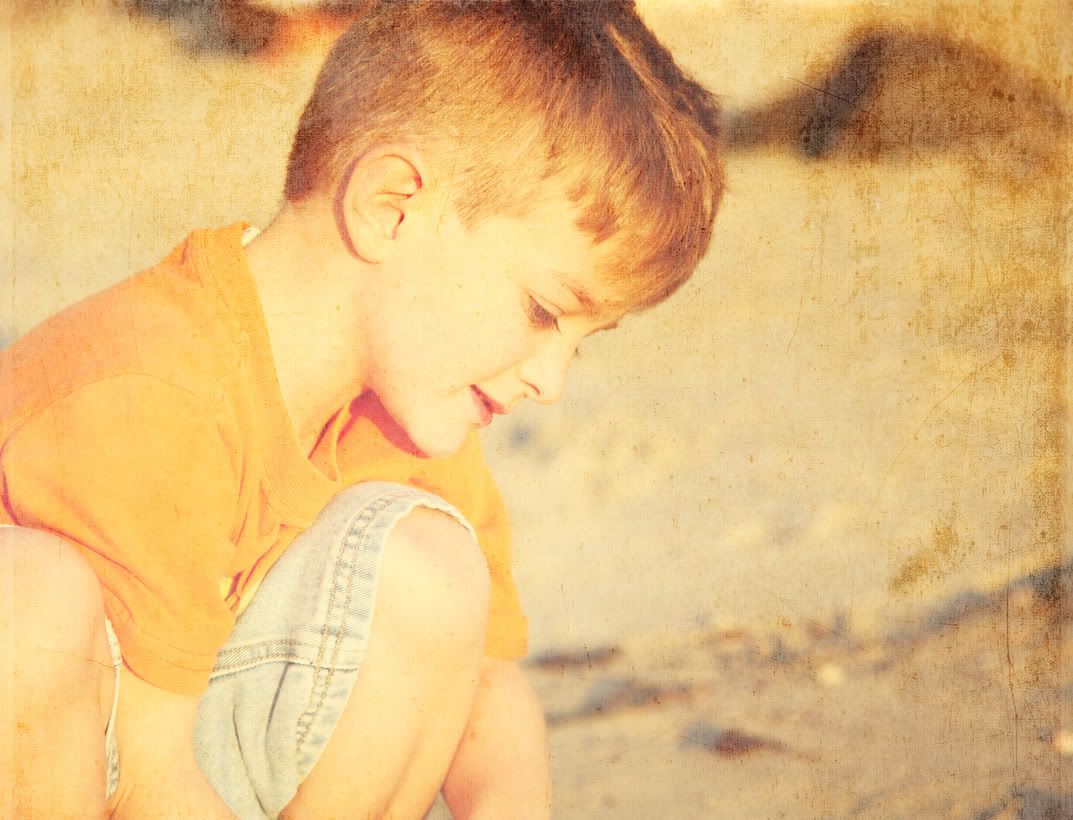
I hardly did anything to this photo but here is what I did do:
- I ran Flora Bella's Milk & Honey II action from the Color & Haze set
- Over that I ran Flora Bella's Vignette and lowered the opacity to 15%, from her Extra Action set
- After flattening the image I added a free texture called Warm Grunge by Kim Klassen and changed the layer style to soft light and left the opacity at 100%. Usually I would erase some of the texture from skin and hair but I loved the soft gritty look of the texture and thought it really suited the whole beach scene {you need to sign up for her texture lovin' list on her blog}
- Lastly, I gave the photo a slight crop by cutting out the shadow of the photographer in the lower left corner
On to the this weeks photo taken by Michelle Johnson, of her daughter during a quiet moment. Here is what the original looks like:
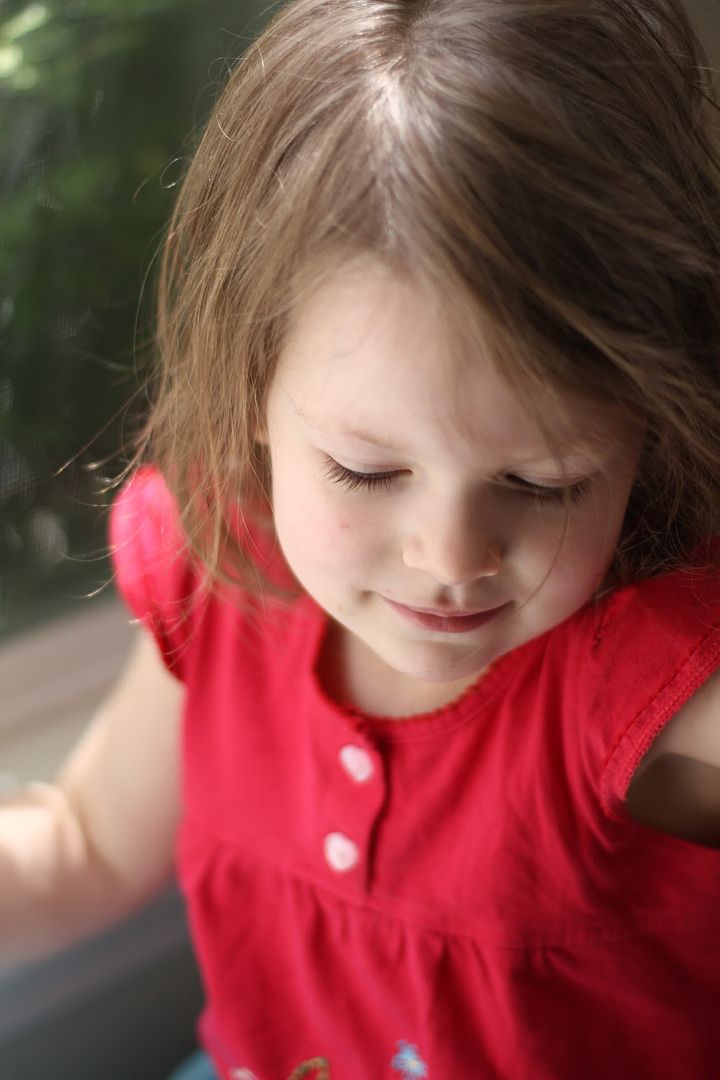
- The first action I ran over the photo is from My Four Hens Photography called Back Lit Pop from A Very M4H Tool Box set. I adjusted a few of the layers but I forgot to take note of what I did. I know I changed a few of the opacities I turned one layer off altogether.......
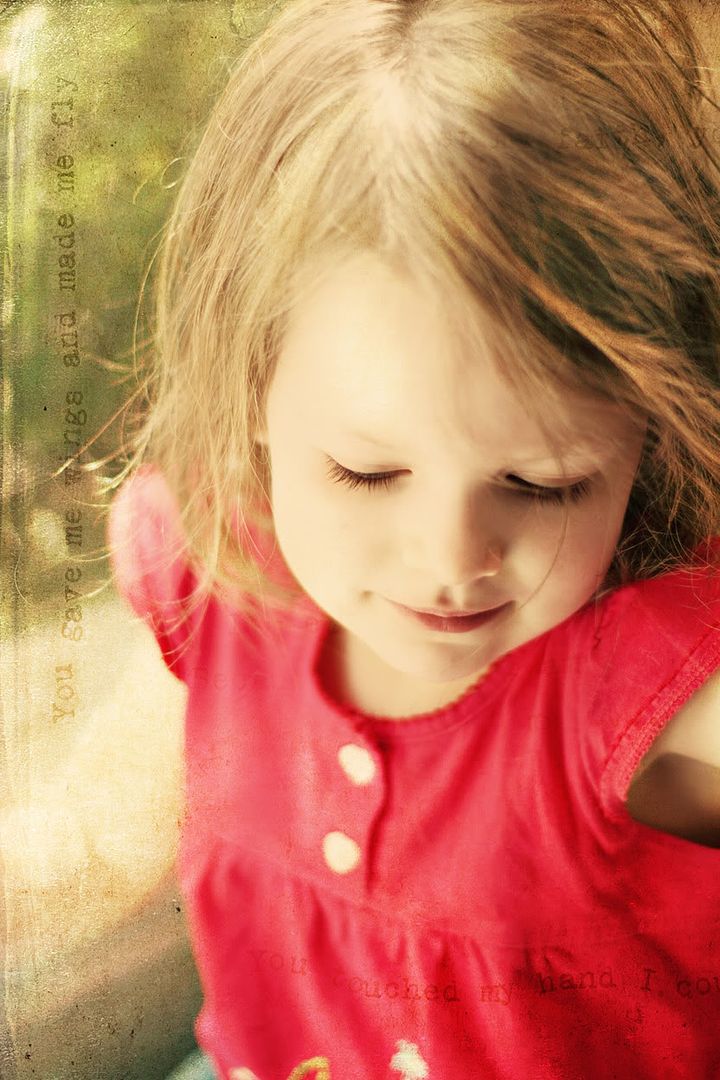
- Once I was happy with the look of the photo, I ran Flora Bella's Sweet Sunshine from the Luxe set over the flattened layer
- I wanted to warm the photo a little more so I ran Flora Bella's Sunlight action from the Extra Actions set
- After flattening the image once more, I ran Flora Bella's Sweet Color from the Color & Haze set to add a pretty haze to the photo
- I still felt that the photo needed a little more so I added a busy texture called Celine from Kim Klassen over the top and changed the layer style to overlay and left the opacity at 100%. {you need to sign up for her texture lovin' list on her blog}
- Lastly, I erased a small amount of the texture from her face and a little from the hair and shirt
That's all for today, hope everyone is having a creative weekend!!
I ♥ Faces - Fix-It Friday #54

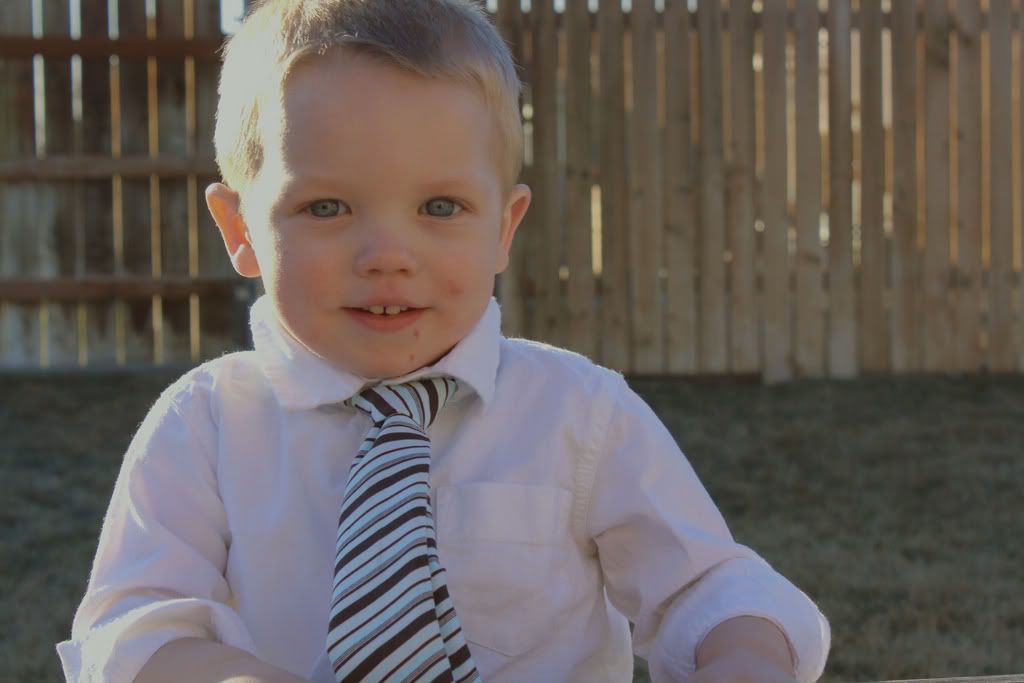
Here is a run down on how I edited the photo:
- Firstly, I ran Basic Editing from The Photographer's Tool Box by My Four Hens to lighten the photo
- To brighten the eyes I used Eye Pop from The Photographer's Tool Box
- I then ran All For One from Random Rocks - the newest freebie by My Four Hens over at Shabby Princess's blog feature. I fiddled with some of the layers to get the effect I liked best
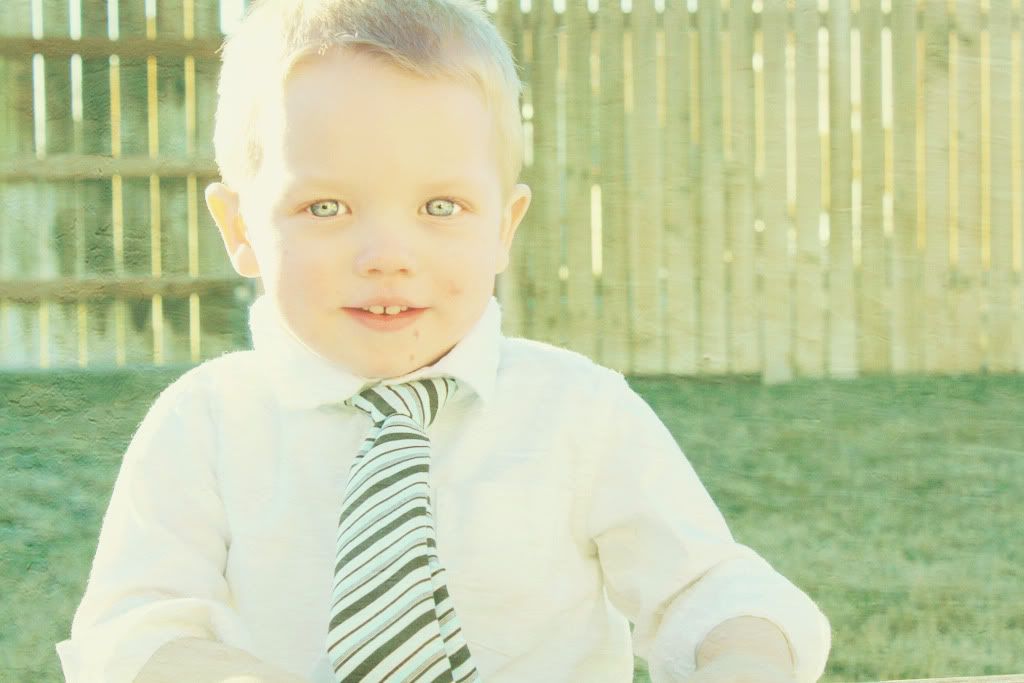
- Lastly, I added a texture layer {see below for free texture} and changed the layer to overlay in the layer palette in Photoshop. I erased most of the texture from the little boys face and hair and lowered the opacity to 81%
Here is my edit:
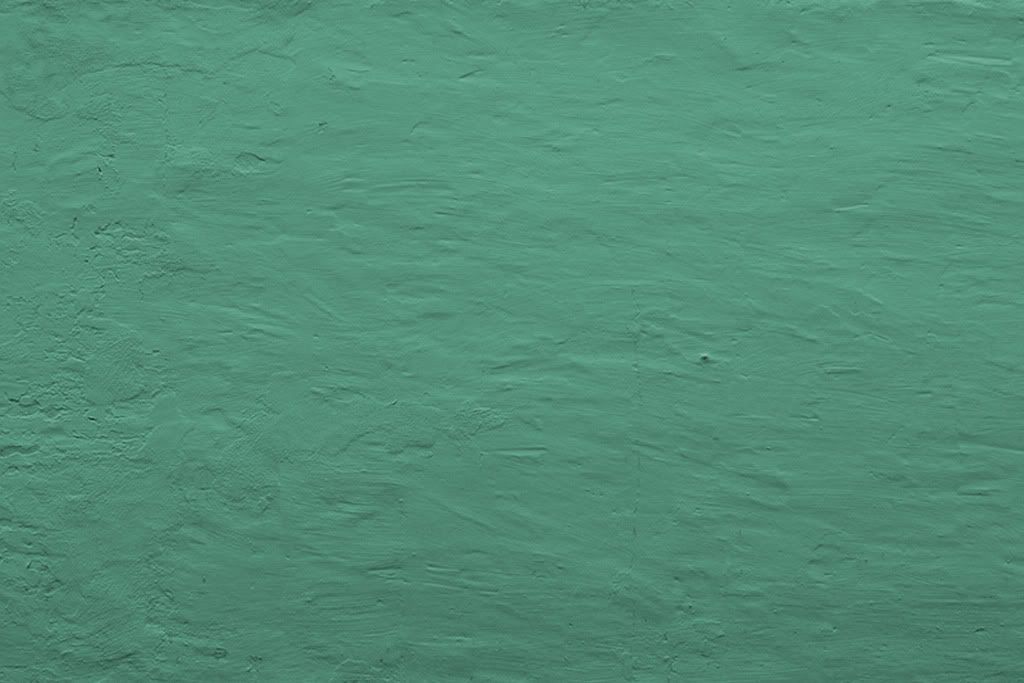
Feel free to use my texture for your Fix-It Friday photo!! Have a wonderful weekend......I will be moving the girls into one room over the weekend, fun, fun, fun!
I ♥ Faces - Fix-It Friday #53
- Wash the car by hand
- Create something....anything
- Don't clean the house
- Don't pick up the toys on the ground....the girls can do that!
- Unpack more kr past kits
- Drink yummy cappuccinos made on my awesome coffee machine
- Maybe hang some washing on the line....well it is sunny!
- Take the car to the car wash
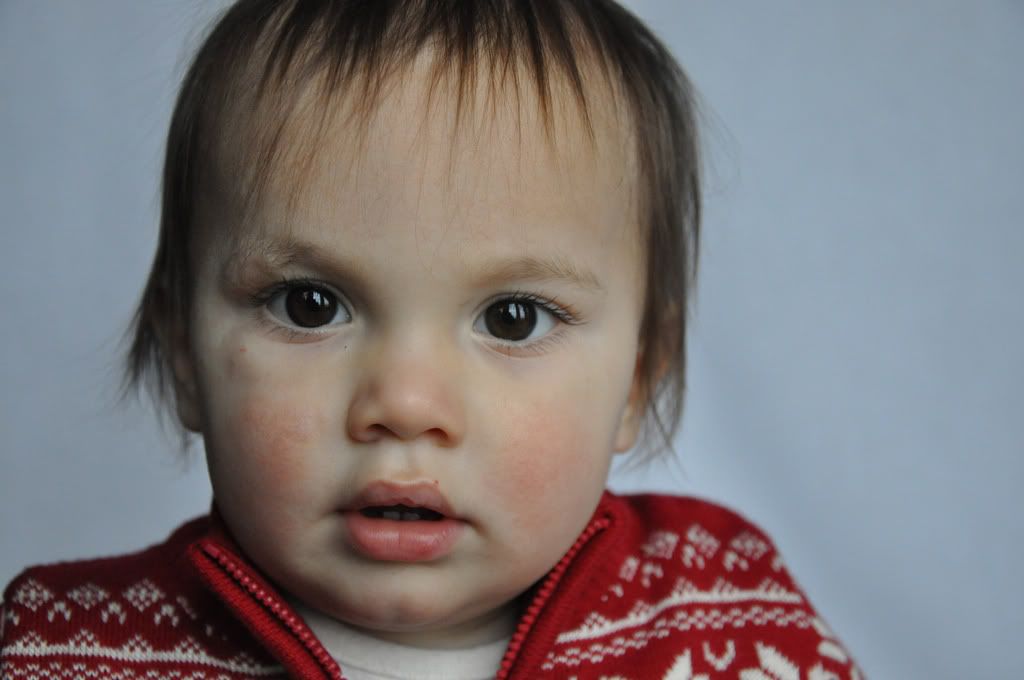
I used My Four Hens Photography actions today.....{shock | horror}
- Photographer's Tool Box: Basic Editing
- Freshly Vintage: Eggshell
- Lightened the eyes a little
- Photographer's Tool Box 2: Warm Me Up
- Added a texture layer, changed the layer style to soft light
- Erased the texture from the face and body with a soft brush
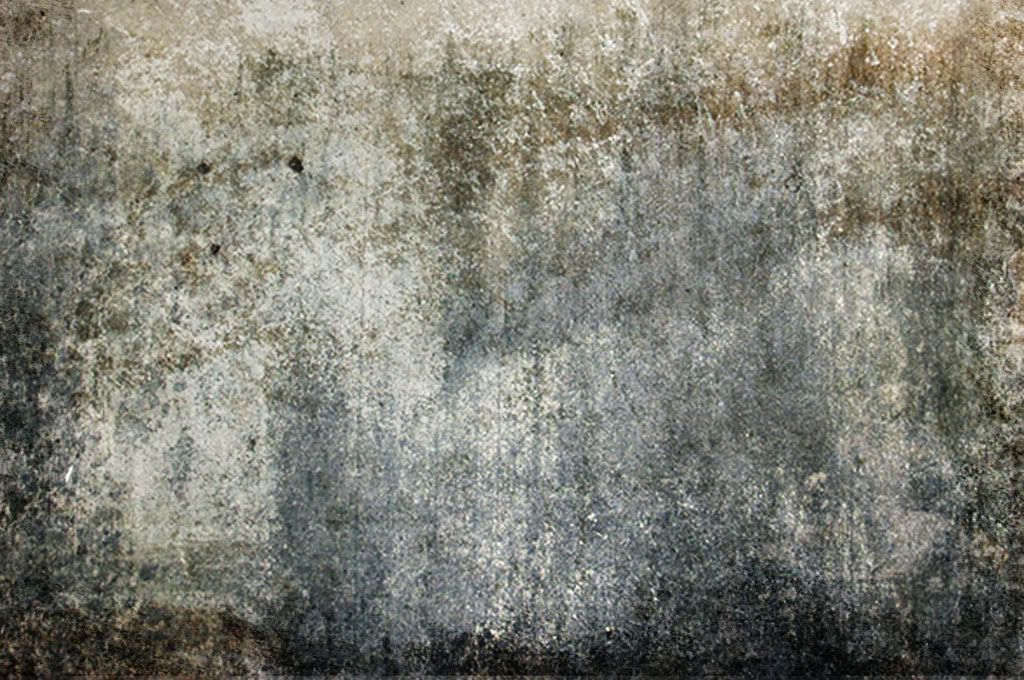
Lastly, here is my photo:

Have a wonderful weekend everyone!!
I ♥ Faces - Fix-It Friday #52
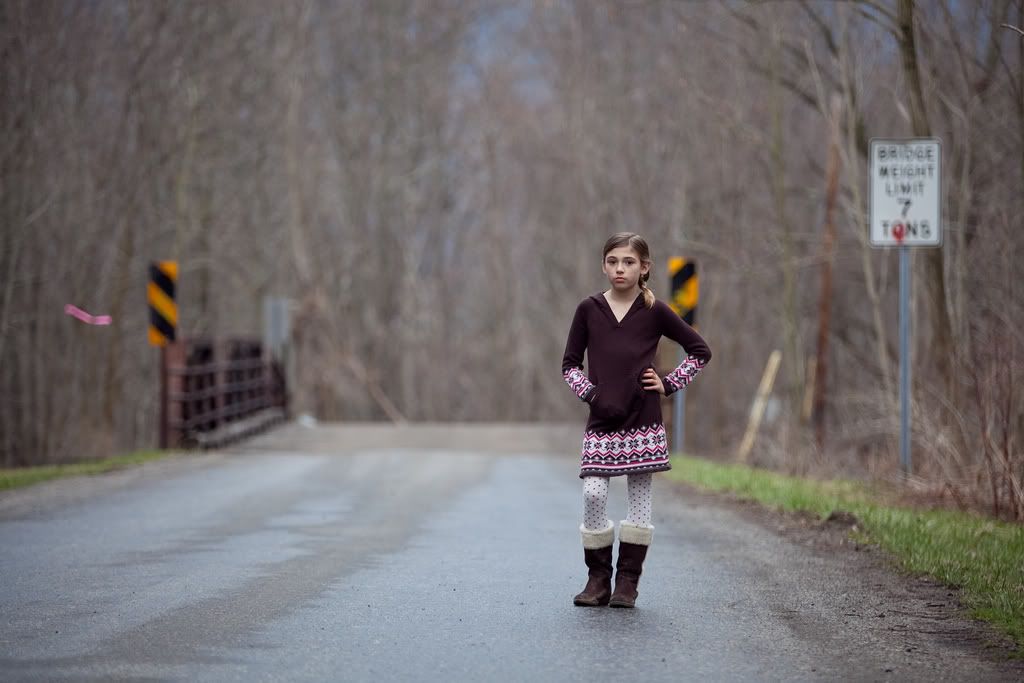
Here's my edit:
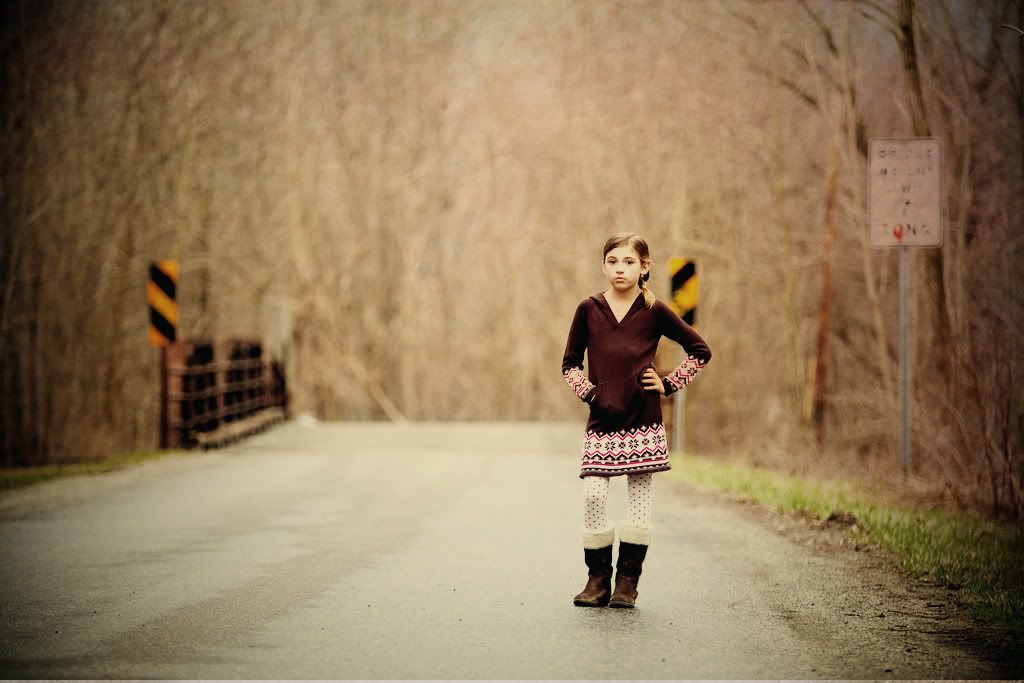
Here's how I edited my photo:
- I used the clone stamp tool in CS3 and removed the little pink thingy on the left of the photo as well as the creamy colored stick thing on the right side {real technical terms here folks}
- I used Soft Pop from The Photographer's Tool Box from My Four Hens Photography Actions
- I erased some of the Soft Pop action on her jumper, hand and boots so that the follow actions didn't blow out the color before flattening the image
- I then ran action 127 - #6 from Night Fate Free Actions using the default settings for the 2 o'clock shadow then flattening the layers
- At the bottom of action 127 there is an extra option for lighting effects - I ran this as well using the default settings
- Lastly, I added some texture {love texture in photos} using THIS texture from Flickr changing the layer to Multiply and erasing any texture from the road surface, the girl and a little from the grass on the right using a soft brush and lowering the opacity to 61% ..... that's it!!
I ♥ Faces - Fix-It Friday #51
So, let's take a look at this weeks photo by Allie who wrote "bring out her eyes more and brighten the colors just a bit"

I used actions from My Four Hens Photography in this order:
- Photographer's Tool Box: basic editing
- Color Play: slightly golden
- Photographer's Tool Box: soft pop
- Photographer's Tool Box: eye pop
I added a free texture {can't remember which one, sorry} from one of the many texture flickr group's, over the top and changed the layer to hard light and erased most of the texture from the little girls face, hair, scarf and jacket. That's it!

I will post my "I ♥ Sunday" later this afternoon! Hope you are all having a relaxing weekend full of creativeness!!
I ♥ Faces - Fix-It Friday #50
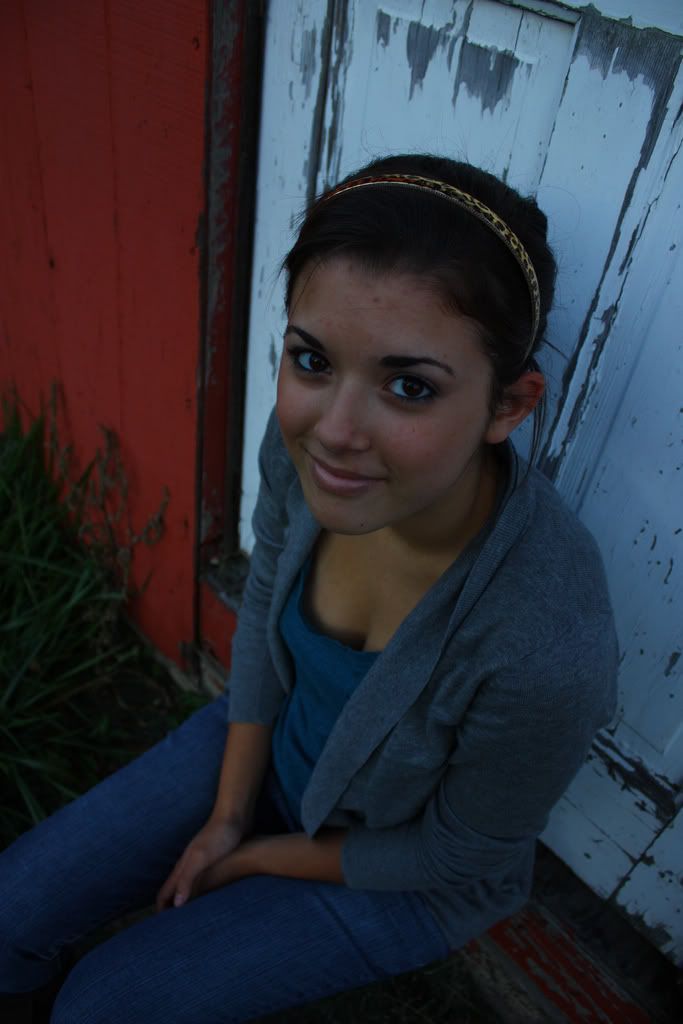
I played with the curves in CS3, brightened up the eyes and fixed some blemishes, ran my favorite action Eggshell from Freshly Vintage at My Four Hens Photography and added a layer of texture. That's it, here's my version:

Had loads of fun doing this, I think I may have to do this every Friday now......lol!!
That's it for today.......more goodies to show you in the next week....fun, fun, fun!!
Something To Share!
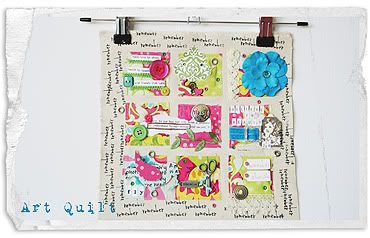
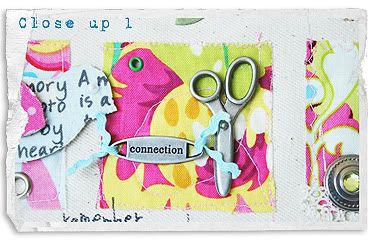
I am always looking for inspiration and new ways to expand my knowledge about different types of art so I purchased one of Donna Downey's Video Workshop's from her website called Art Quilt not too long ago. I love that she mixes fabric with scrapbooking, there are so many different ways to use our scrapbooking techniques with other art forms or materials. The video was so easy to follow as she breaks the quilt down step by step. Here is my result from following her video: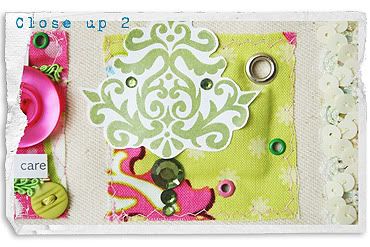
One special mention I want to make is the Photoshop actions I used on the photos above are from Sarah Cornish's (a.k.a my3hens) NEW website that went LIVE today!!! I used the Photographer's Tool Box Action set. A perfect set of actions for any photographer! I used the Basic Editing action, then the Soft Pop from the same set. I also purchased Soft and Sweet and Retro Summer, I think I will go purchase another set as she is having a 50% off sale for the next 4 days, fantatsic!!! I can't choose between Color Play or The Sweetheart Collection....I want them all....lol! Go check them out today, you will be so glad you did!
Speaking of sale's, Catherine Designs is having a 35% off her entire store from the 1st - 5th of August to celebrate her beautiful daughter turning 21! Click on the image below to go shopping NOW!
Worn Overlays used on photos are by Amy Martin from The Lilypad





.jpg)


 Posts
Posts

